This post may contain affiliate links. If you make a purchase through links on our site, we may earn a commission.
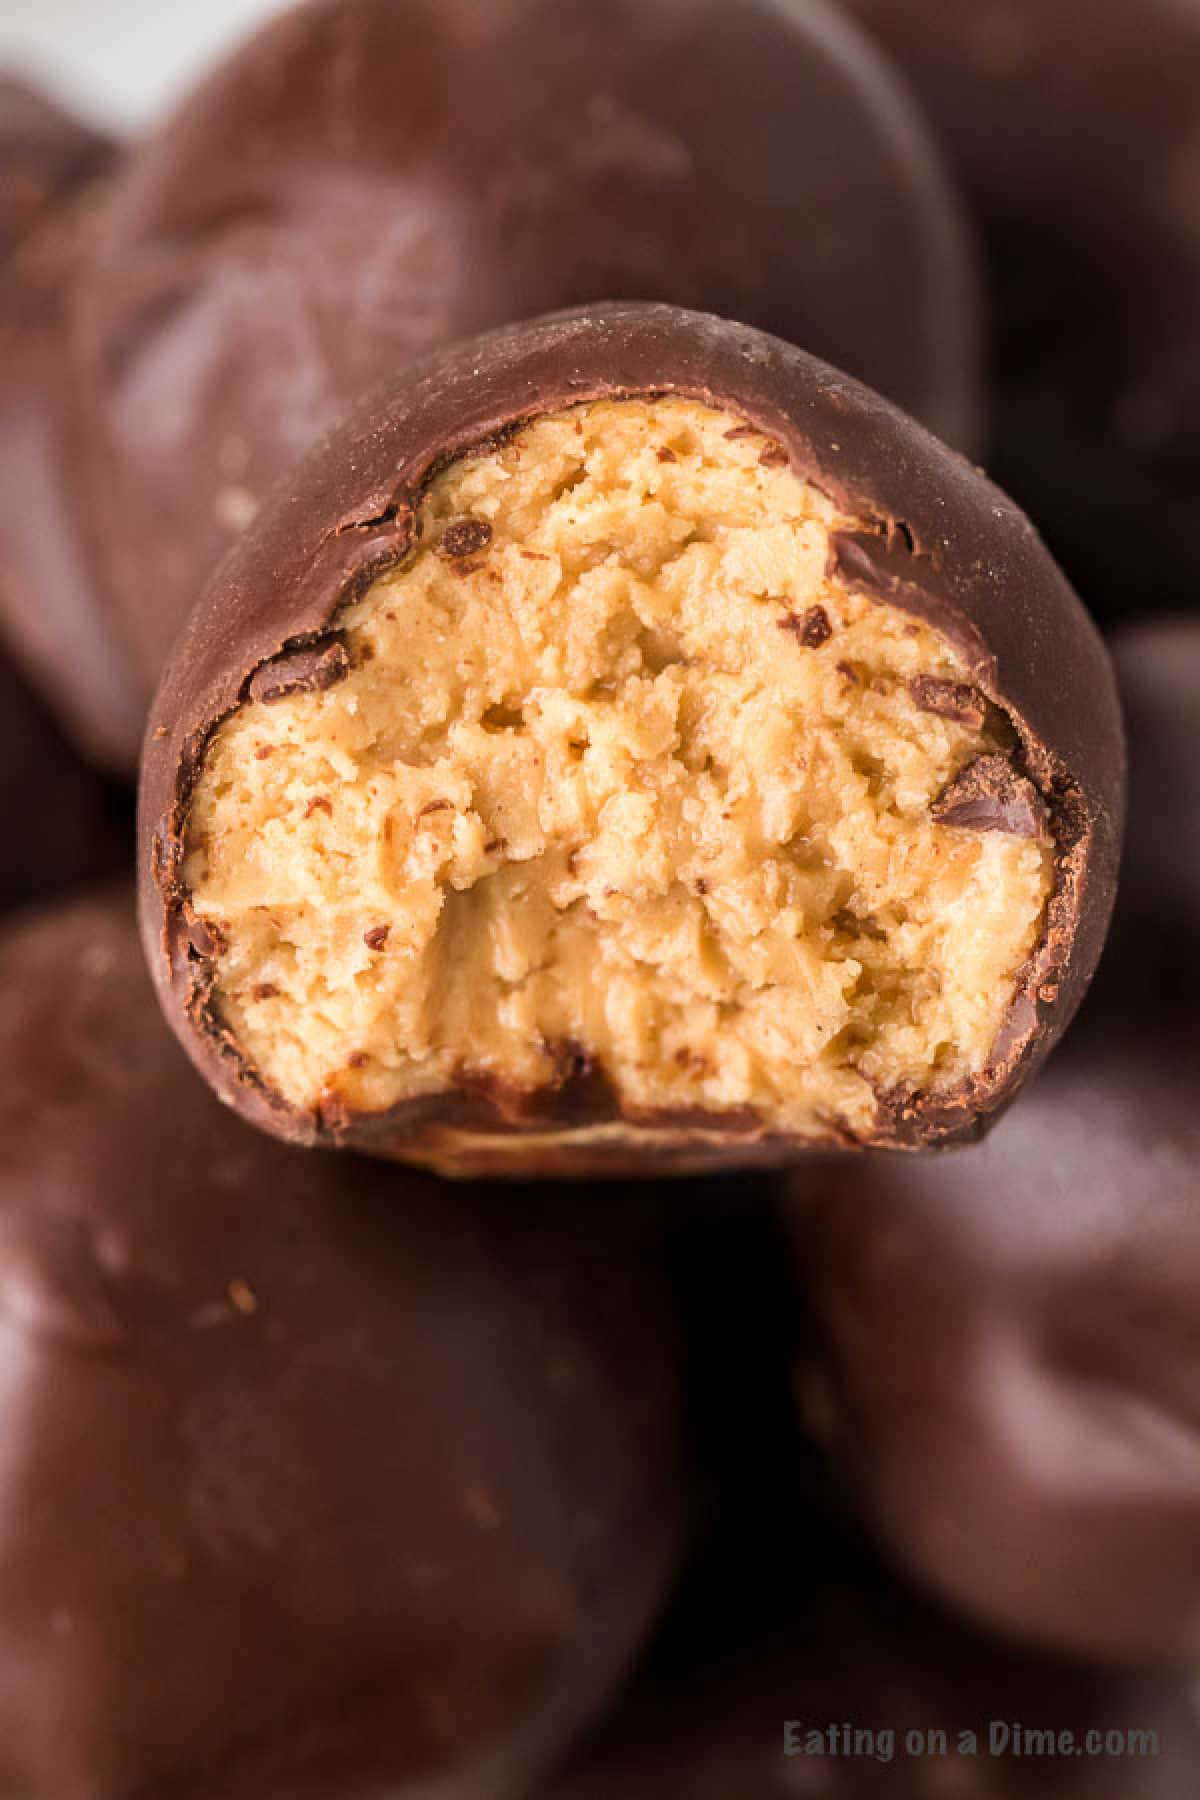
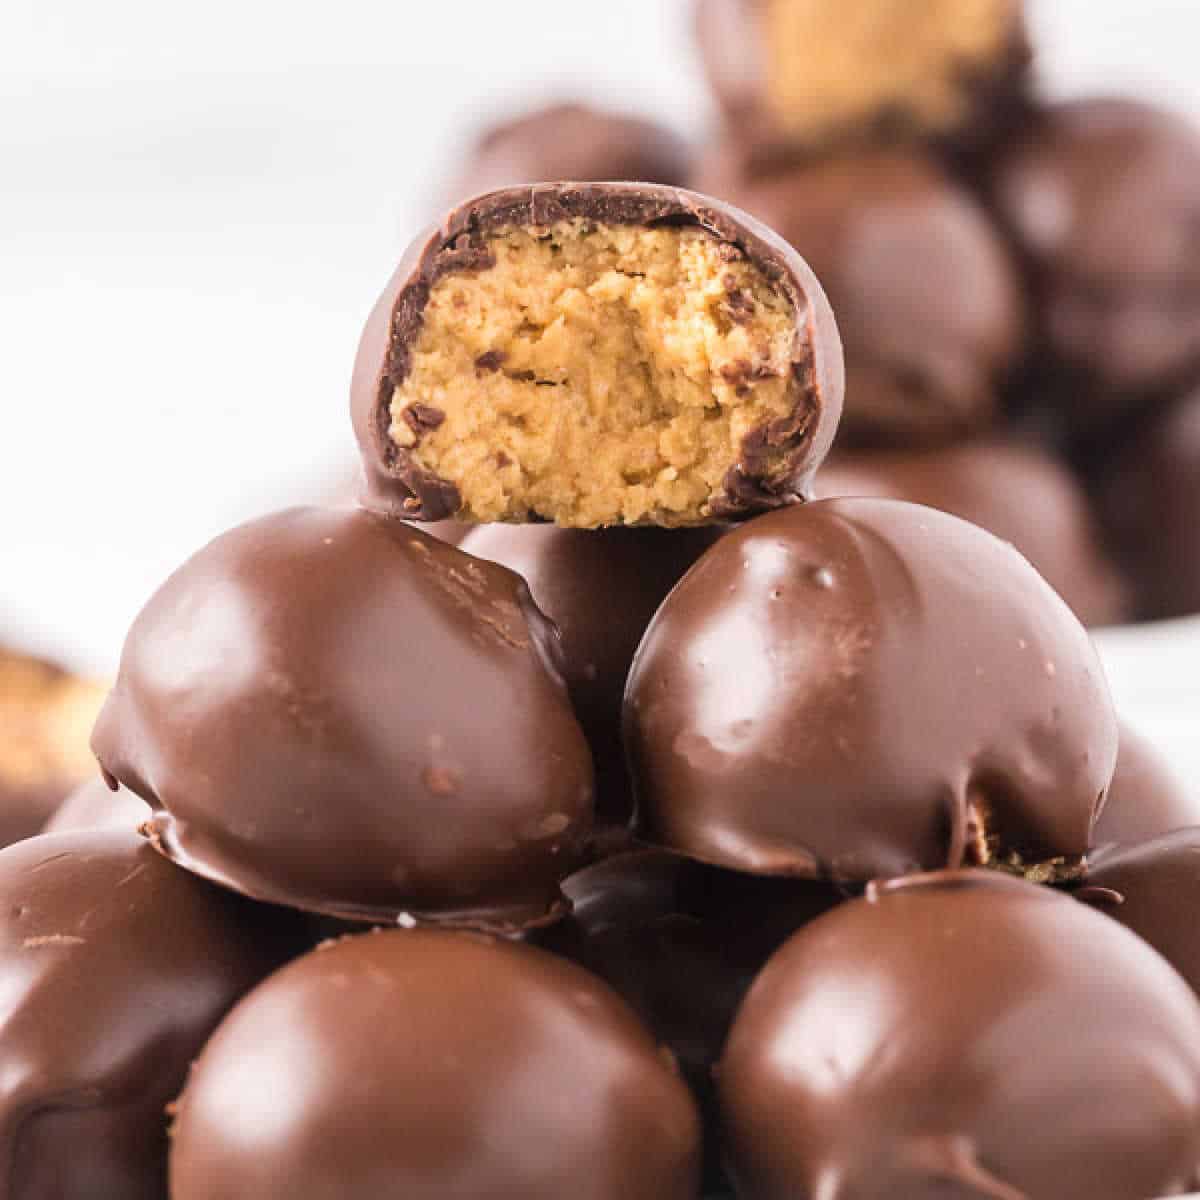
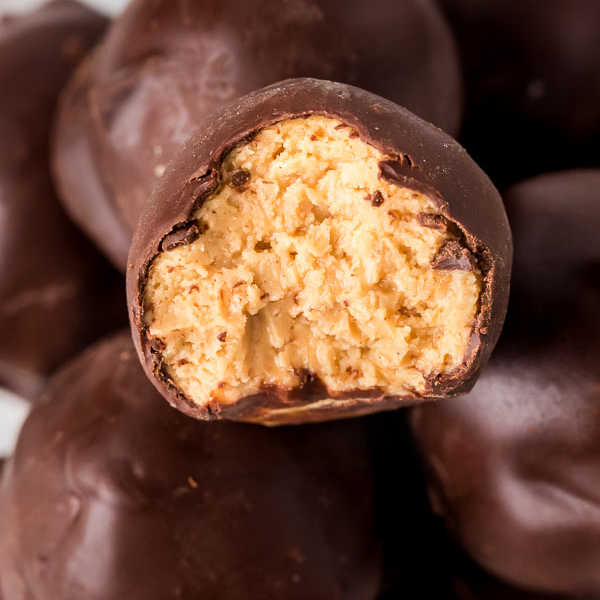
I have such an easy and delicious recipe to share with you today Peanut Butter Balls. They are just like mini Reese’s Peanut Butter Cups, but in ball form. They melt in your mouth. They are that good.

Easy Peanut Butter Balls Recipe has amazing texture and full of flavor. Chocolate and peanut butter is the perfect combination for the best holiday treat. No bake peanut butter balls are easy to make and easy easily be decorated for all of your holiday dessert trays.
If you love these peanut butter balls, then you may love Butterfinger Balls, Peppermint Oreo Balls and Quick and Easy Cake Balls. These also make the perfect Super Bowl Desserts.
Why We Love This Recipe
It’s become a family tradition to make these for holidays and parties. It doesn’t get any easier than Peanut Butter Balls Recipe no bake. If you like these, you might also want to try our Edible Cookie Dough Bites. They are delicious and super fun to make around the holidays.
You only need a handful of ingredients and a little time and you will soon be enjoying these peanut butter balls for yourself.
We always put together plates of goodies for the neighbors and these little gems are very popular. Try this easy no bake recipe today.
Ingredients

- Creamy peanut butter – I have found that creamy works the best. You can use crunchy if want an added crunch. I do not recommend natural peanut as it separates when it’s mixed with the other ingredients to the balls don’t hold together as well.
- Butter – Softened at room temperature.
- Vanilla Extract – This adds a subtle sweetness that is delicious in this recipe.
- Powdered Sugar – I don’t shift it and it works great every time.
Scroll to the bottom for the full recipe in the recipe card.
Variations Ideas
- Use your favorite type of Chocolate – These peanut butter balls are great dipped in milk, white or dark chocolate.
- Add Rice Krispies – You can replace half of the powdered sugar amount with rice krispies to give these peanut butter balls an added crunch.
- Use any type of nut butter – Generally, I make these with peanut butter but if you’re allergic, these can also be made with any type of nut butter. Almond Butter, Cashew Butter or Sunflower Butter would all be delicious in this recipe.
- Semi-Sweet Chocolate Chips – You can also use almond bark or dark chocolate chips as well if you prefer.
- Shortening – This is necessary as it makes the chocolate creamy and ensures that the chocolate coating is smooth on these peanut butter balls.
Recipe Tips
- Make sure the Peanut Butter Balls are frozen before dipping. This will make sure that the balls don’t fall apart.
- Use a fork to dip the balls into the chocolate so that the excess chocolate will drip off the fork.
- Do not overcook the chocolate. Overcooked chocolate will become clumpy and will not be smooth on these peanut butter balls.

How to Decorate
- Holiday Sprinkles – You can decorate these peanut butter balls with sprinkles for the holidays. Red and Green for Christmas or pastel colors for Easter.
- Drizzle Chocolate – Drizzle them with caramel or white chocolate syrup for a fun and eye pleasing treat.
Frequently Asked Questions
Peanut Butter balls are best eaten fresh. You can keep them in the fridge up to 2 weeks as long as they are in an airtight container. You can also freeze peanut butter balls up to 2-3 months.
Refrigerate the peanut butter balls for up to 2-3 weeks in an air tight container.
If you prefer to freeze the peanut butter balls, place them in a freezer safe container for up to 3 months. Perfect to plan ahead for the holidays.
More Easy Chocolate and Peanut Butter Recipes
We love to hear from you. If you make chocolate covered peanut butter balls, please leave us a comment or a star review.
Peanut Butter Balls
Chocolate covered Peanut Butter Balls recipe is so easy to make and taste great. Peanut butter balls recipe taste amazing for any occasion. Try this simple Peanut butter balls recipe. Peanut butter balls are so creamy and covered with yummy chocolate. Learn how to make peanut butter balls.
-
Line a baking sheet with waxed paper and set aside.
-
Mix peanut butter, butter and vanilla together in a large bowl.
-
Slowly add one cup of powdered sugar to the creamy mixture, mixing well each time. *Note — I do not sift my powdered sugar! I just scoop out 1 cup full and dump it in my bowl.*
-
By the time you get to the third cup of powdered sugar, the mixture will become very difficult to stir with a spoon. Take your rings off and start mixing with your hands.
-
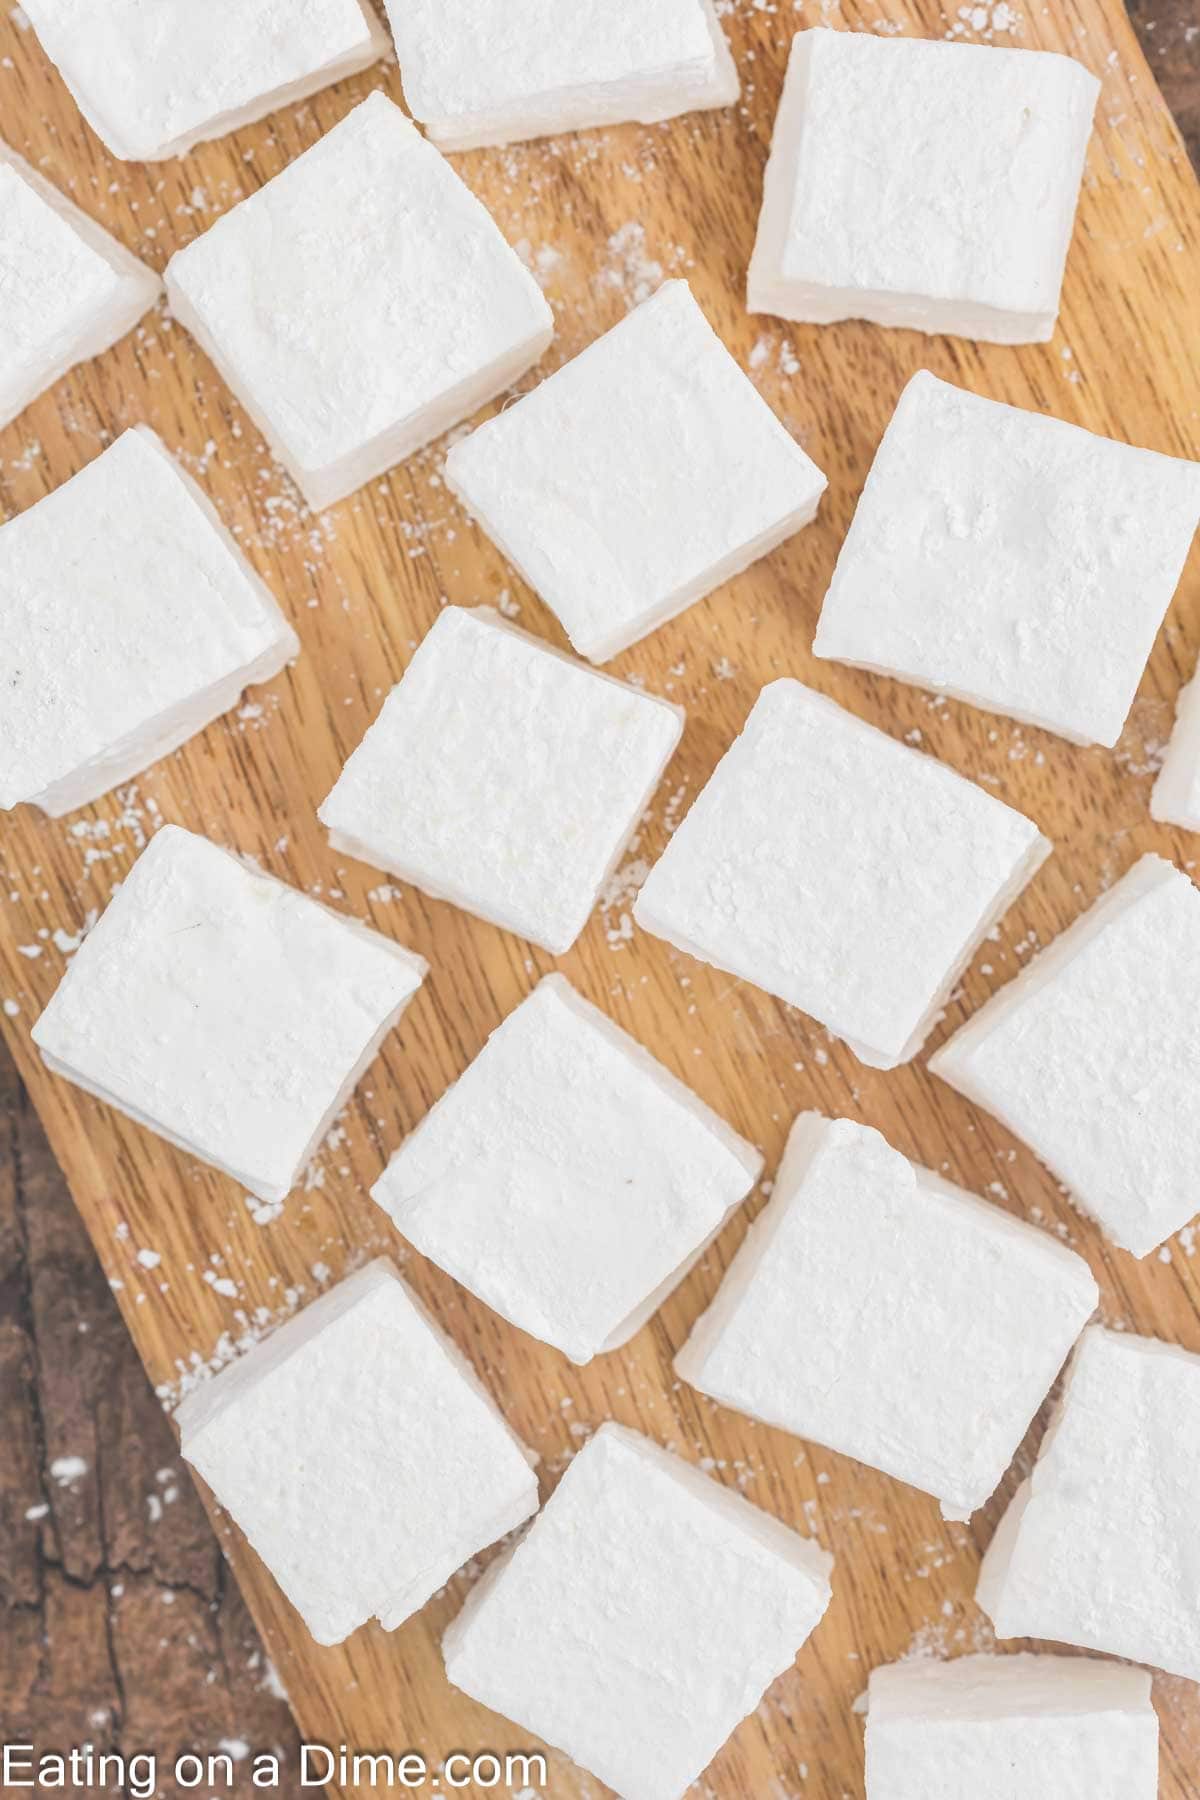
Once all of the powdered sugar is incorporated into the peanut butter mixture, you can start making your balls. Simply pinch off a small amount and roll between your hands to form a small ball. Place the peanut butter balls on the prepared cookie sheet with waxed paper.
-
Once you have made all of your balls, melt your chocolate. My favorite way to do this is in the double boiler, but if you don’t have one, you can simply put a metal or glass bowl on top of a saucepan with about an inch of water in it. As the water in the saucepan begins to heat up, the steam will heat up your bowl and start melting your chocolate. Be sure to add the shortening to your chocolate – this will make covering your peanut butter balls with chocolate a lot easier.
-
One at a time, drop your peanut butter balls into the melted chocolate. Lift the ball out of the chocolate with a fork and then transfer it to the waxed paper.
-
Once all of your peanut butter balls are coated, put the cookie sheet in the fridge for 15-30 minutes. This will ensure the chocolate coating is completely hardened.
Dress up this dessert by drizzling either dark or white chocolate on top!
Calories 128kcal, Carbohydrates 13g, Protein 2g, Fat 7g, Saturated Fat 3g, Cholesterol 5mg, Sodium 56mg, Potassium 50mg, Sugar 12g, Vitamin A 70IU, Calcium 12mg, Iron 0.2mg