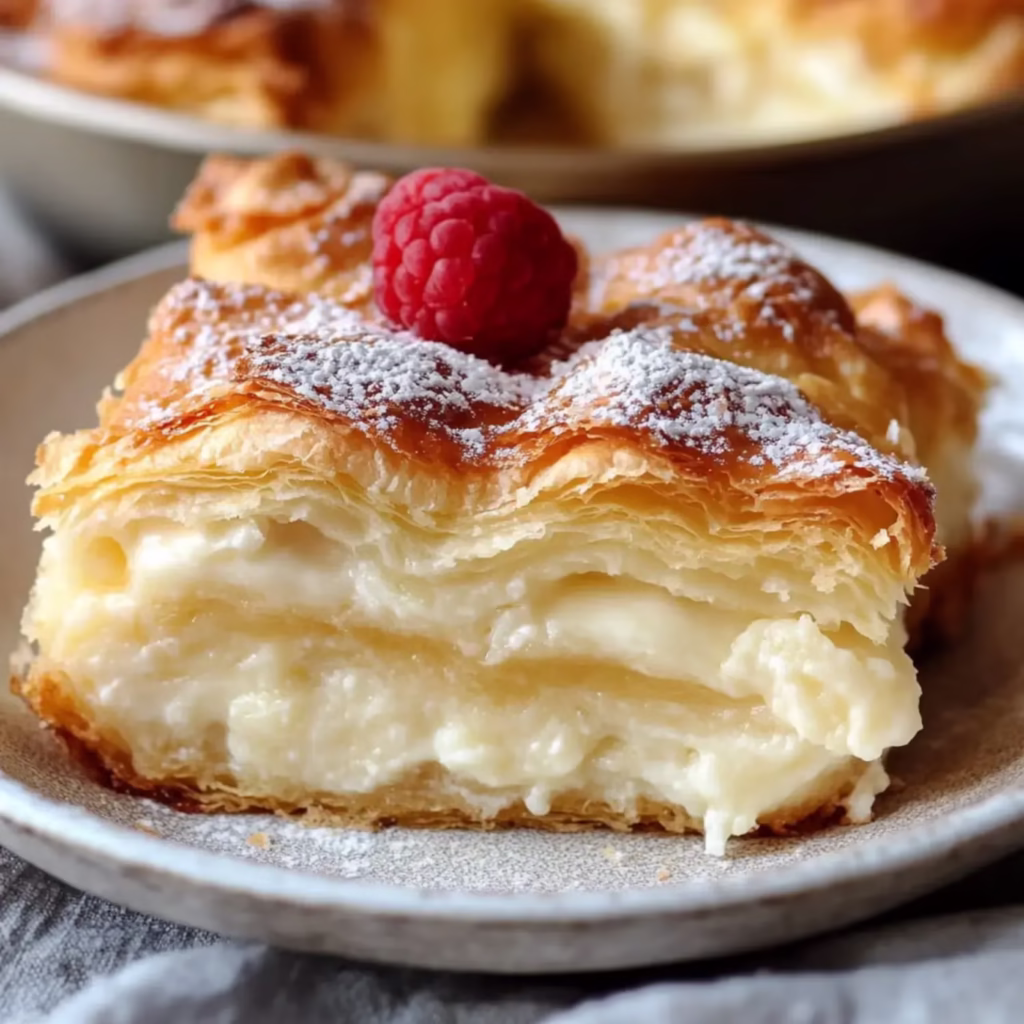
You won’t believe the magic that happens when you combine buttery crescent rolls with a dreamy cheesecake filling! This Cheesecake Crescent Rolls Casserole is my go-to dessert when I need something quick but impressive. The first time I made it for my family game night, everyone kept coming back for ‘just one more piece.’ Now it’s the most requested dessert at our gatherings my sister even asked me to make it for her baby shower!
Why This Recipe is Pure Gold
As a busy mom, I love that I can throw this together in just 15 minutes of hands-on time. It’s my secret weapon for last-minute guests or when the kids are begging for something sweet. The way those layers come together the flaky crust, creamy filling, and that cinnamon-sugar topping it’s like a warm hug in dessert form!
Let’s Gather Our Ingredients
- Crescent Rolls: Two cans of your favorite brand they’re all good here!
- Cream Cheese: Take it out early to soften this is so important!
- Sugar: Just regular granulated sugar does the trick.
- Vanilla Extract: The real stuff makes such a difference.
- Butter: I always keep a stick out for baking emergencies.
- Cinnamon: That magical spice that makes everything cozy.
Let’s Make Some Magic
- First Things First
- Crank up that oven and grab your favorite baking dish. I use my trusty 9×13 that’s seen more desserts than I can count!
- Build the Base
- Here’s where those crescent rolls come in unroll them carefully and press them into the bottom. Don’t worry if it’s not perfect we’re going for rustic charm here.
- The Cheesecake Dream
- Mix up that filling until it’s silky smooth. I usually sneak a taste at this point quality control, right?
- Top it Off
- Layer on that second sheet of crescent rolls this is like tucking your filling into a cozy blanket.
- The Finishing Touch
- Brush on that melted butter and sprinkle with cinnamon sugar. This is what gives us that irresistible golden top!
- The Waiting Game
- Let it cool a bit before cutting though I totally understand if you can’t wait!
Keeping It Fresh
If you somehow end up with leftovers (rare in my house!), pop them in the fridge. They’ll stay good for about 5 days, but I’ve never seen them last that long! You can even freeze pieces wrapped individually perfect for those late-night sweet cravings.
Mix It Up
Sometimes I get creative with this recipe. Last week I added raspberry preserves amazing! My kids love when I sprinkle mini chocolate chips in the filling. And during the holidays? A handful of chopped pecans in that cinnamon-sugar topping takes it to a whole new level. Make it your own that’s half the fun!
What Makes It Special
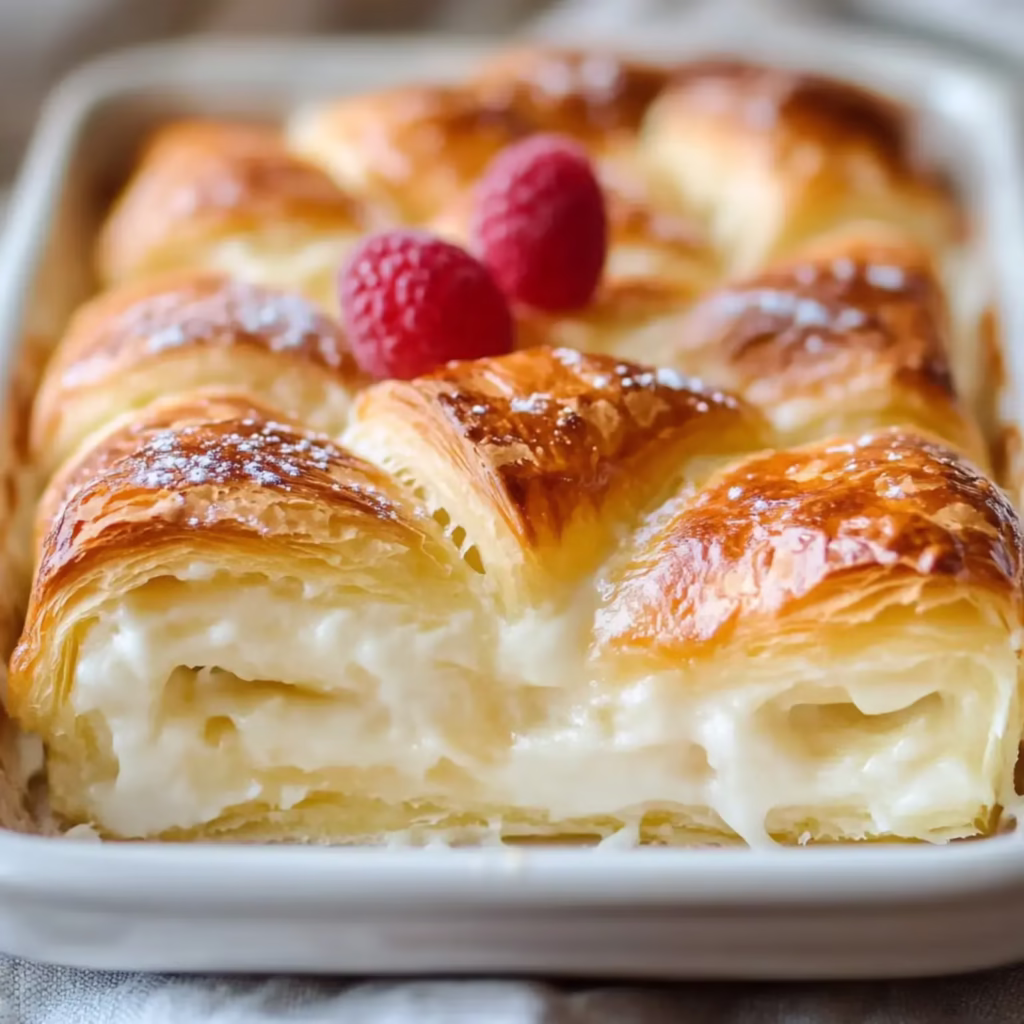
There’s something about this dessert that just brings people together. Maybe it’s how the kitchen smells like a bakery while it’s in the oven, or how everyone’s eyes light up when they see those golden-brown layers. It’s comfort food at its finest, and isn’t that what home baking is all about?
Perfect Partners
While this casserole is heavenly on its own, I love serving it with a hot cup of coffee. For brunches, I’ll add some fresh berries on the side. And when I’m feeling extra indulgent? A drizzle of caramel sauce on top is pure bliss!
Pro Tips from My Kitchen
After making this countless times, I’ve learned a few tricks. Make sure that cream cheese is really soft otherwise you’ll end up with lumps. Be gentle when spreading the top layer we want those crescents intact! And don’t rush the cooling time it helps everything set up perfectly.
Why You Need This Recipe
This dessert has saved me so many times whether it’s unexpected company or a last-minute potluck. It’s simple enough for beginners but tastes like you spent hours in the kitchen. Plus, it’s one of those recipes that creates memories everyone who tries it seems to have a story about when they first tasted it. That’s what makes it truly special!

pin it
Frequently Asked Questions
- → Why do the cream cheese blocks need to be at room temperature?
- Room temperature cream cheese blends smoothly without lumps. Cold cream cheese will remain chunky and won’t mix evenly with the sugar and vanilla.
- → Can I make this ahead of time?
- Yes, you can prepare this casserole up to 24 hours ahead and store in the refrigerator before baking. Let it come to room temperature for 30 minutes before baking for best results.
- → Why press the crescent roll seams together?
- Pressing the seams creates a solid layer that prevents the cream cheese filling from leaking through and ensures even baking. It also makes for neater slicing.
- → How should I store leftovers?
- Store leftovers covered in the refrigerator for up to 5 days. The casserole contains dairy and should not be left at room temperature for extended periods.
- → Can I freeze this casserole?
- While possible, freezing isn’t recommended as the texture of both the cream cheese filling and crescent dough may change. Best enjoyed fresh or stored in the refrigerator.

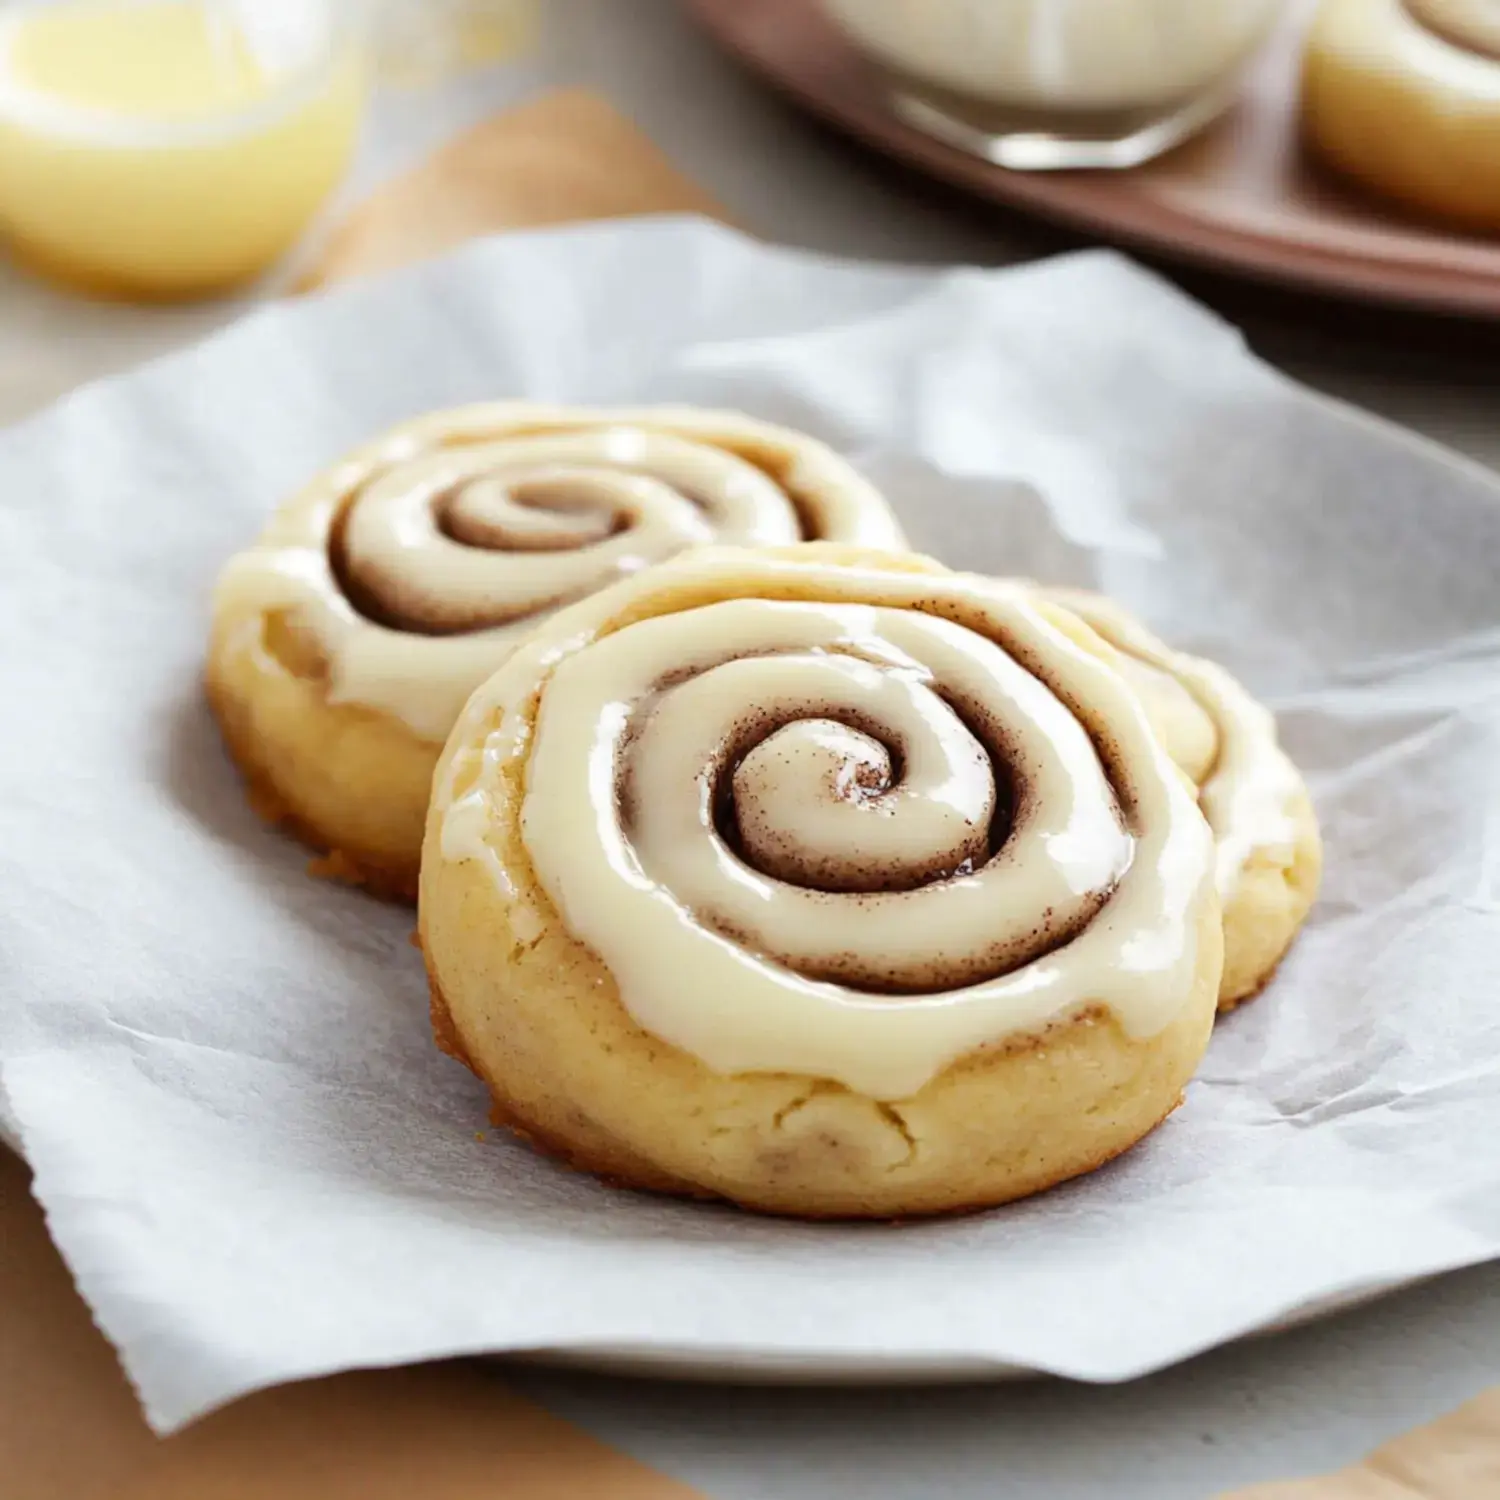
Easy Cheesecake Crescent Rolls Casserole Recipe
Description
A simple dessert casserole combining flaky crescent roll dough with creamy cheesecake filling and a buttery cinnamon-sugar topping.
Ingredients
Refrigerated crescent roll dough (2 cans).
Cream cheese, softened (2 8-ounce blocks).
Granulated sugar (1 cup).
Vanilla extract (1 teaspoon).
Butter, melted (1/4 cup).
Ground cinnamon (1 tablespoon).
Granulated sugar for topping (2 tablespoons).
Instructions
Preheat oven to 350°F. Grease 9×13-inch baking dish.
Spread one can of crescent dough in dish bottom, pressing seams together.
Beat cream cheese, 1 cup sugar, and vanilla until smooth.
Spread cream cheese mixture evenly over dough layer.
Place second can of crescent dough on top, pressing seams.
Brush with melted butter, sprinkle with cinnamon-sugar mixture. Bake 30 minutes until golden.
Cool for 20 minutes before slicing and serving.