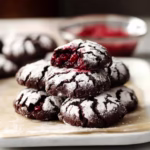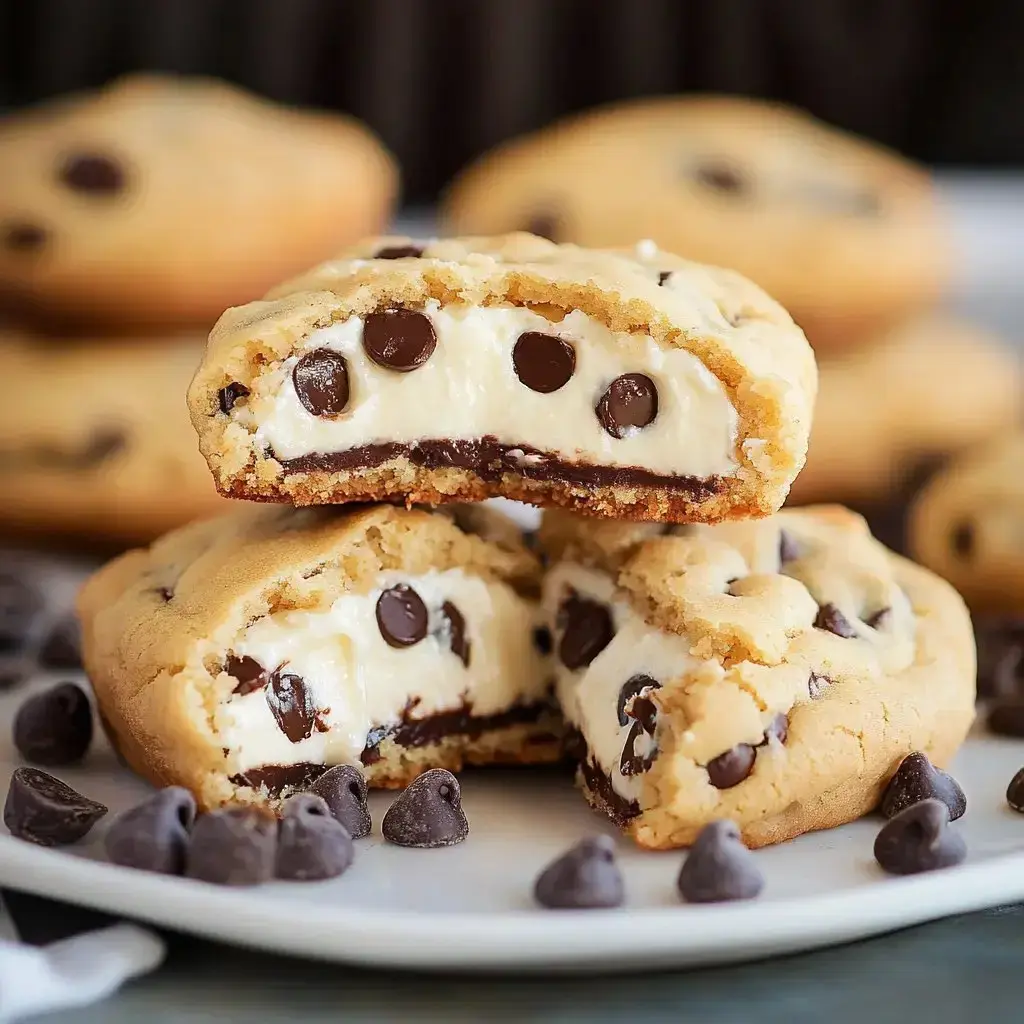
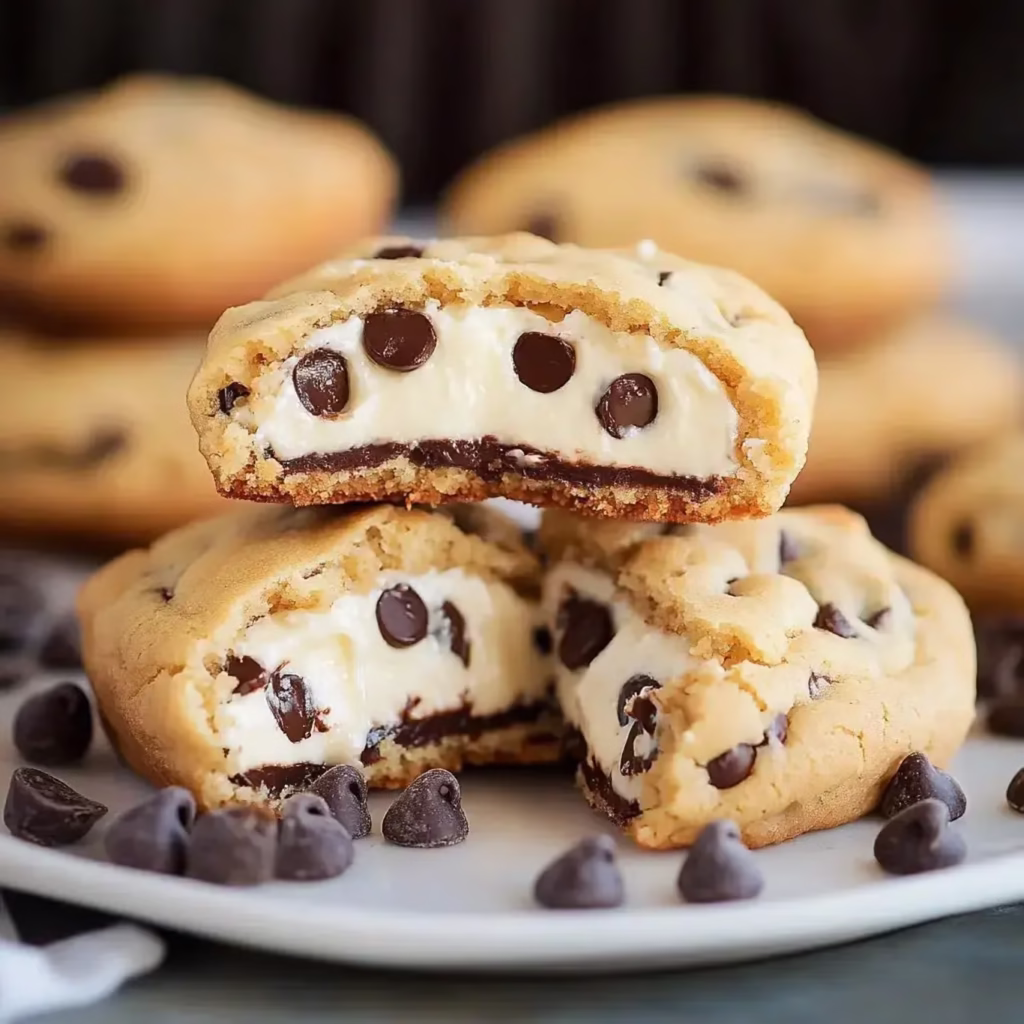
In my kitchen adventures I discovered these amazing Cheesecake Stuffed Cookies and they quickly became my signature recipe. The moment someone bites into one of these cookies their face lights up discovering the creamy cheesecake center inside that buttery chocolate chip cookie shell. I love watching friends try to figure out how I got that perfect cheesecake filling in there.
What Makes These Extra Special
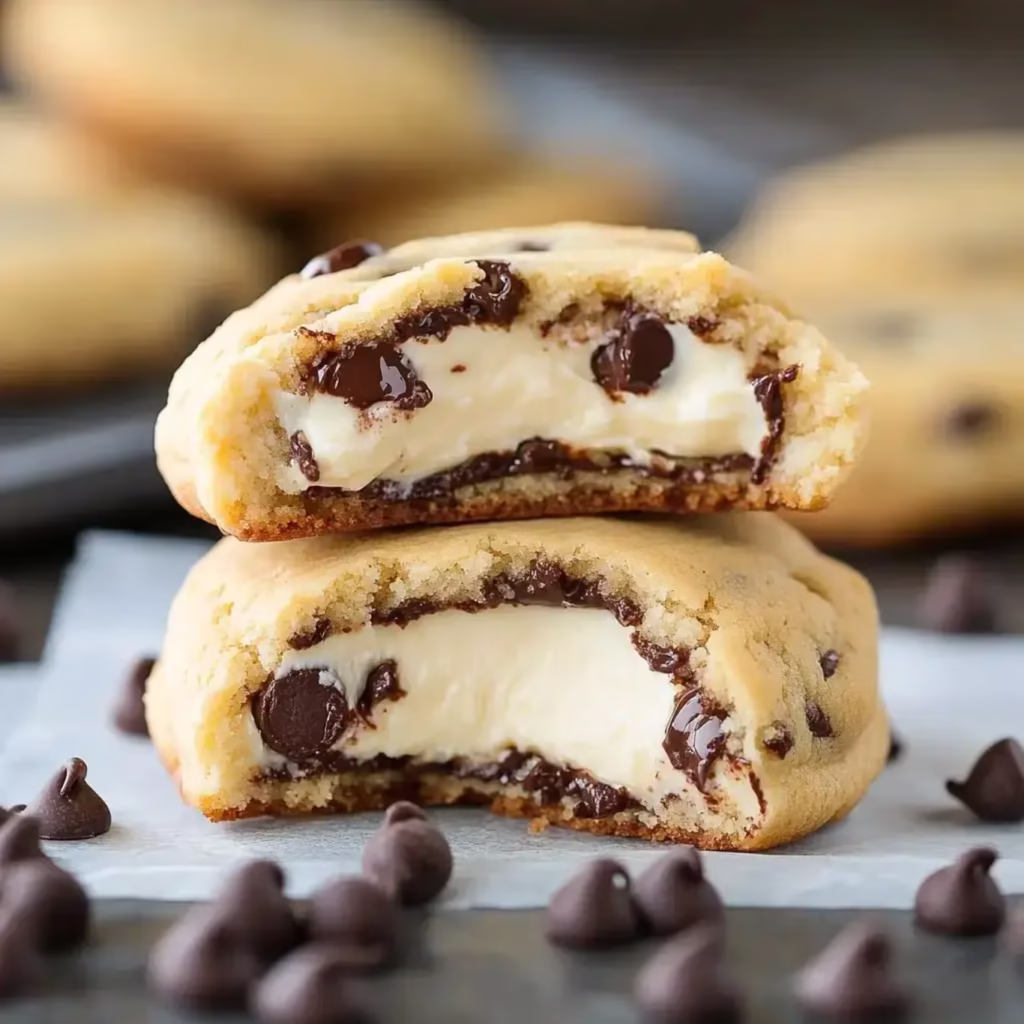
I spent months perfecting this recipe in my kitchen. The outer cookie has this incredible soft chew with hints of caramel from brown sugar while inside waits that luscious cream cheese filling. My family begs for these cookies and guests always ask for the recipe when I bring them to parties. The best part is they’re actually fun to make.
Your Shopping List
- Cream Cheese: Get the full fat brick style. Store brands work fine but make sure its not whipped.
- Powdered Sugar: Half cup makes the filling perfectly sweet.
- Butter: Three quarters cup unsalted left on the counter to soften.
- Brown Sugar: Half cup gives these cookies their caramel notes.
- Regular Sugar: Another half cup balances everything.
- Flour: Two and a quarter cups regular all purpose.
- Cornstarch: My secret weapon one tablespoon keeps them super soft.
- Egg: Just one large egg.
- Vanilla: One teaspoon pure vanilla extract.
- Chocolate Chips: One and a half cups of your favorite kind.
Lets Get Baking
- Start with the Filling
- Mix your cream cheese and powdered sugar until silky smooth. Drop spoonfuls onto wax paper and pop in the freezer until firm.
- Cookie Magic
- Beat your butter and sugars until light and fluffy. Add your egg and vanilla then mix in your dry ingredients and chocolate chips until you have a nice dough.
- Time to Stuff
- Roll dough into balls make a little pocket pop in the frozen filling and seal it up tight.
- Final Steps
- Give them another quick freeze then bake at 350°F for about 12 minutes until golden. Let them cool completely on the pan.
My Baking Secrets
Make sure that filling is frozen solid before you start stuffing cookies. If your dough gets too sticky just pop it in the fridge for a bit. I always freeze the stuffed cookies again before baking they hold their shape so much better that way.
Switch Things Up
Sometimes I stuff these with Nutella instead of cheesecake filling. My kids love when I add crushed Oreos to the dough. During holidays I add food coloring to the filling or mix in seasonal sprinkles. The possibilities are endless.
Keep Them Fresh
These cookies stay perfect on the counter in an airtight container for about 5 days. Pop them in the fridge and they last even longer up to 10 days. I often make big batches wrap them individually and freeze them for unexpected guests.
Ways to Serve
Nothing beats these cookies slightly warm with a cold glass of milk. They steal the show at bake sales and cookie swaps. I pack them in pretty boxes for holiday gifts and everyone always asks when I’ll make more.
Kitchen Tools You Need
My stand mixer makes quick work of both filling and dough but a hand mixer works too. Good baking sheets lined with parchment paper are essential. I love using my cookie scoop for even portions. A rubber spatula helps get every bit of filling mixed perfectly.
Frequently Asked Questions
- → Why freeze the cheesecake filling?
- Freezing the filling makes it easier to handle and ensures it stays intact when wrapped in cookie dough. It also helps prevent the filling from leaking during baking.
- → How should I store these cookies?
- Store in the refrigerator for up to 10 days in an airtight container, or at room temperature for up to 5 days. They can be enjoyed cold or at room temperature.
- → Why chill the dough before baking?
- Chilling prevents the cookies from spreading too much during baking and helps them maintain their shape around the filling. It’s crucial for proper structure.
- → Can I make the filling and dough ahead?
- Yes, both can be prepared ahead. Keep the filling frozen and the dough refrigerated until ready to assemble and bake.
- → Why use both regular and mini chocolate chips?
- The combination provides better chocolate distribution throughout the cookie. Mini chips fill smaller spaces, ensuring chocolate in every bite.

Easy Cheesecake Stuffed Chocolate Chip Cookie Recipe
Description
Soft and chewy chocolate chip cookies with a hidden cheesecake filling inside. A creative twist combining two classic desserts into one amazing treat.
Ingredients
8 oz (226 g) cream cheese, softened.
3/4 cup (95 g) powdered sugar.
1/2 teaspoon vanilla extract (for filling).
1 cup (226 g) unsalted butter, softened.
1 cup (200 g) brown sugar, firmly packed.
1/2 cup (100 g) sugar.
2 large eggs, room temperature.
1 teaspoon vanilla extract.
3 cups (380 g) all-purpose flour.
2 teaspoons cornstarch.
1 teaspoon baking soda.
1 teaspoon baking powder.
1/2 teaspoon salt.
1 cup (170 g) semisweet chocolate chips.
1/3 cup (60 g) mini chocolate chips.
Instructions
1- Mix cream cheese, powdered sugar, and vanilla until smooth. Freeze in tablespoon-sized portions.
2- Beat butter with sugars until creamy. Add eggs and vanilla. Mix in dry ingredients, then chocolate chips.
3- Make dough balls with crater, insert frozen filling, wrap dough around filling ensuring no cracks.
4- Freeze filled cookie dough balls for 15 minutes while preheating oven to 375°F.
5- Place cookies 2.5″ apart on lined baking sheet, bake 12-13 minutes until edges golden.