This post may contain affiliate links. If you make a purchase through links on our site, we may earn a commission.
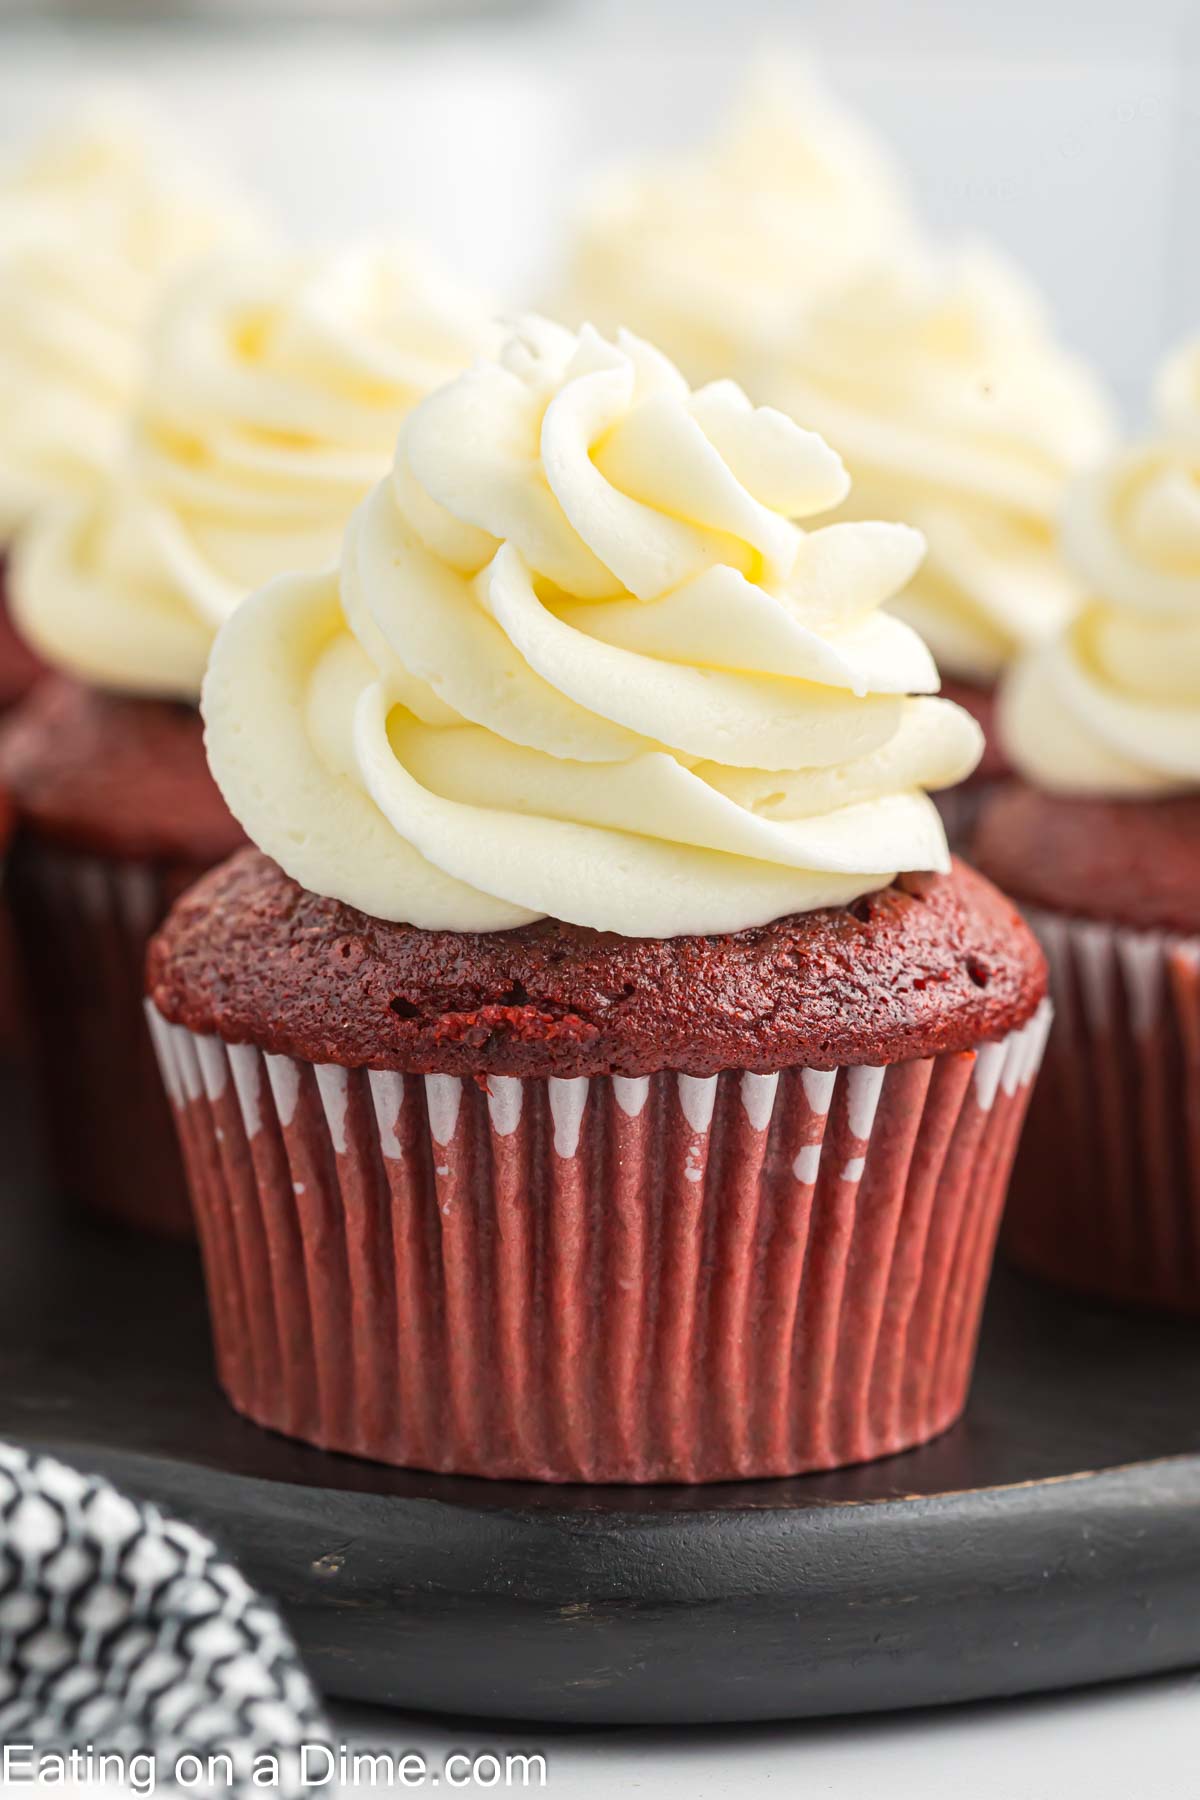
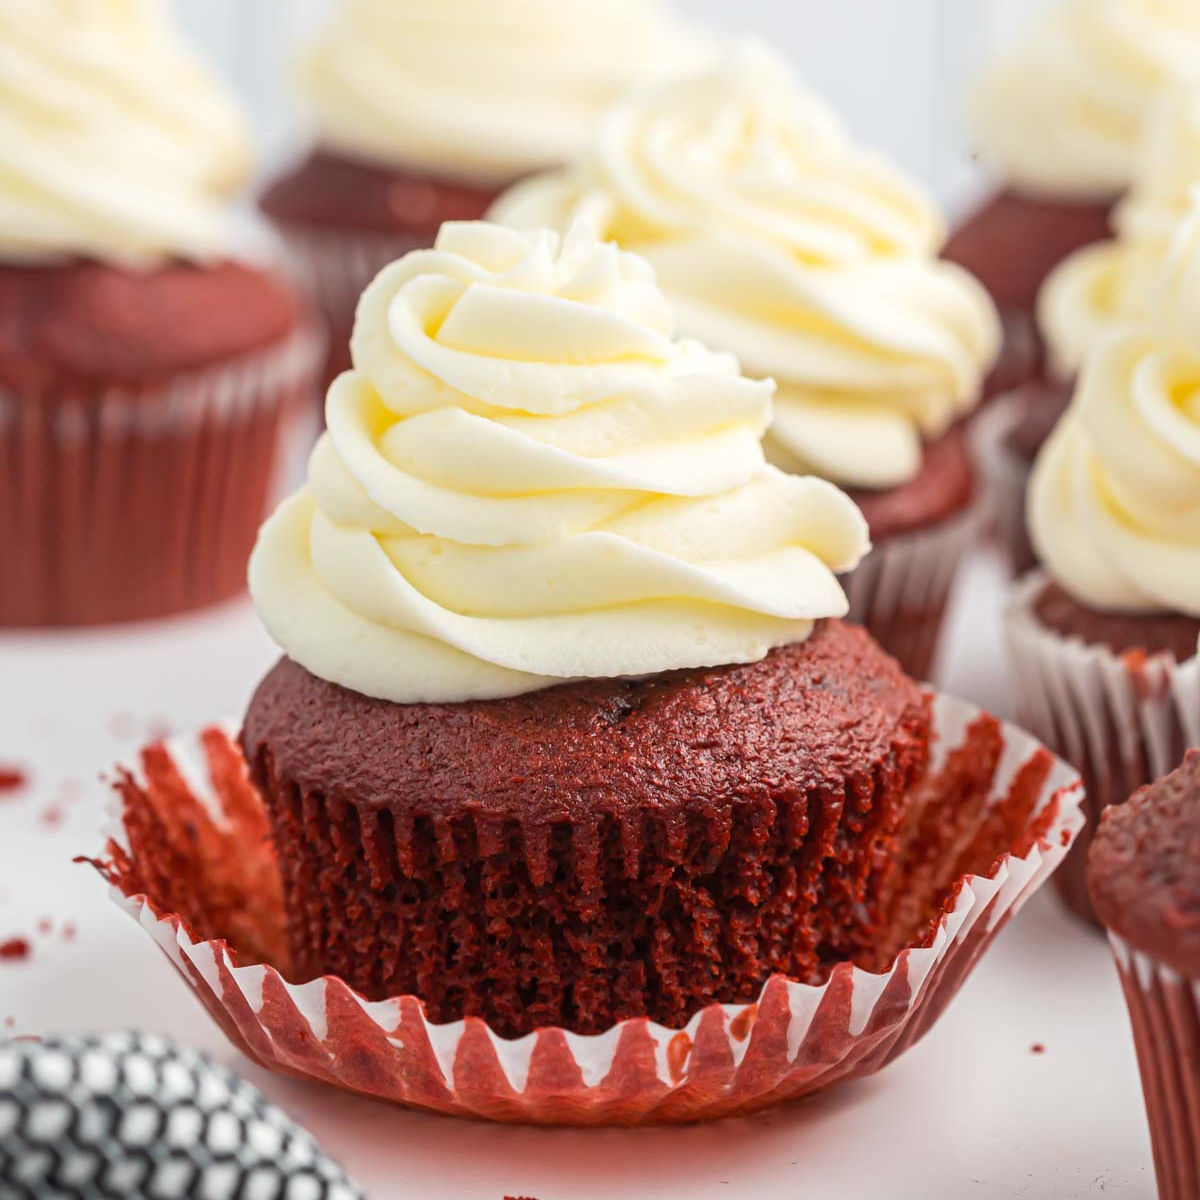
We have The Best Red Velvet Cupcake Recipe and it is super easy. It is so moist, delicious and everyone loves these cupcakes.
If you like red velvet cake, you are going to love this easy cupcake recipe. This is one of our favorite dessert recipes because of taste, texture and how easy they are to make. If you love red velvet, try our Easy Red Velvet Cookies Recipe, Red Velvet Ice Cream, Red Velvet Cookies and Red Velvet Waffles.
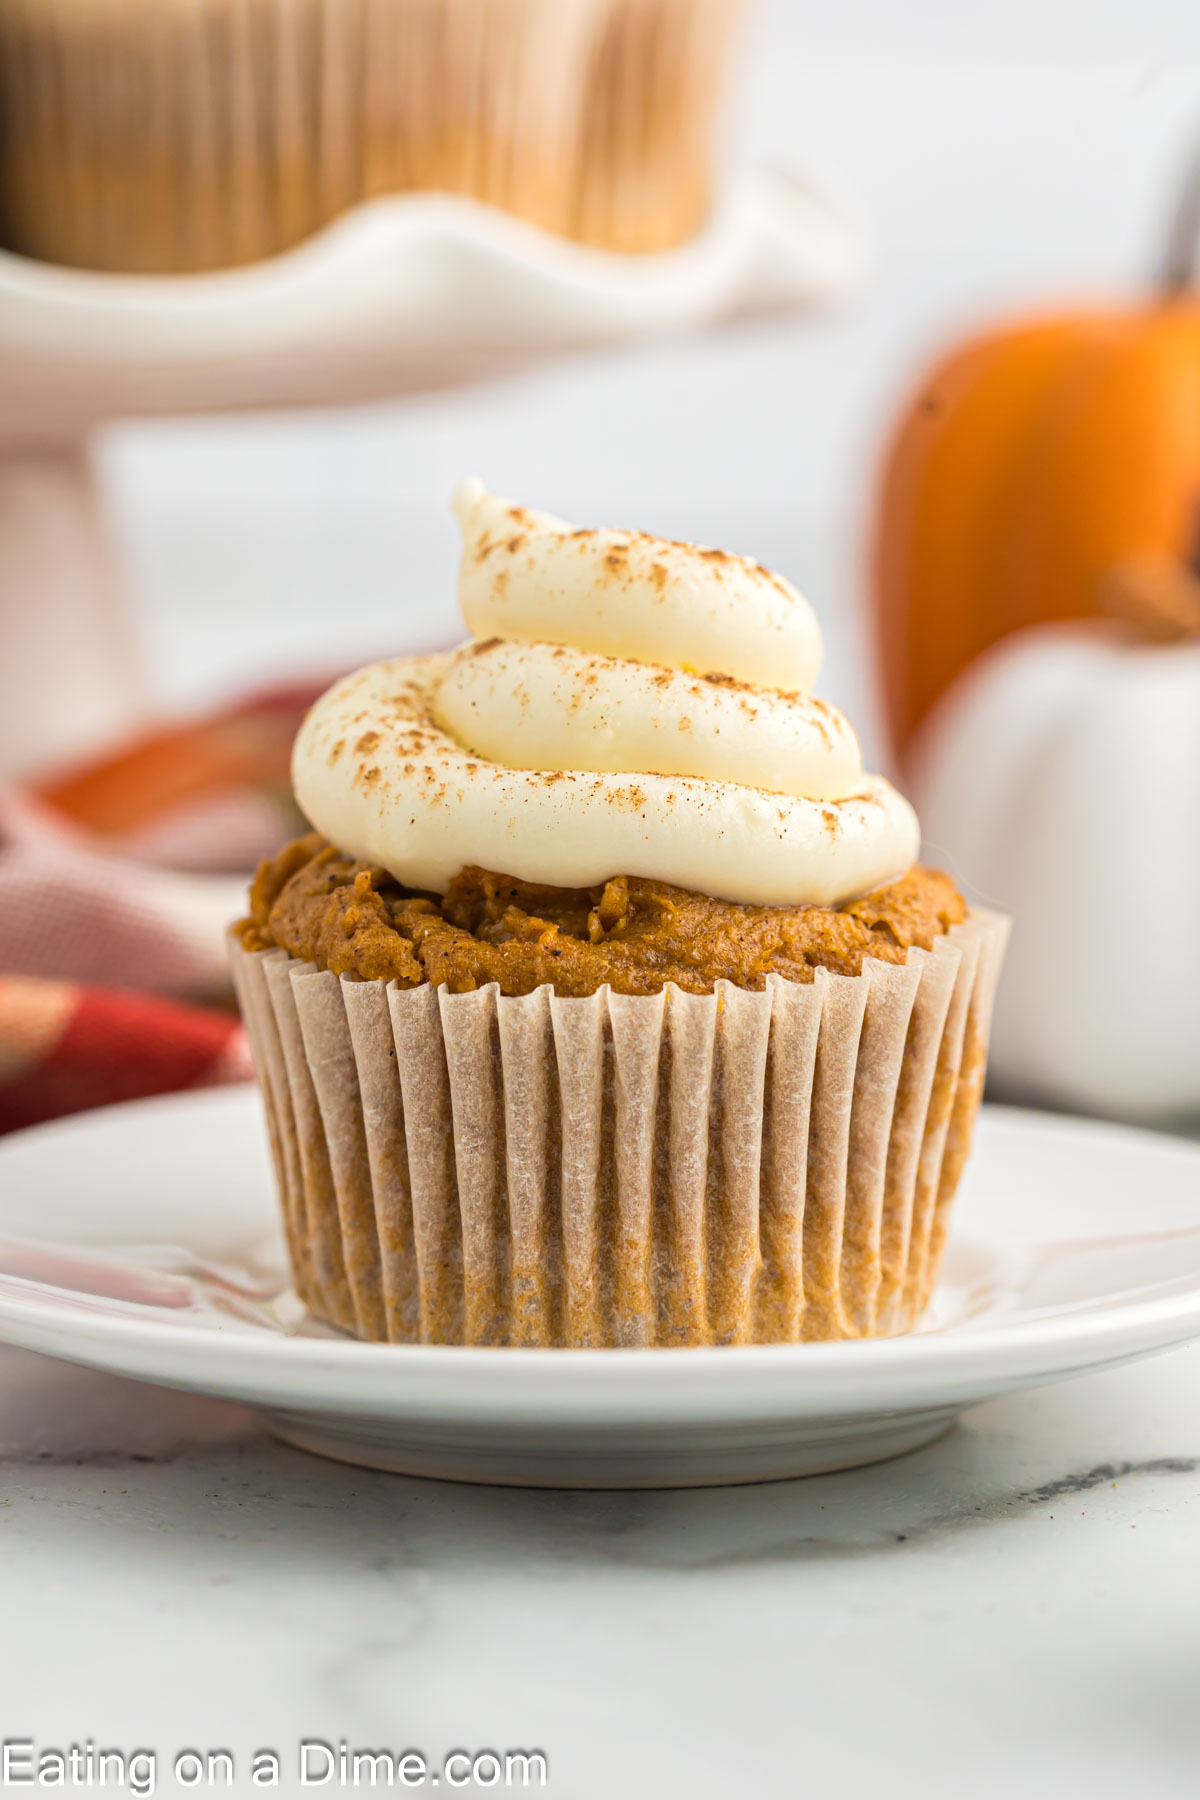
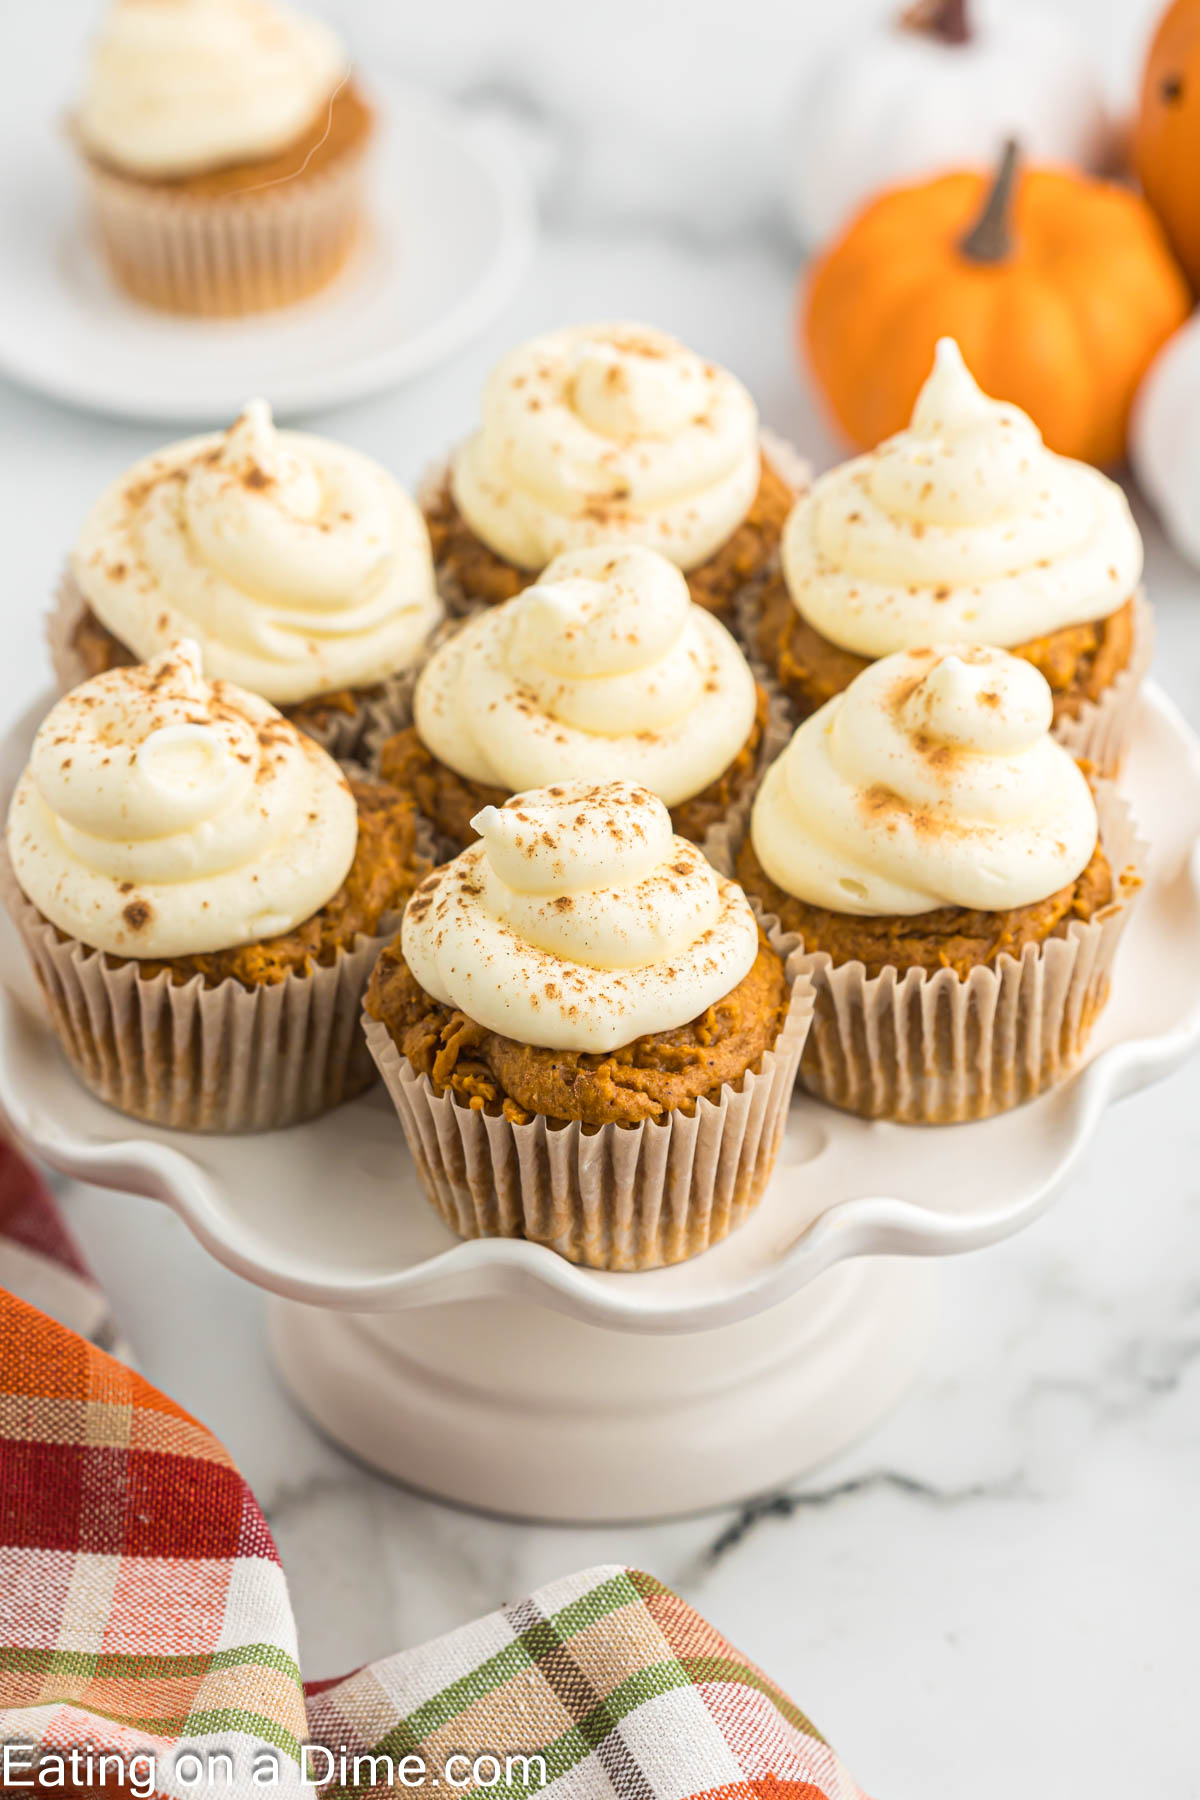
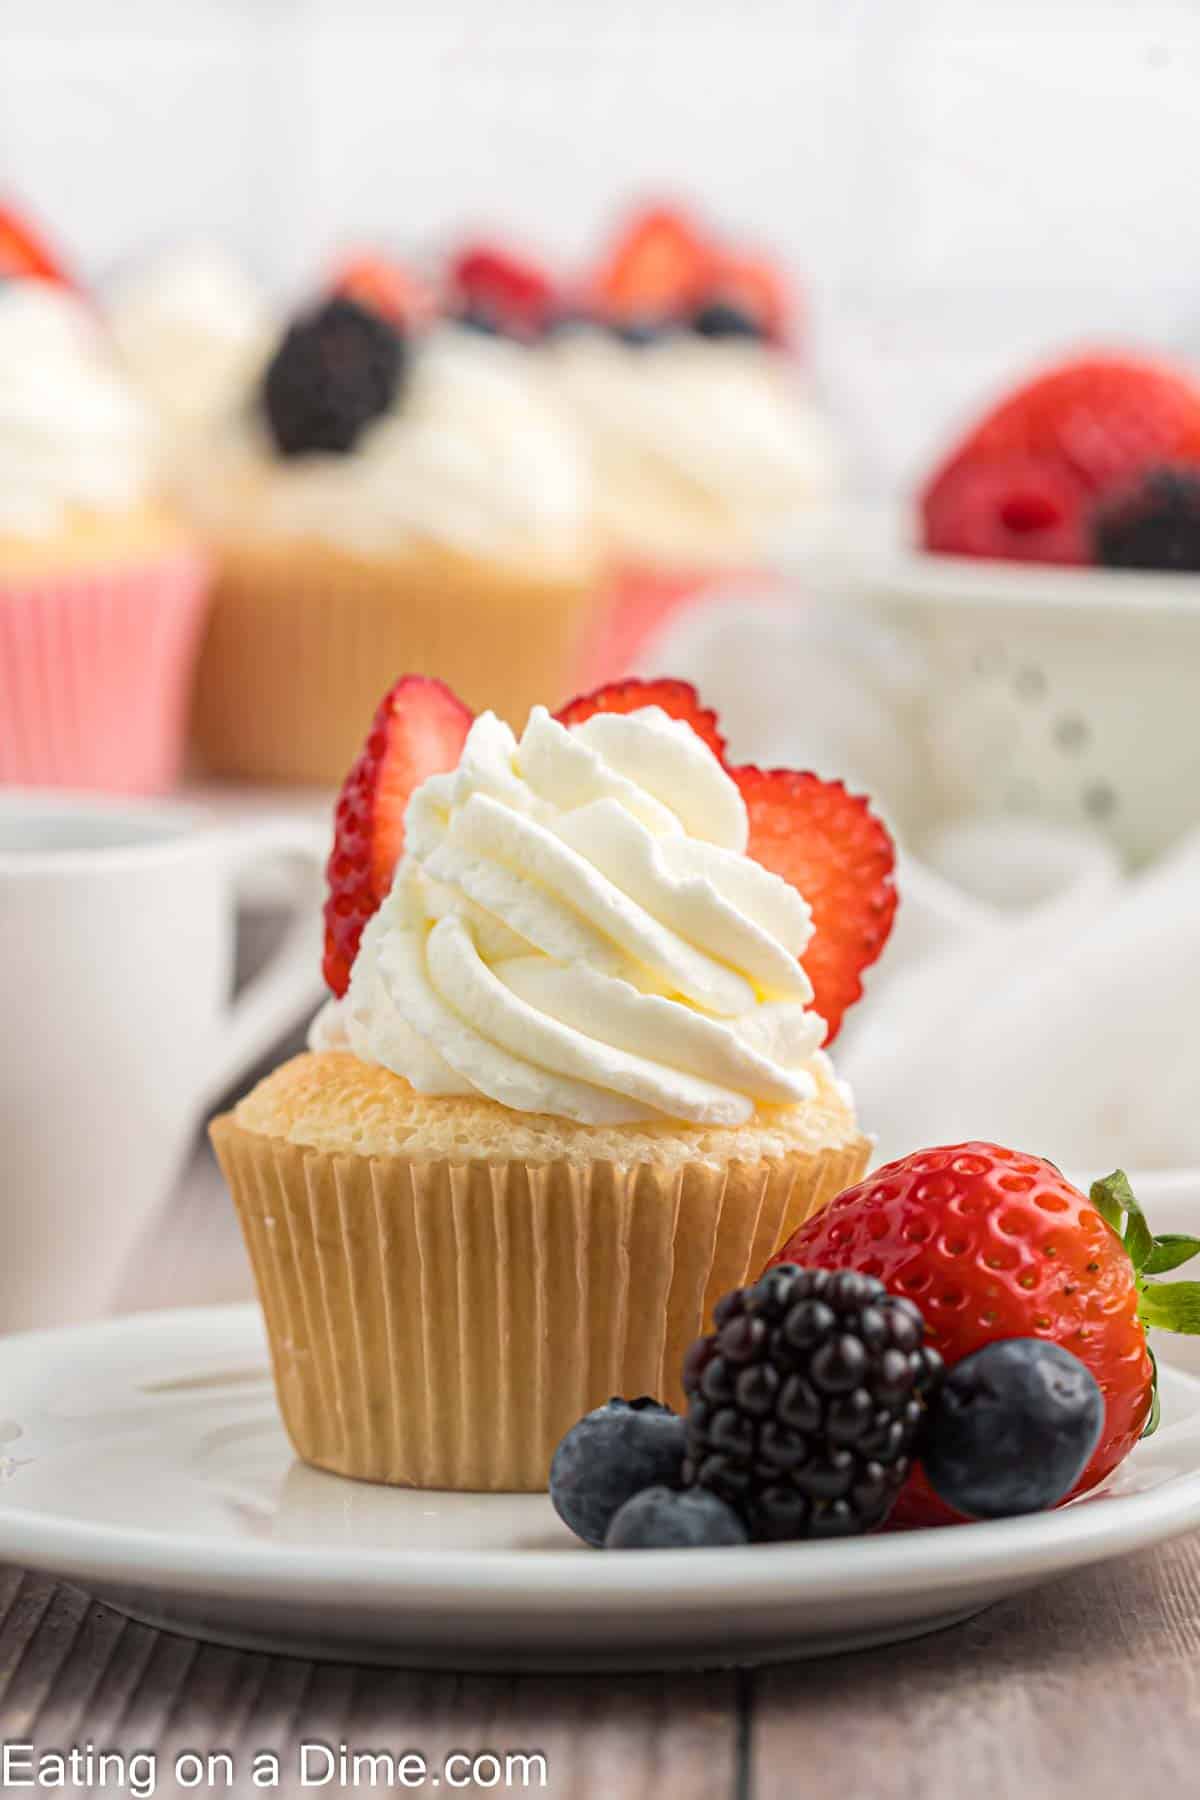
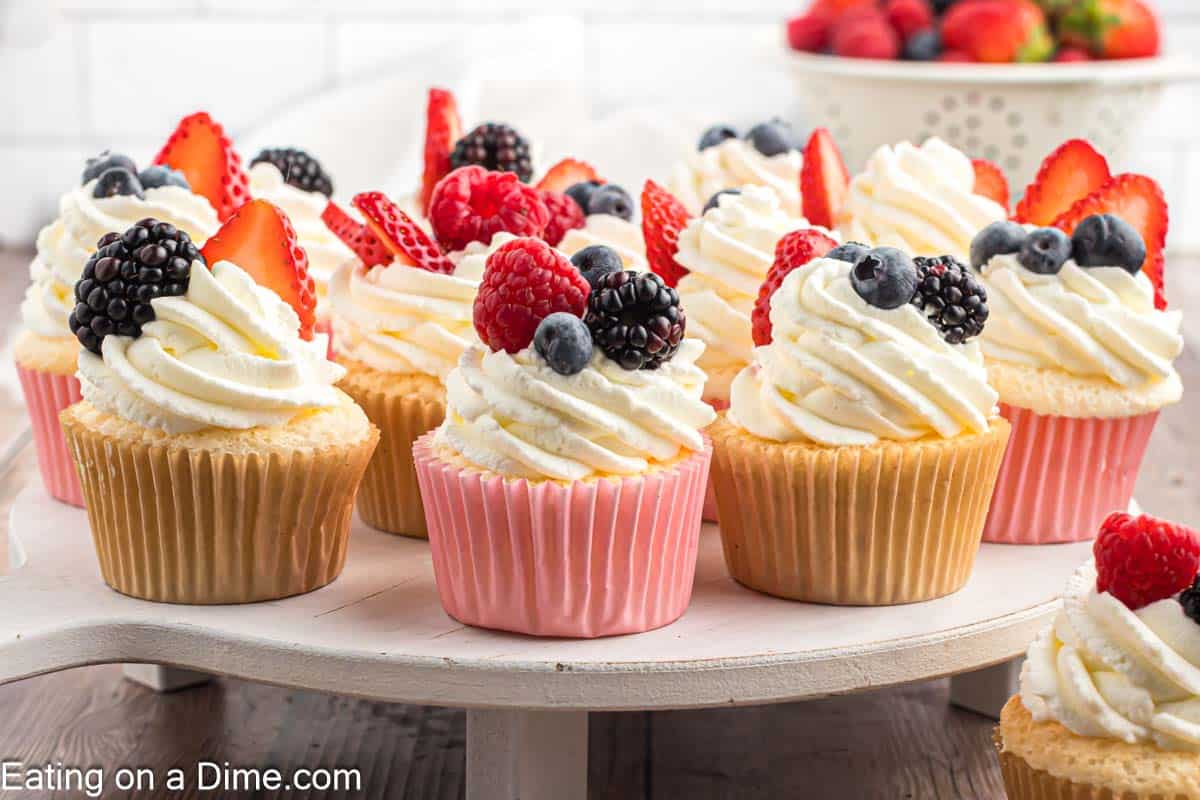
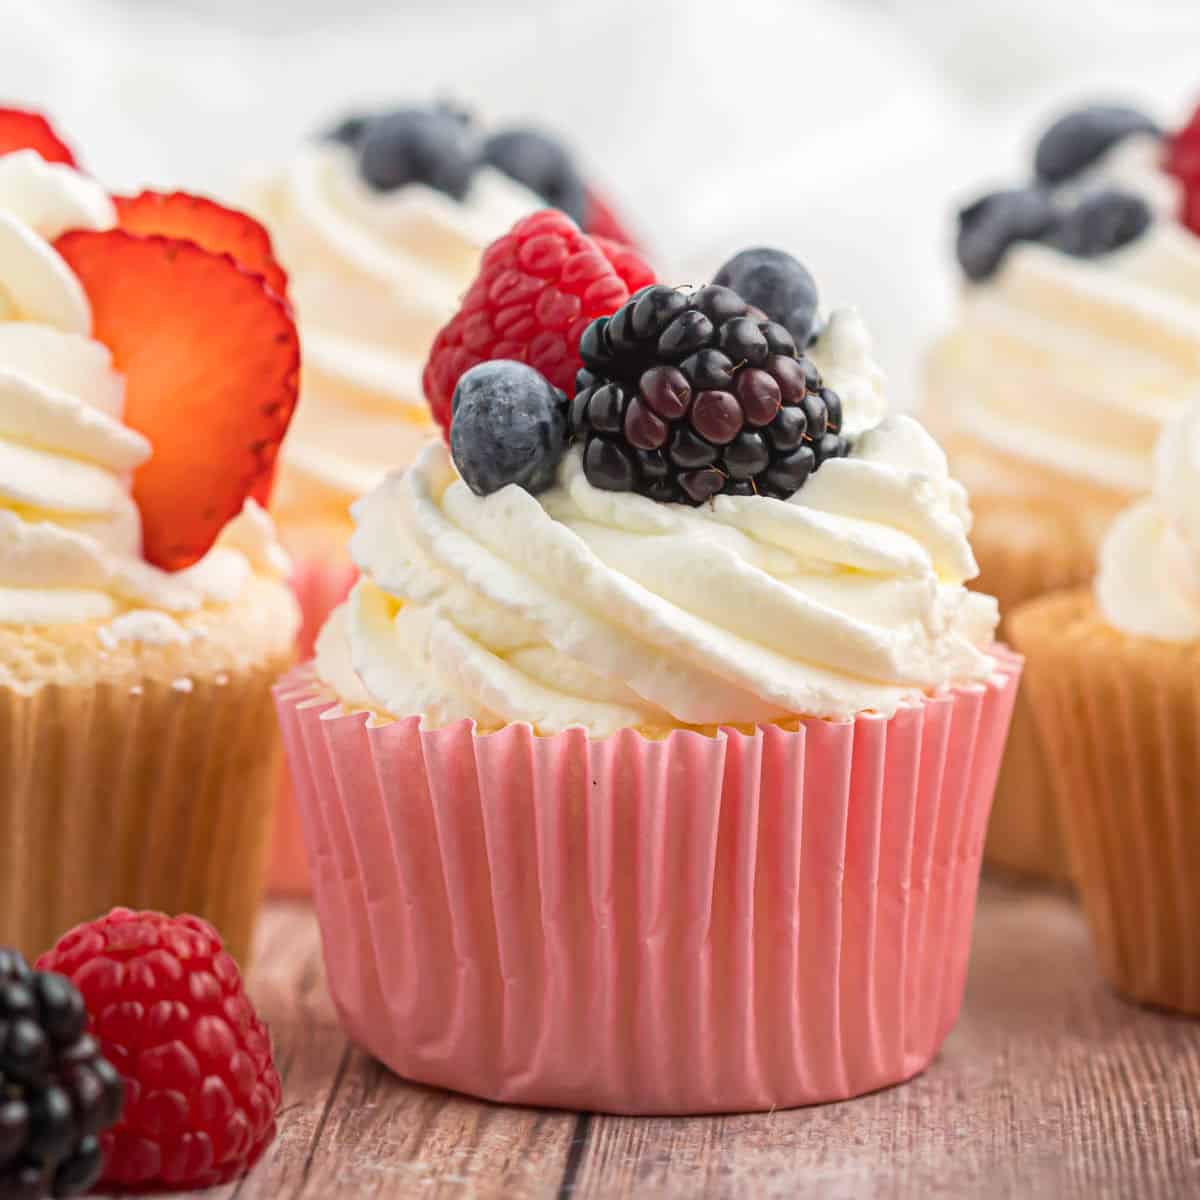
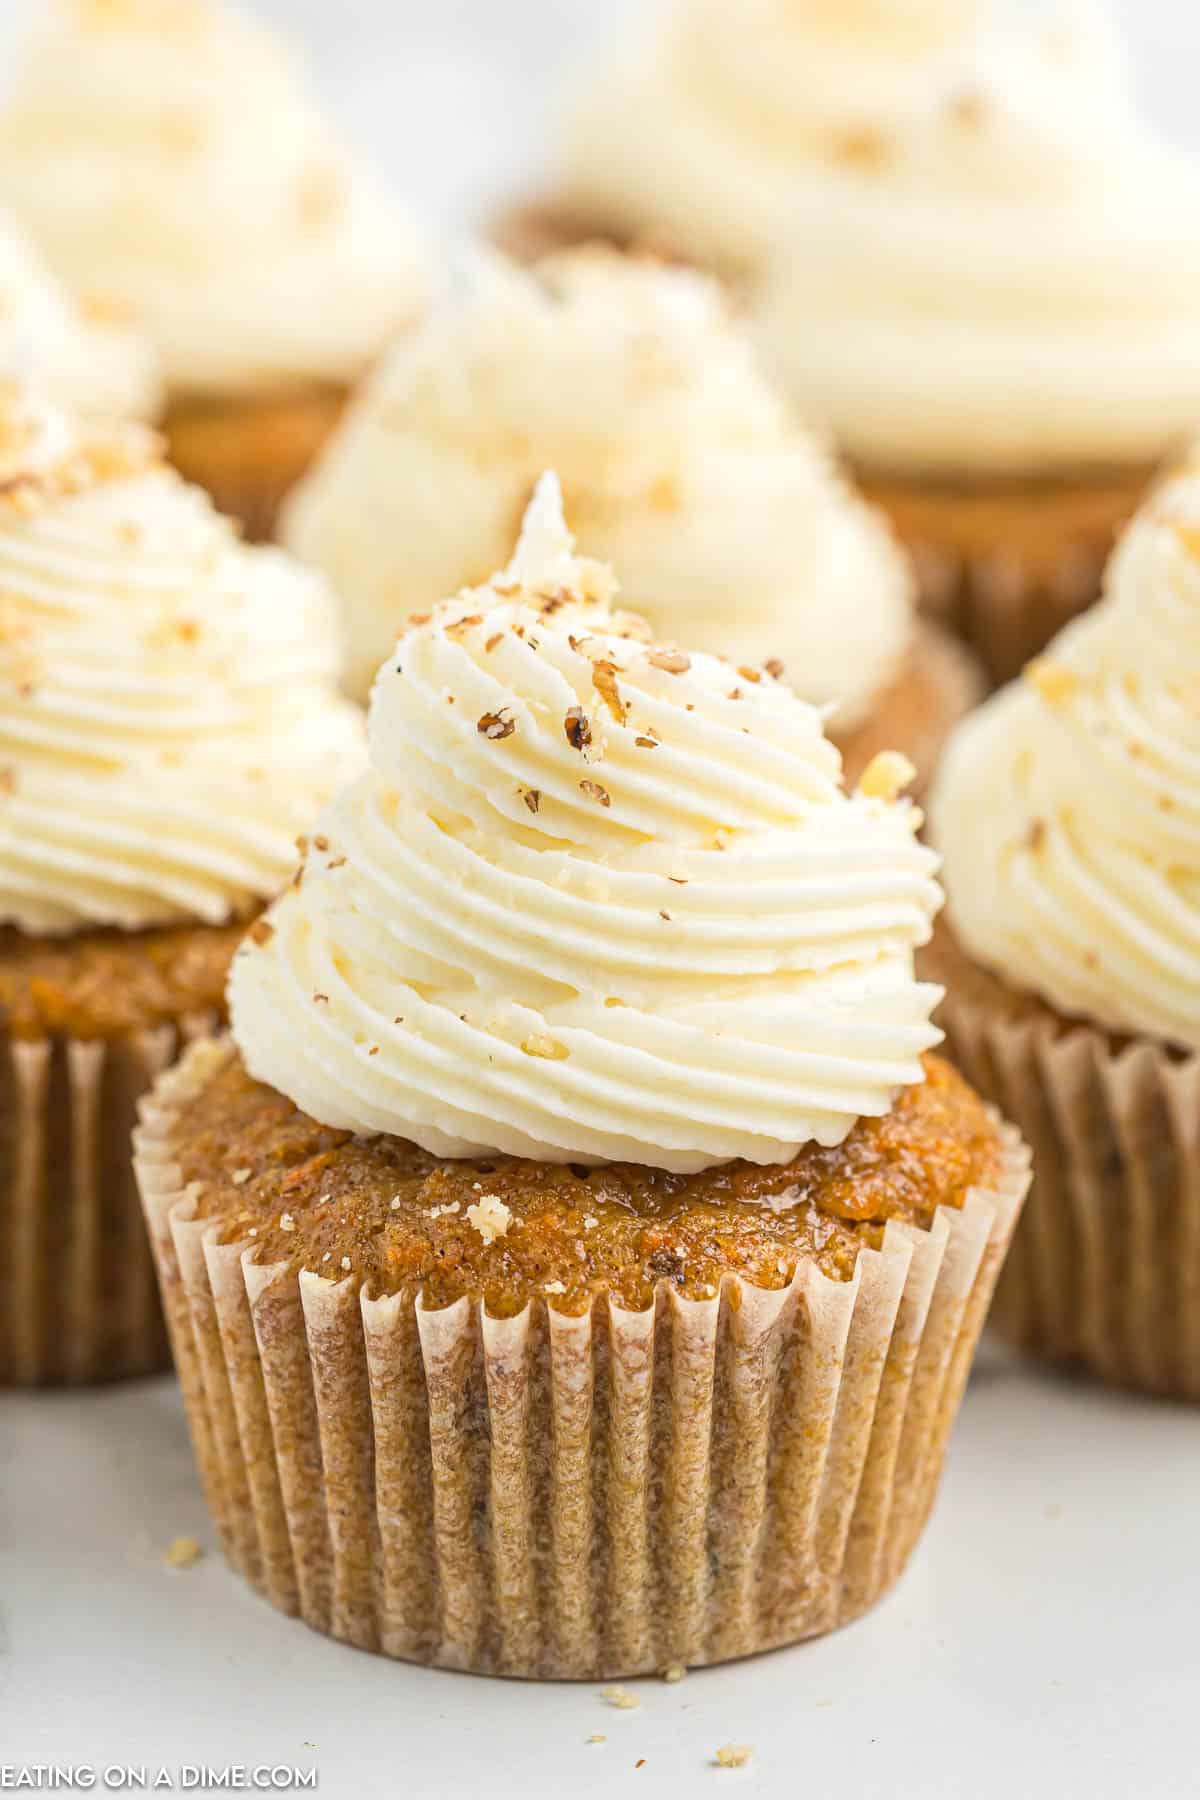
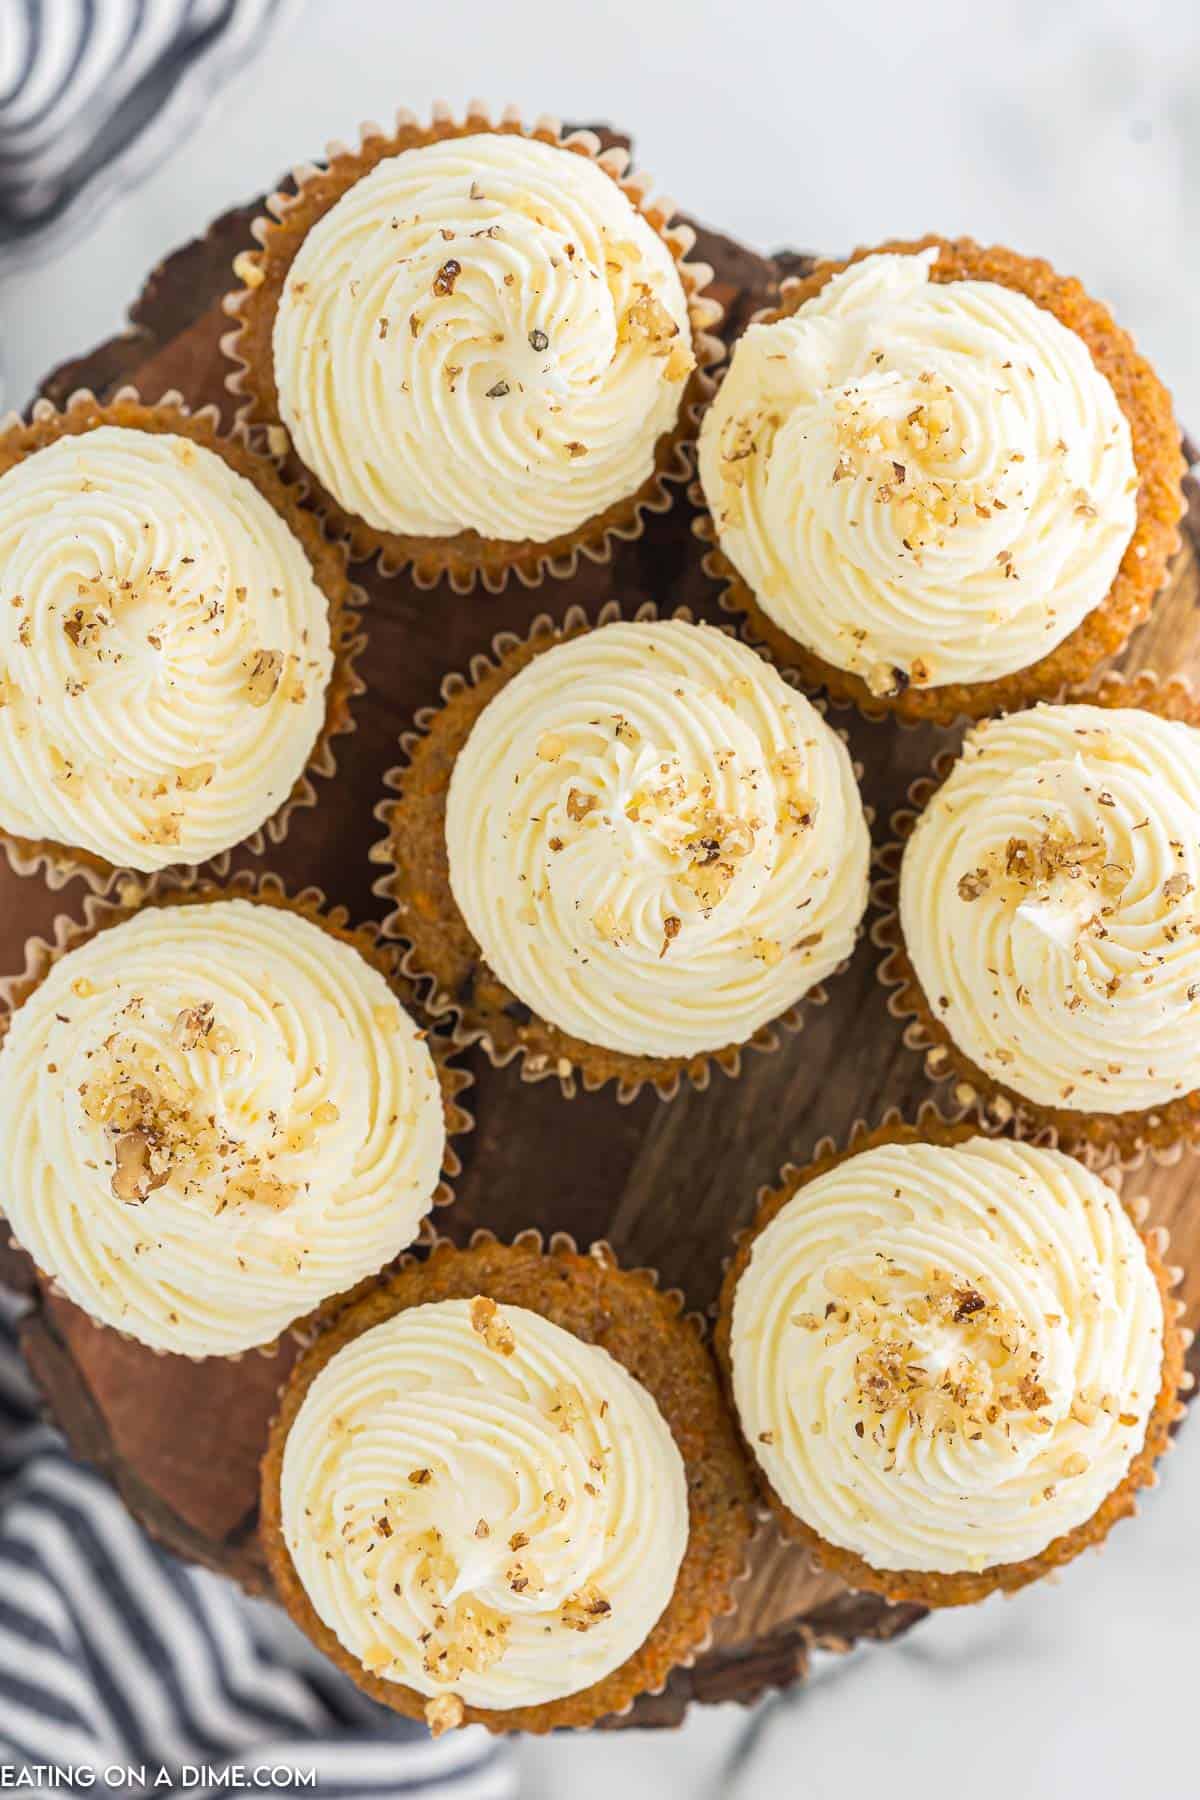
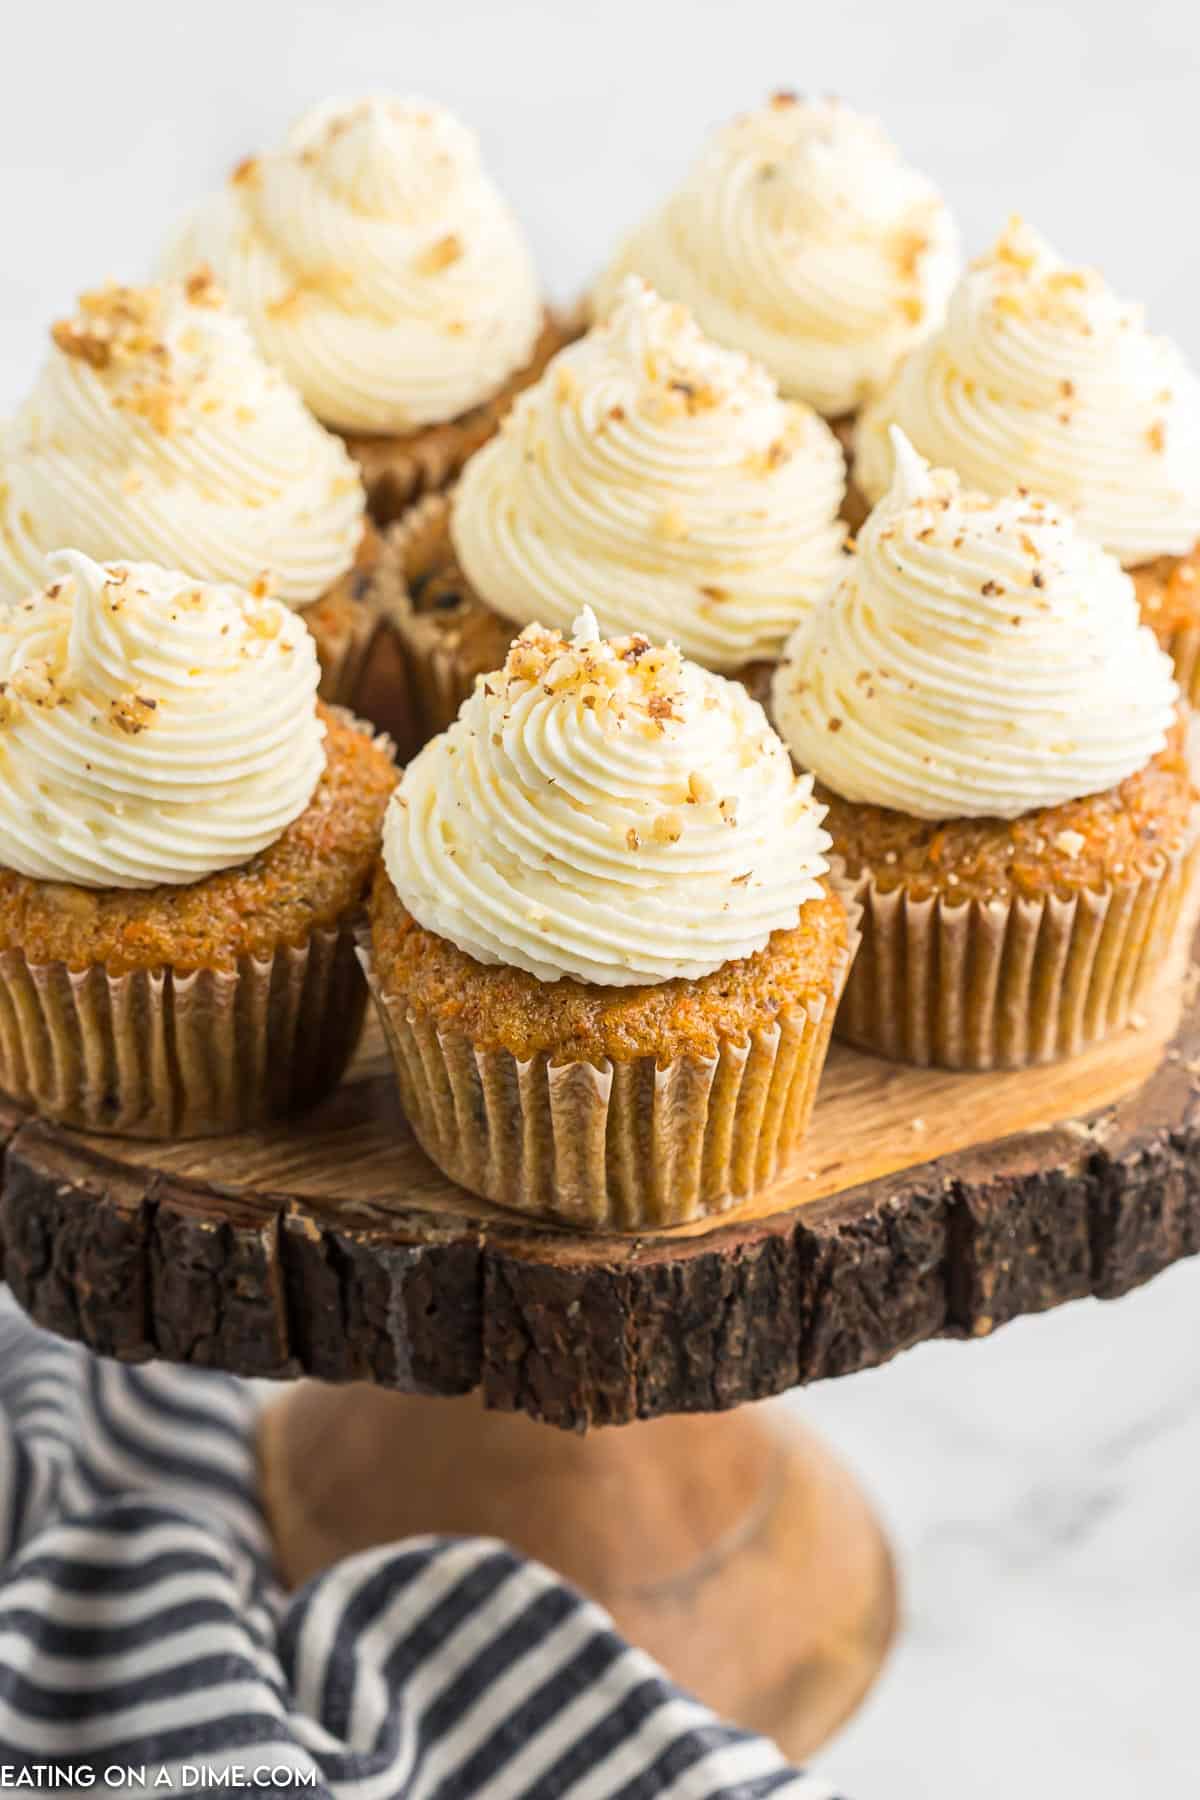
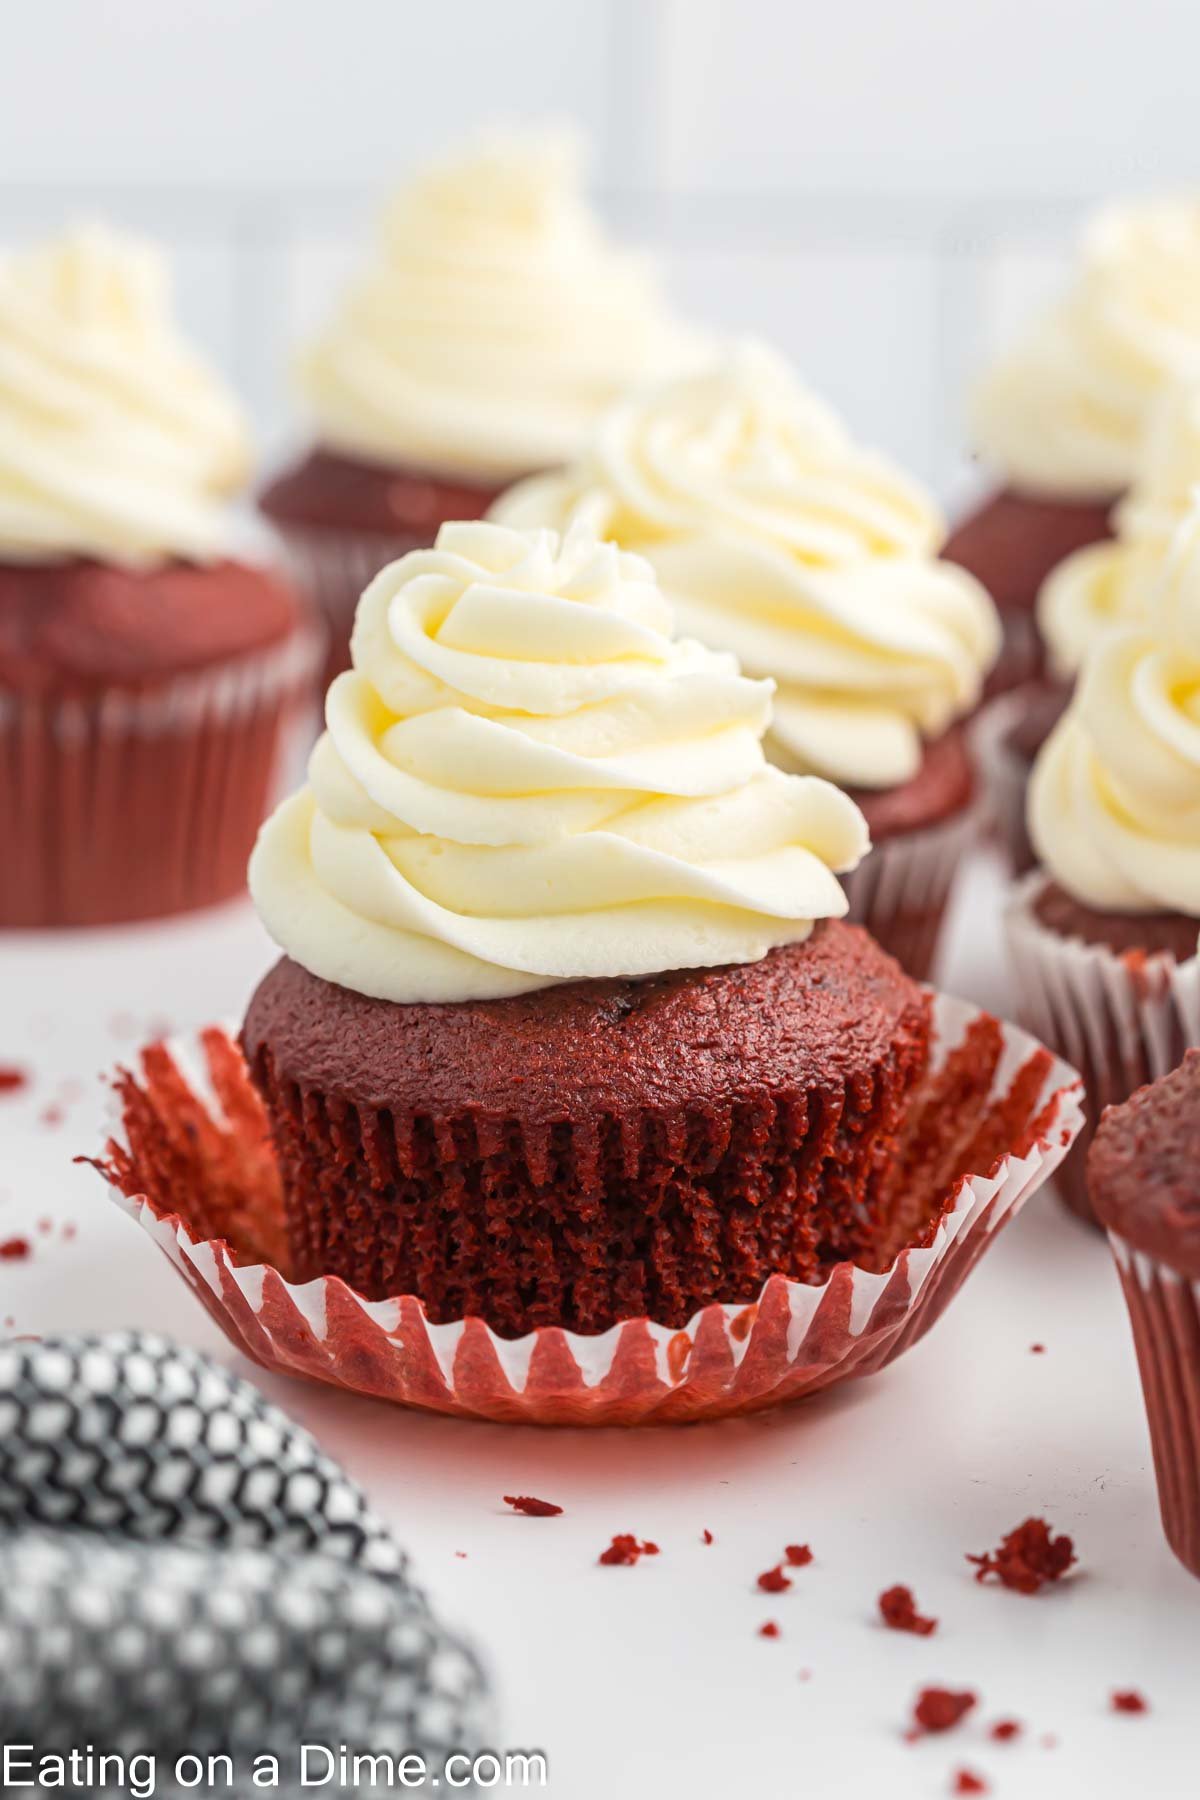
Red velvet cake is so good, so having your own personalized velvet cakes (in the form of cupcakes) has to be better, right? Not only do these red velvet cupcakes taste good, but don’t they look beautiful, too? The perfect cupcake recipe for any occasion.
We love to make for Valentine’s Day. If you need more ideas, check out all of our favorite Easy Valentine’s Day Recipes. This cupcake also makes a delicious Memorial Day Desserts.
Why We Love This Recipe:
Red velvet cupcakes are my kids favorite dessert. The subtle chocolate flavor and the cream cheese frosting makes this the best red velvet cake recipe.
If you are a baker, you probably already have the majority of these ingredients. These cupcakes are a staple dessert recipe for our holiday gatherings and always a family favorite.
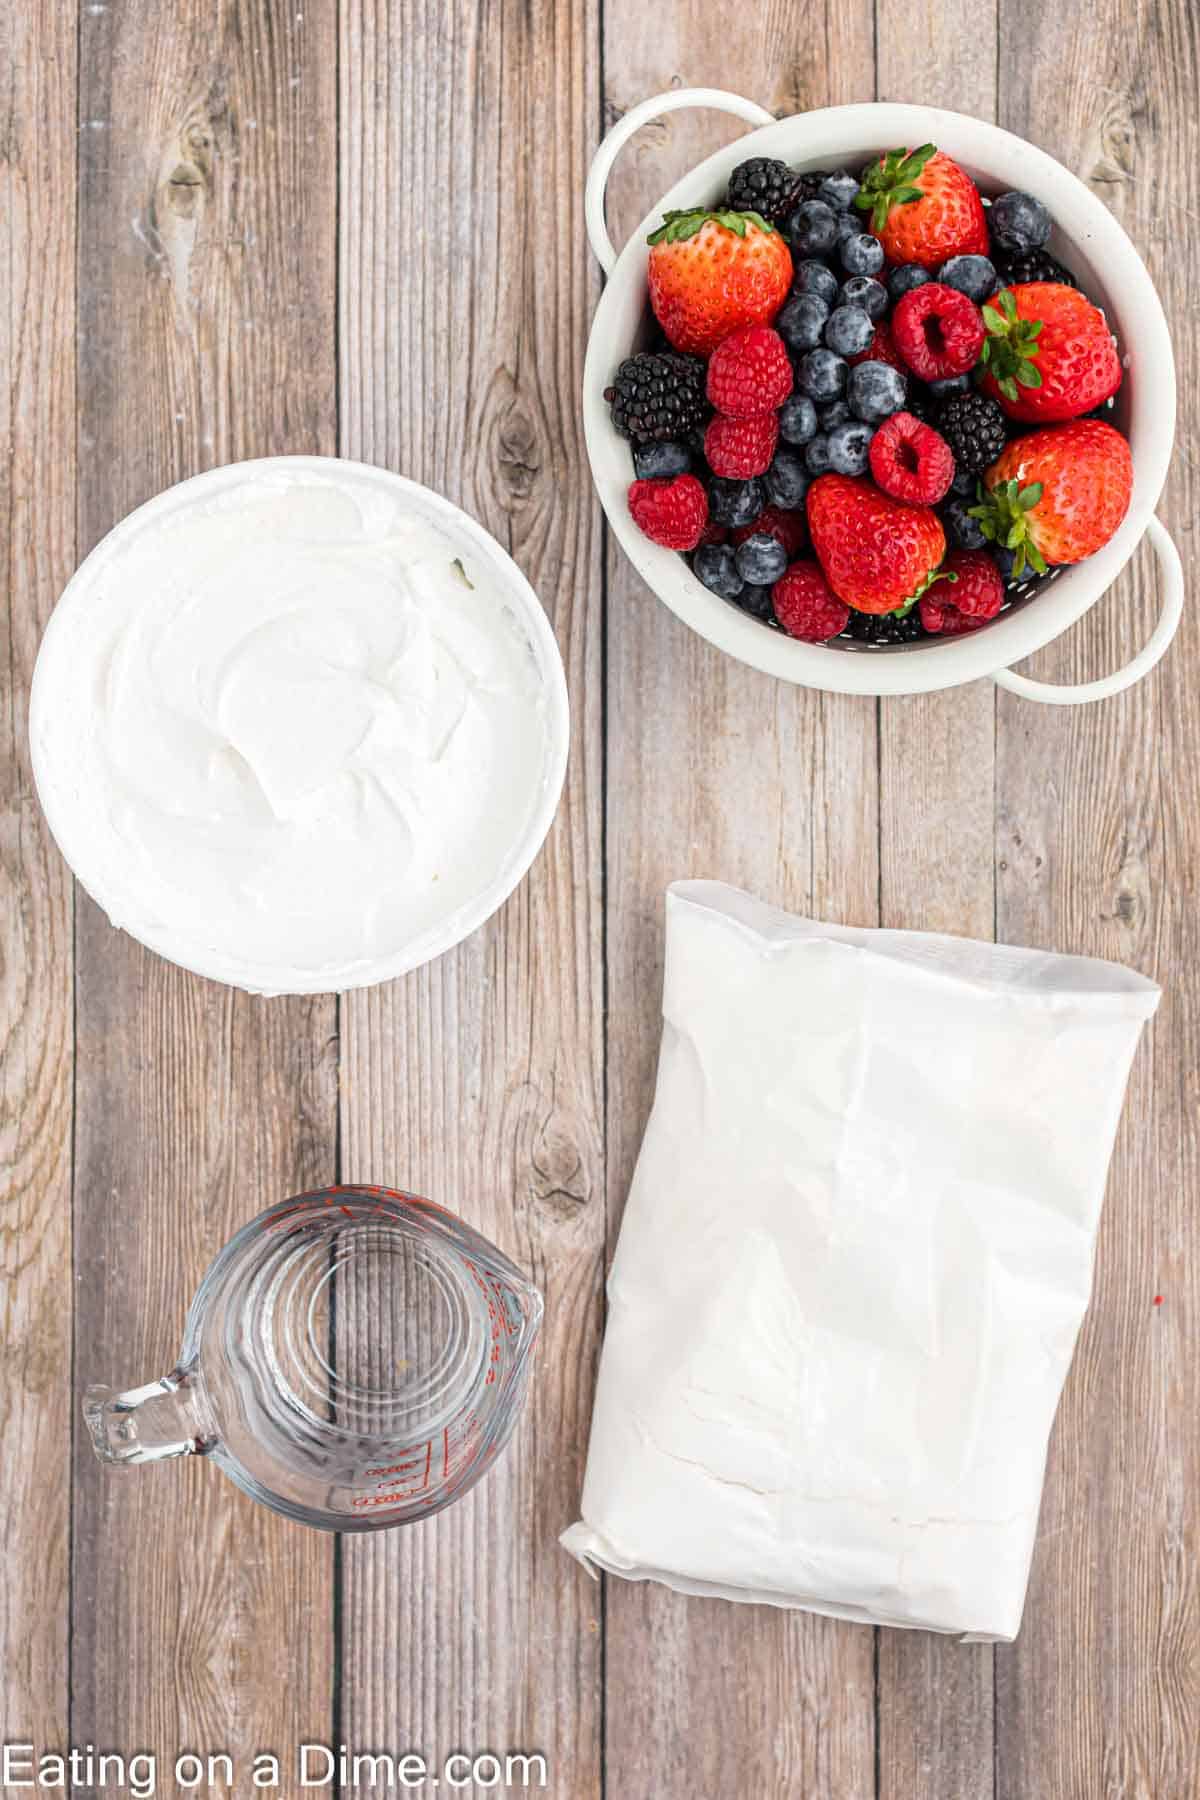
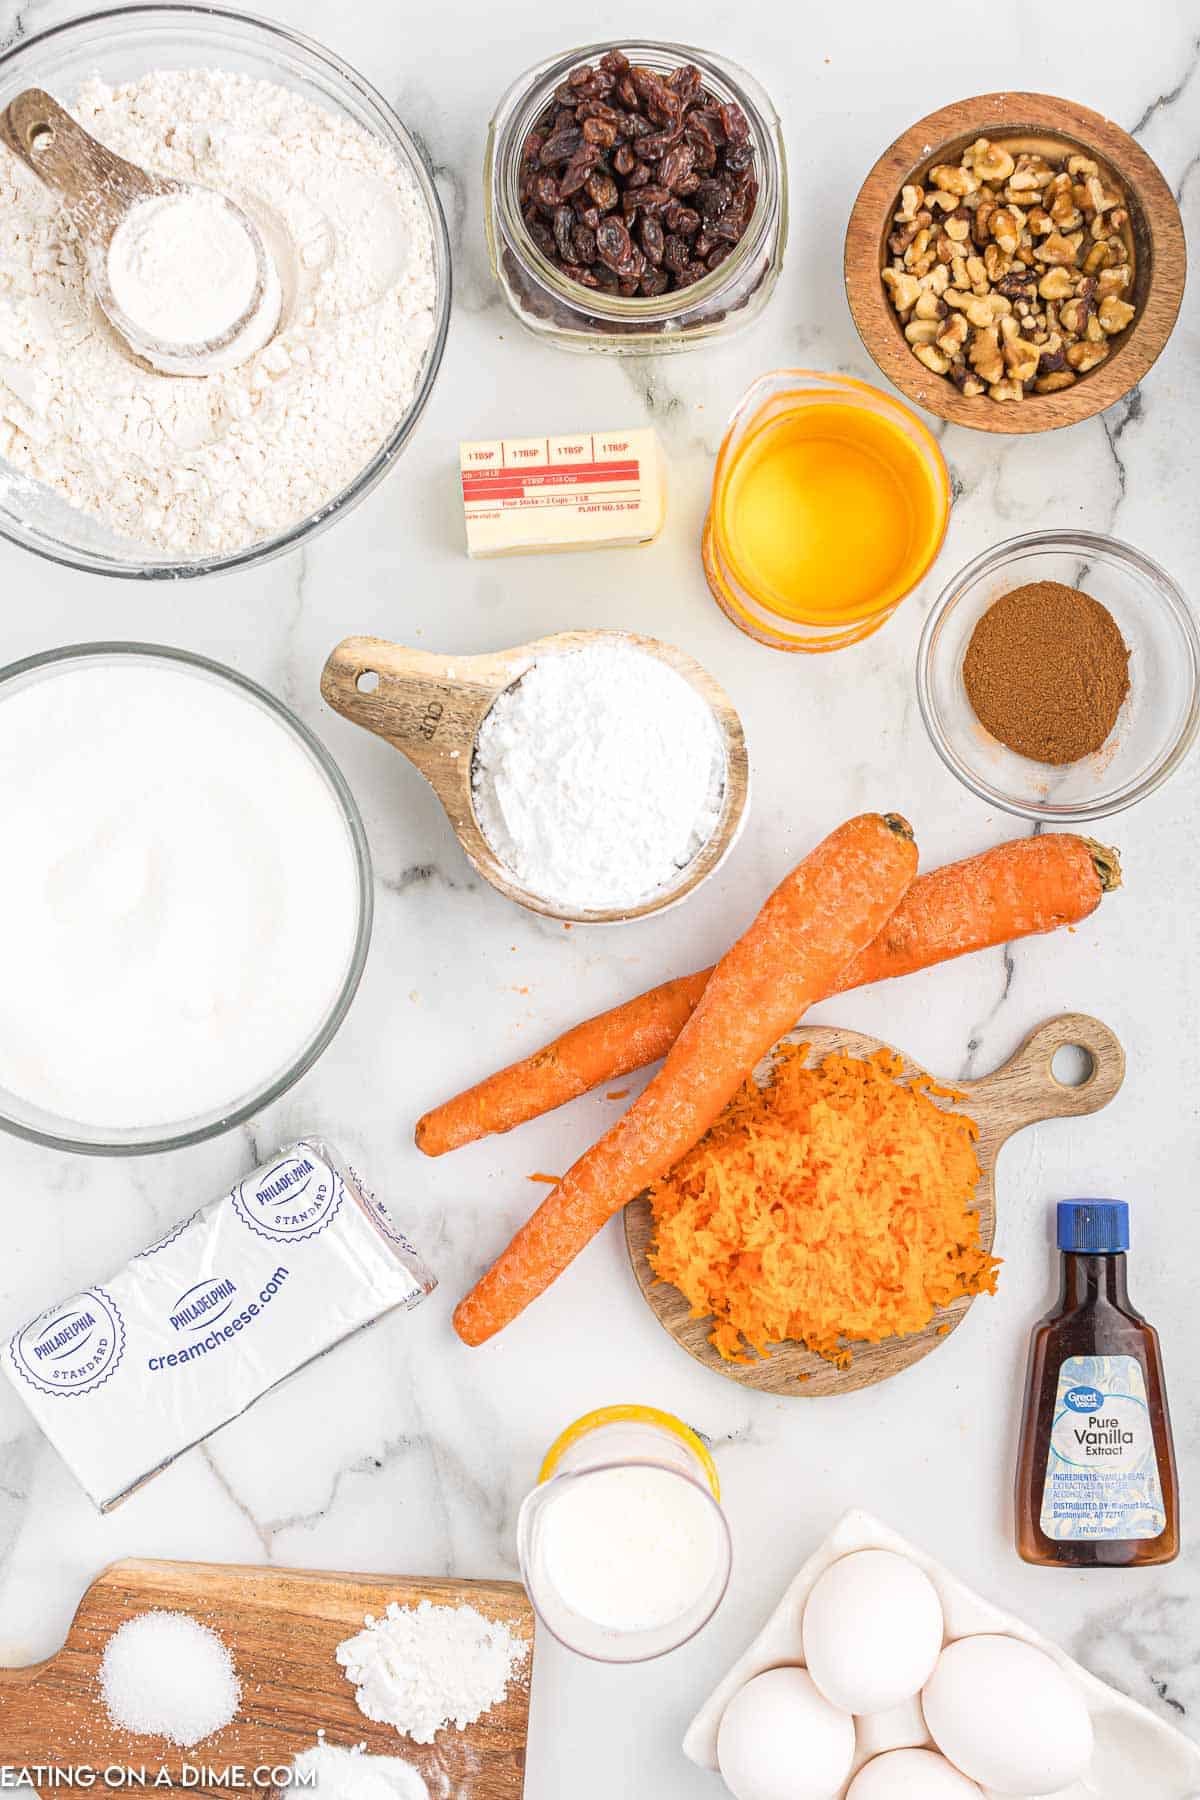
Ingredients:
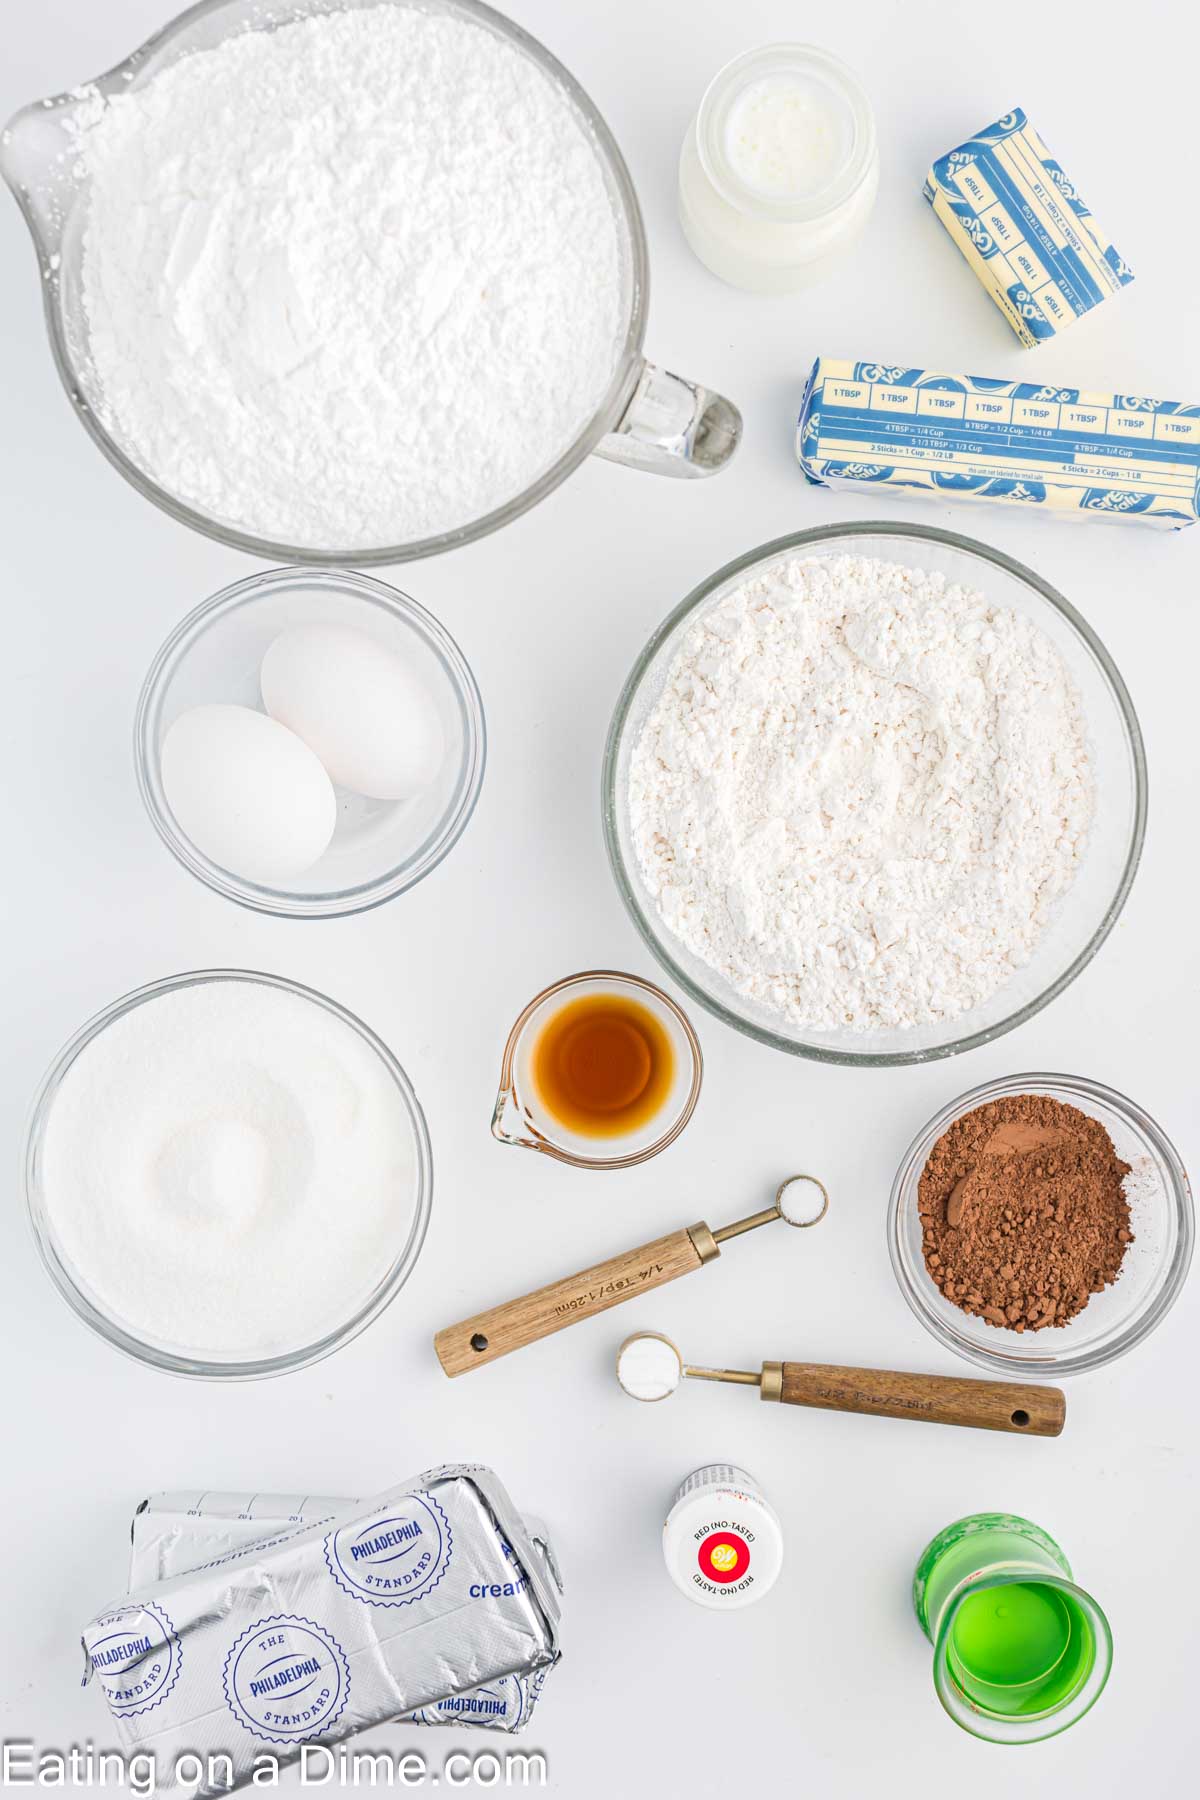
For the Cupcakes:
- Cake Flour (You can find an great recipe here to make cake flour. )
- Cocoa Powder
- Baking soda
- Salt
- Butter Softened at room temperature
- Sugar
- Vegetable Oil
- Eggs
- Vanilla Extract
- Food Coloring
- Buttermilk
For the Cream Cheese Frosting:
- Full-Fat Cream Cheese
- Unsalted Butter
- Powdered Sugar
- Vanilla Extract
For the full recipe and ingredients, scroll to the bottom to see the recipe card.
Variations Ideas:
- All Purpose Flour – We used cake flour for this recipe, but if you prefer you can also use regular flour.
- Cake Pan – We love cupcakes, but you can also make this recipe in 2 9-inch round cake pans or a bundt cake.
Step by Step Instructions:
- Step 1 – Preheat the oven to 350 degrees F. Line 16 muffin tins with cupcake paper liners.
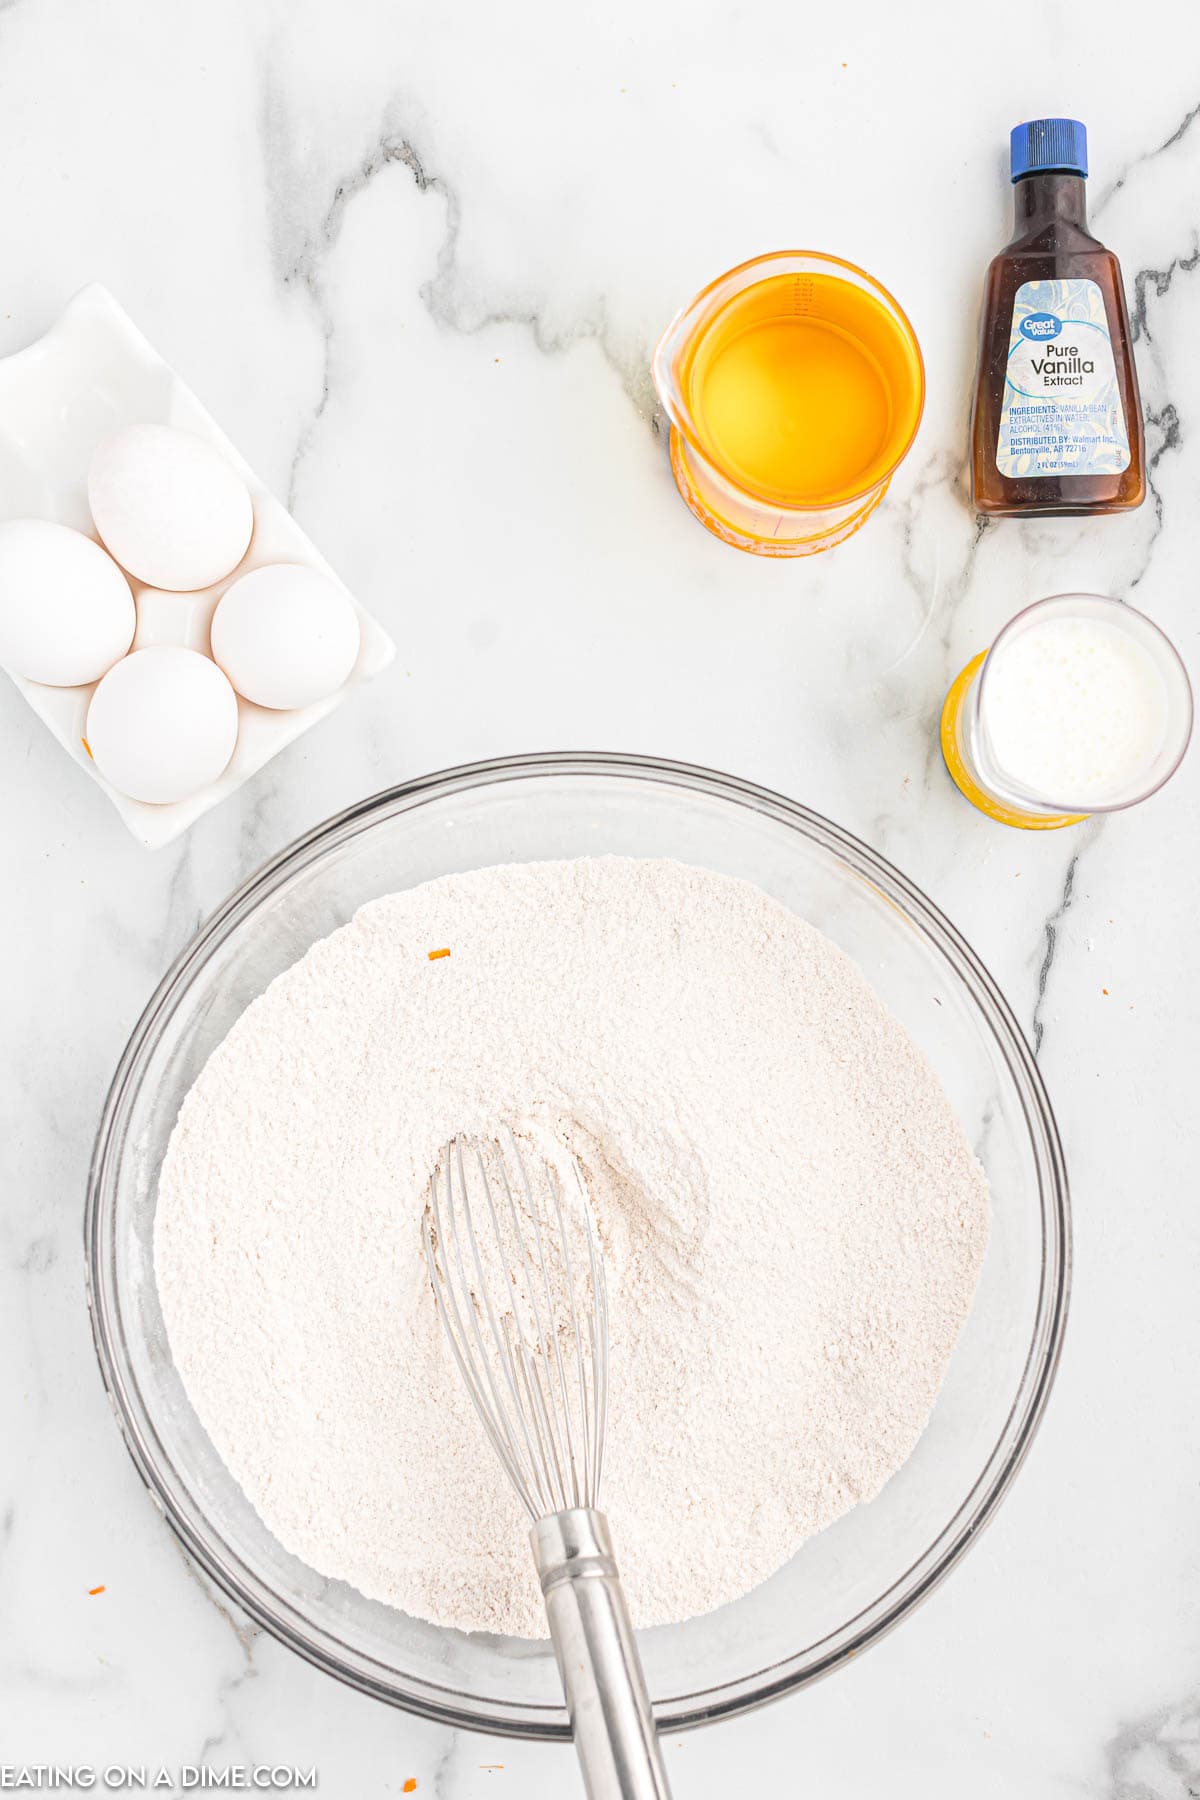
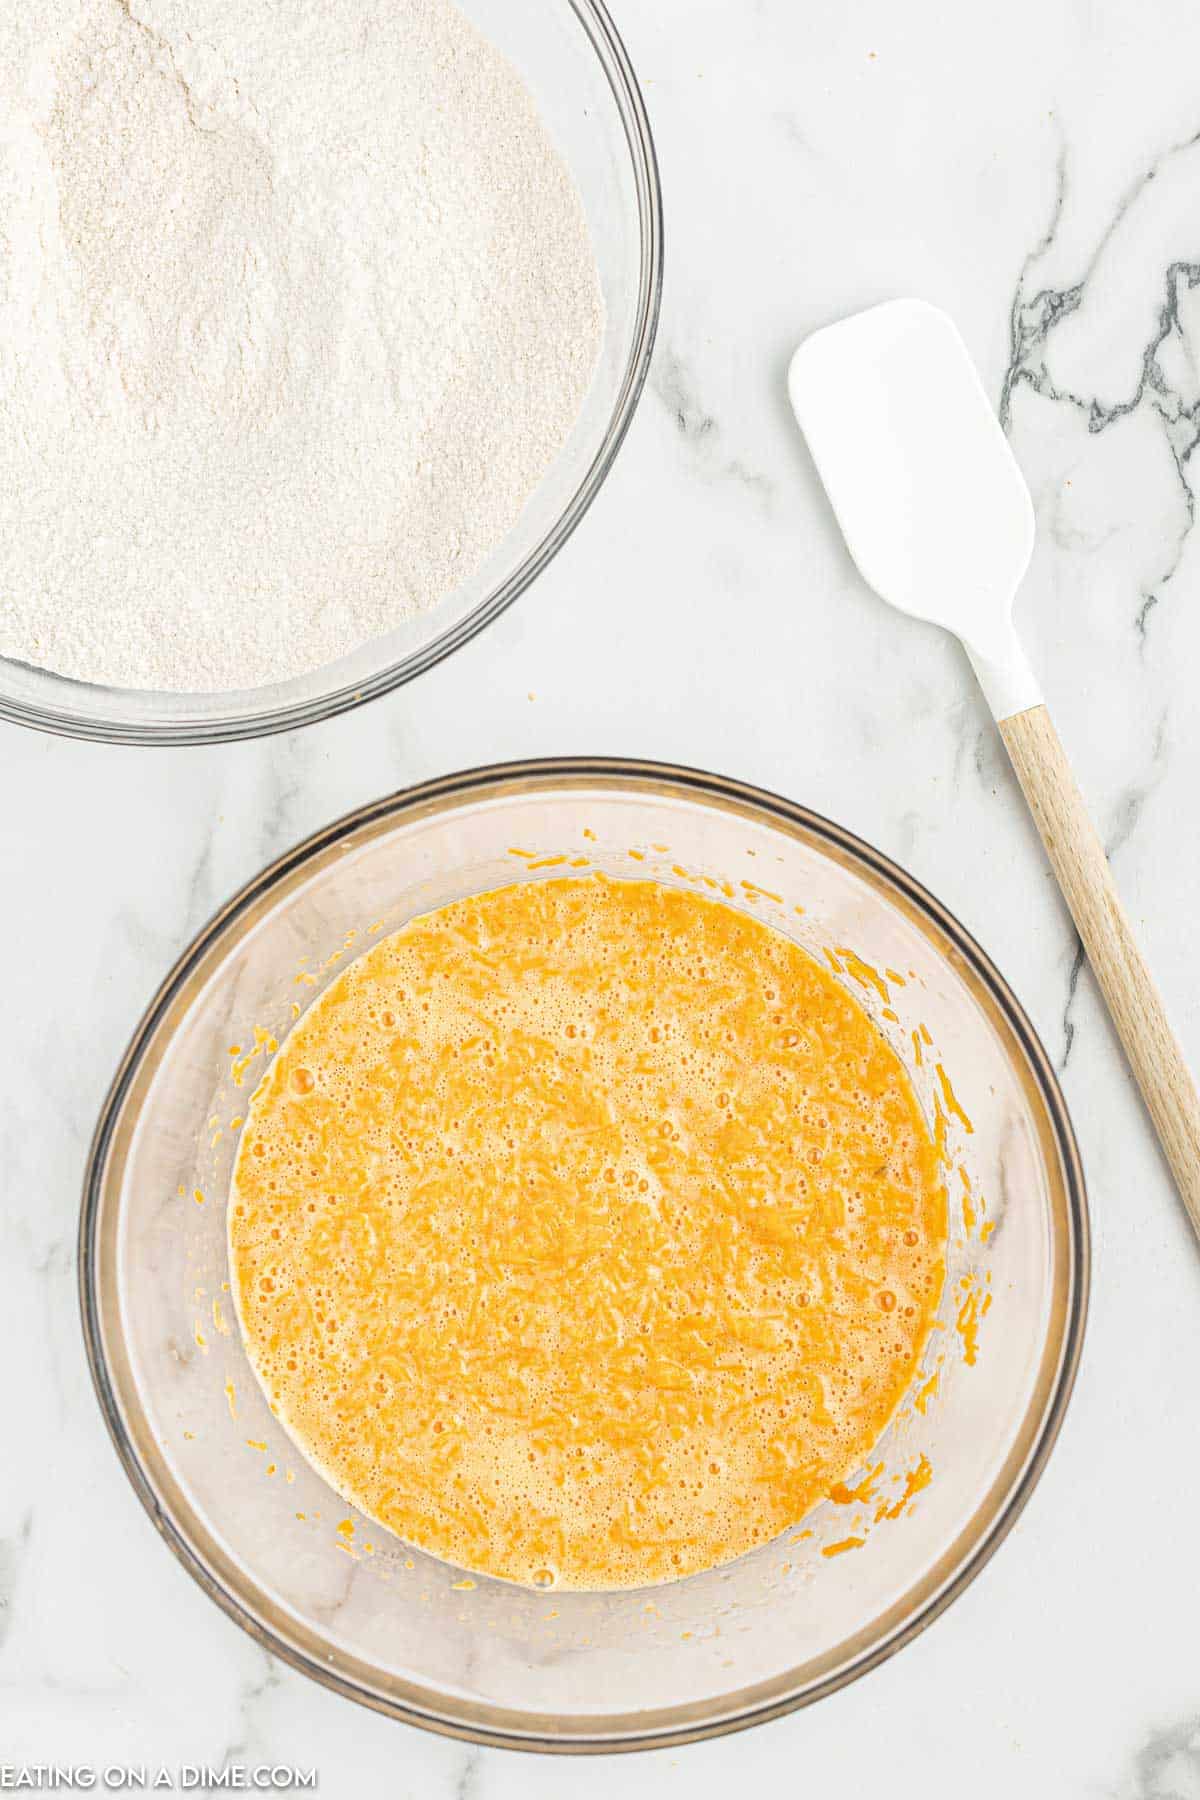
- Step 2 – Combine the flour, baking soda, cocoa and salt together in a large bowl.

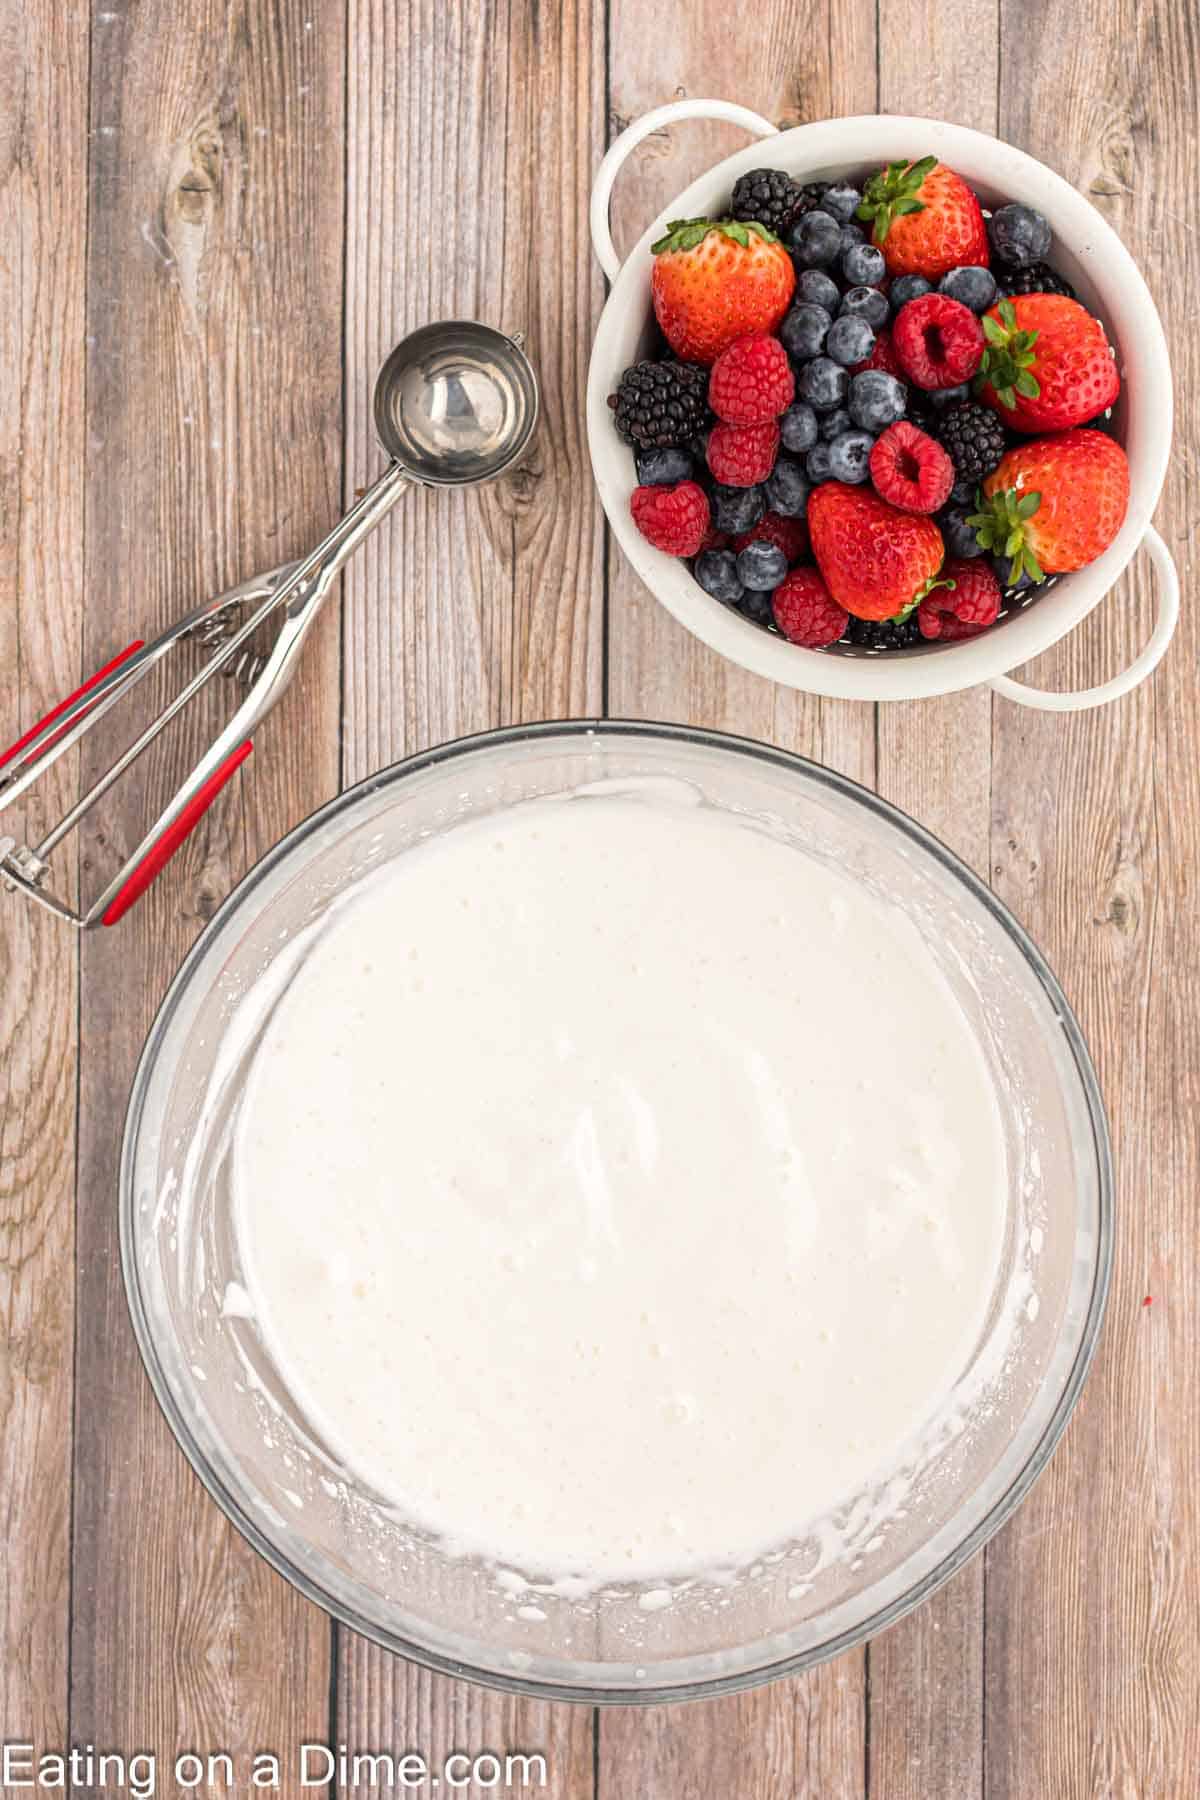
Step 3 – Using either a stand up or hand held mixer, combine the butter and sugar until thoroughly mix together (approximately 1 minute).
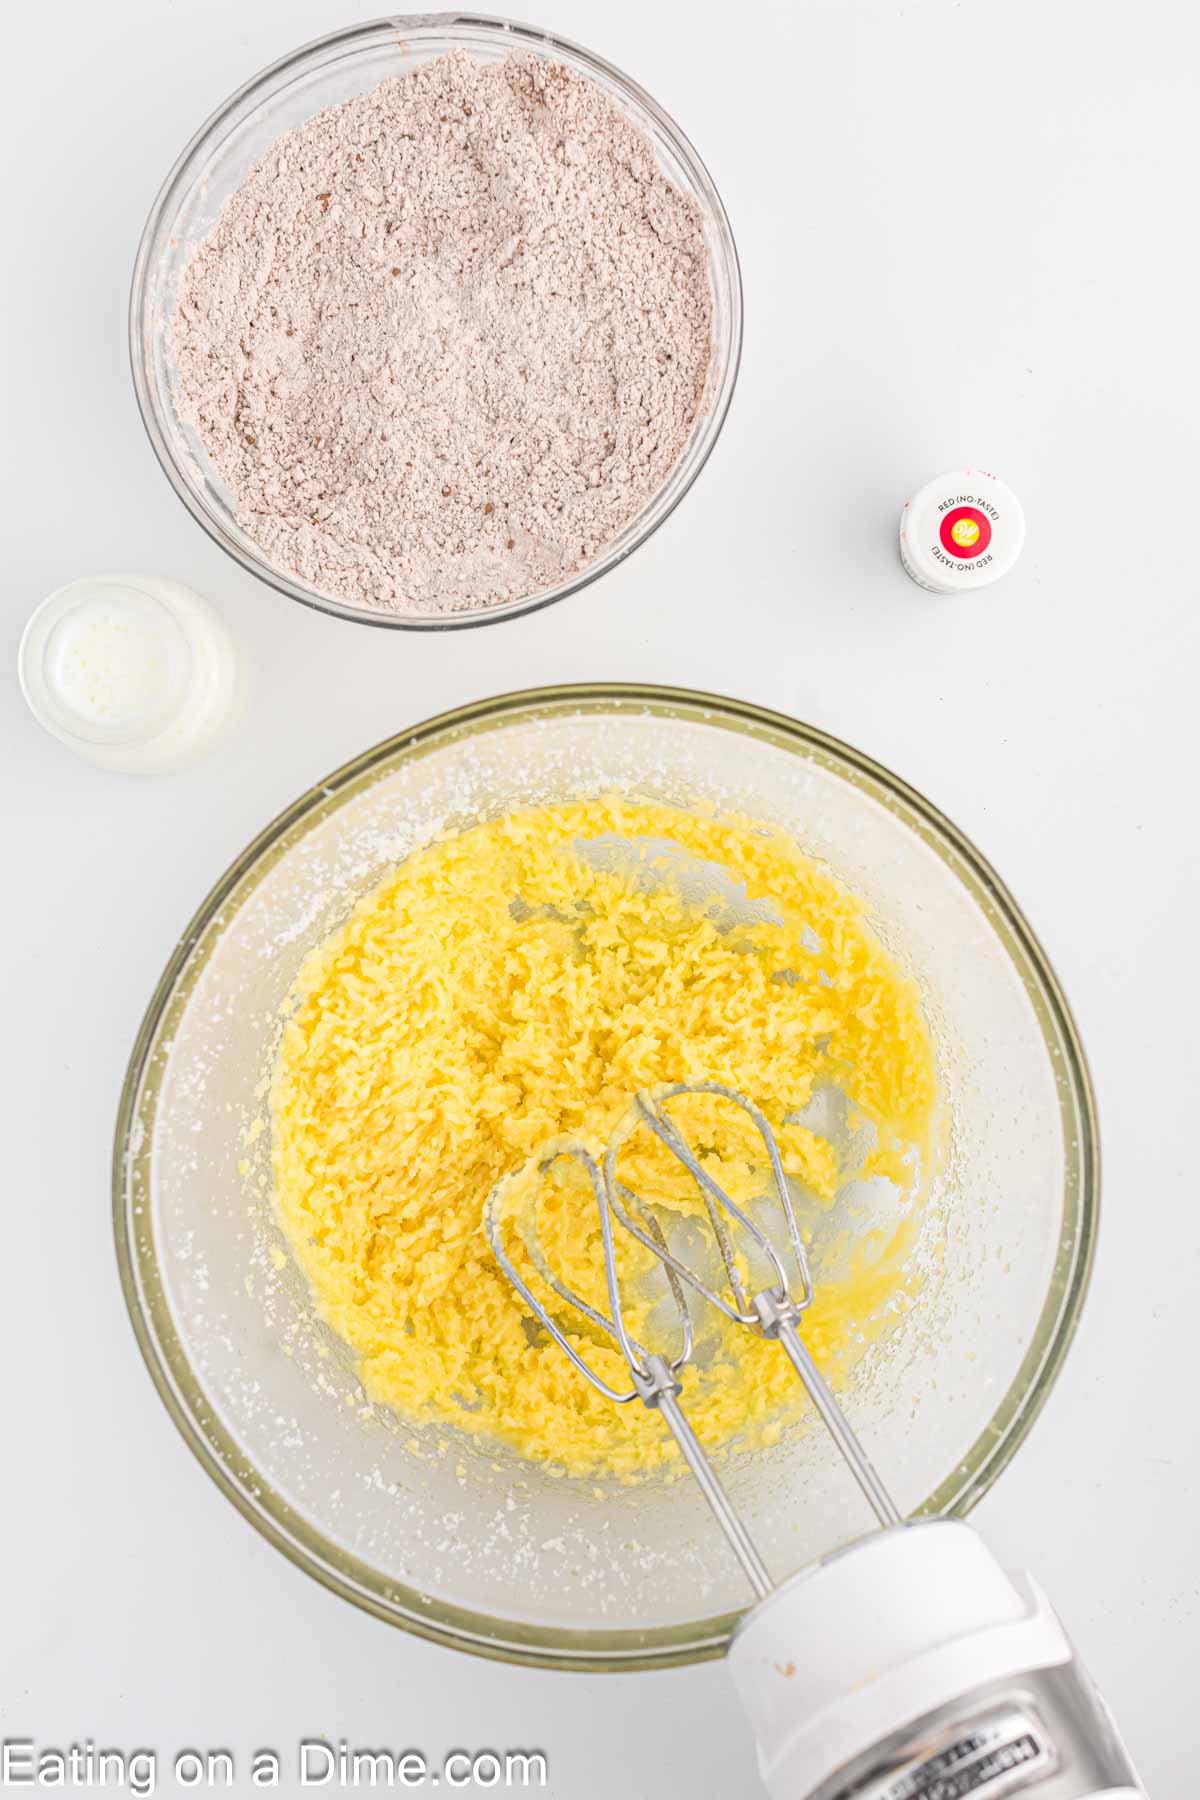
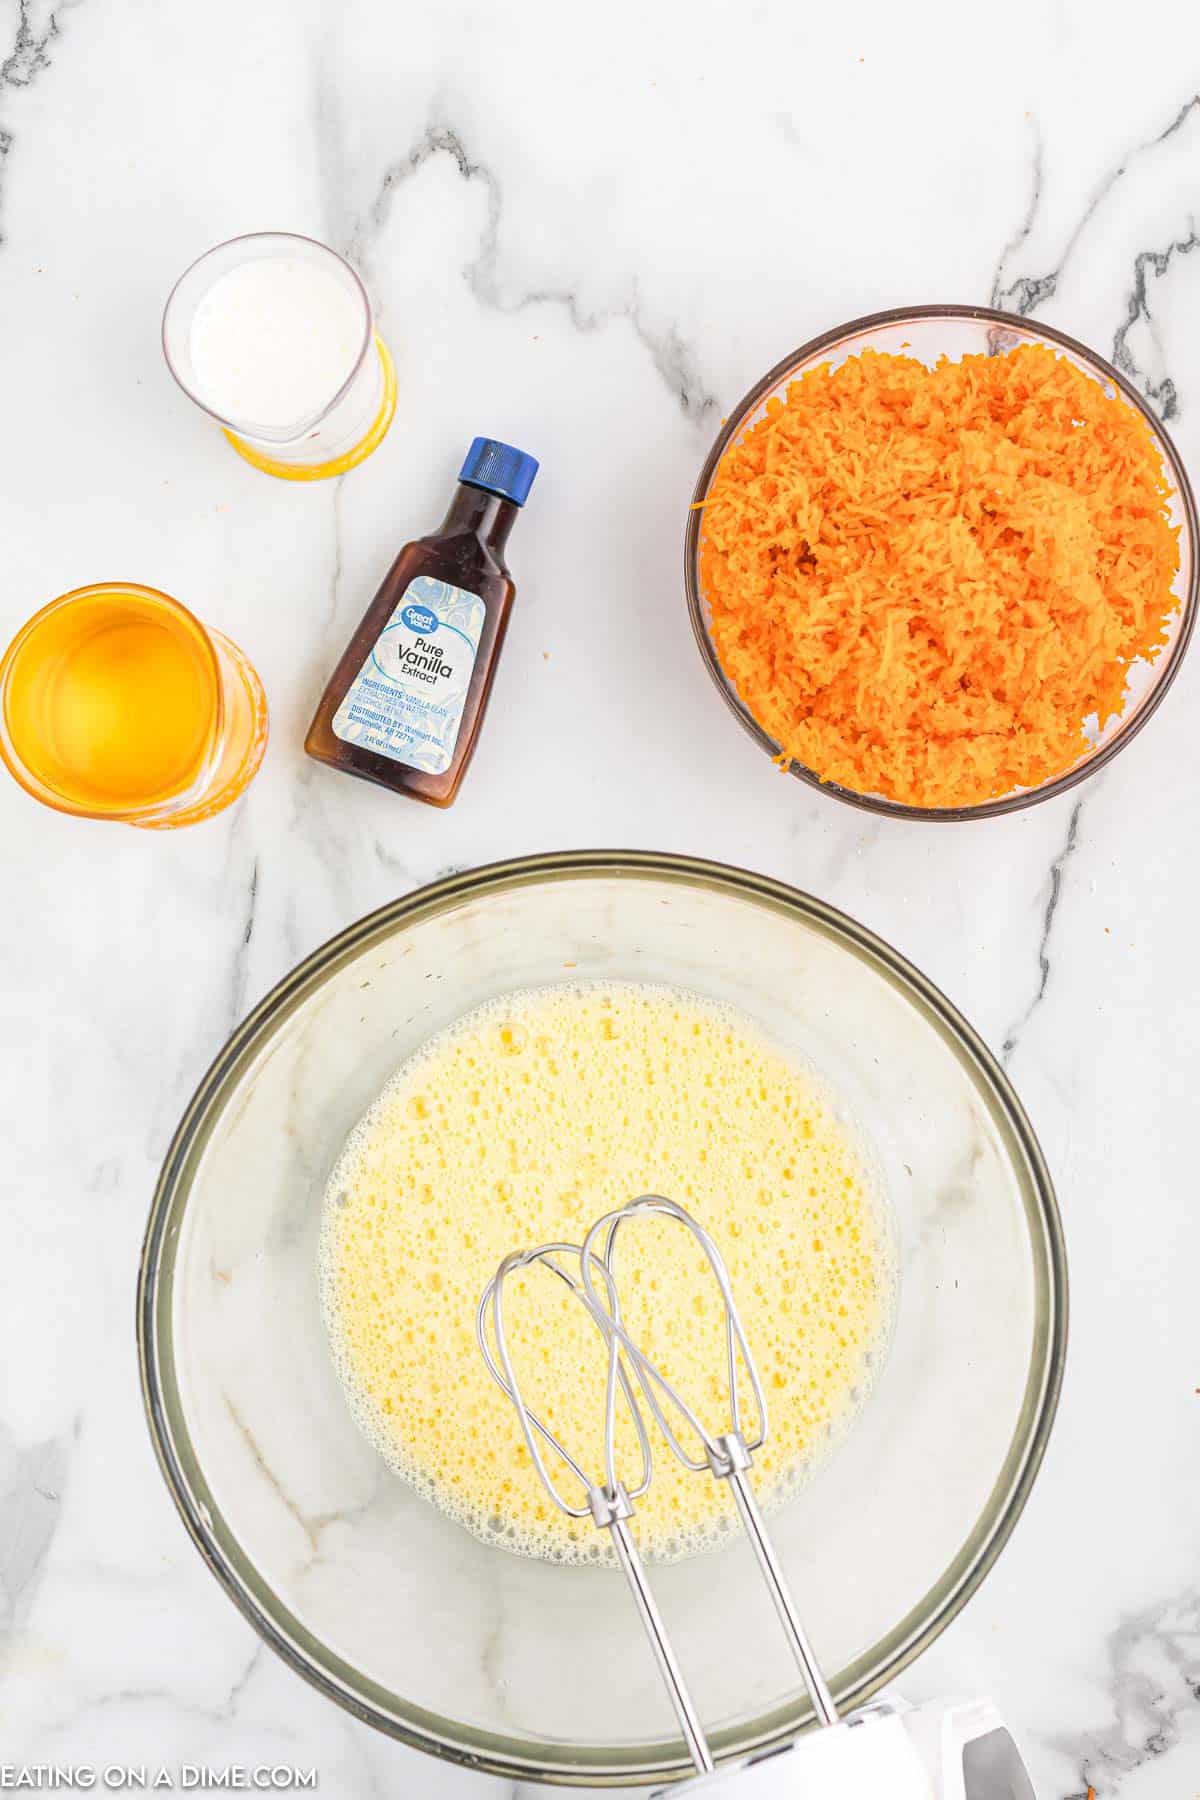
Step 4 – Then add in the oil, egg yolks (save the egg whites) and vanilla extract. Mix until these ingredients are combined and use a spatula to scrape the edge of the bowl as well.
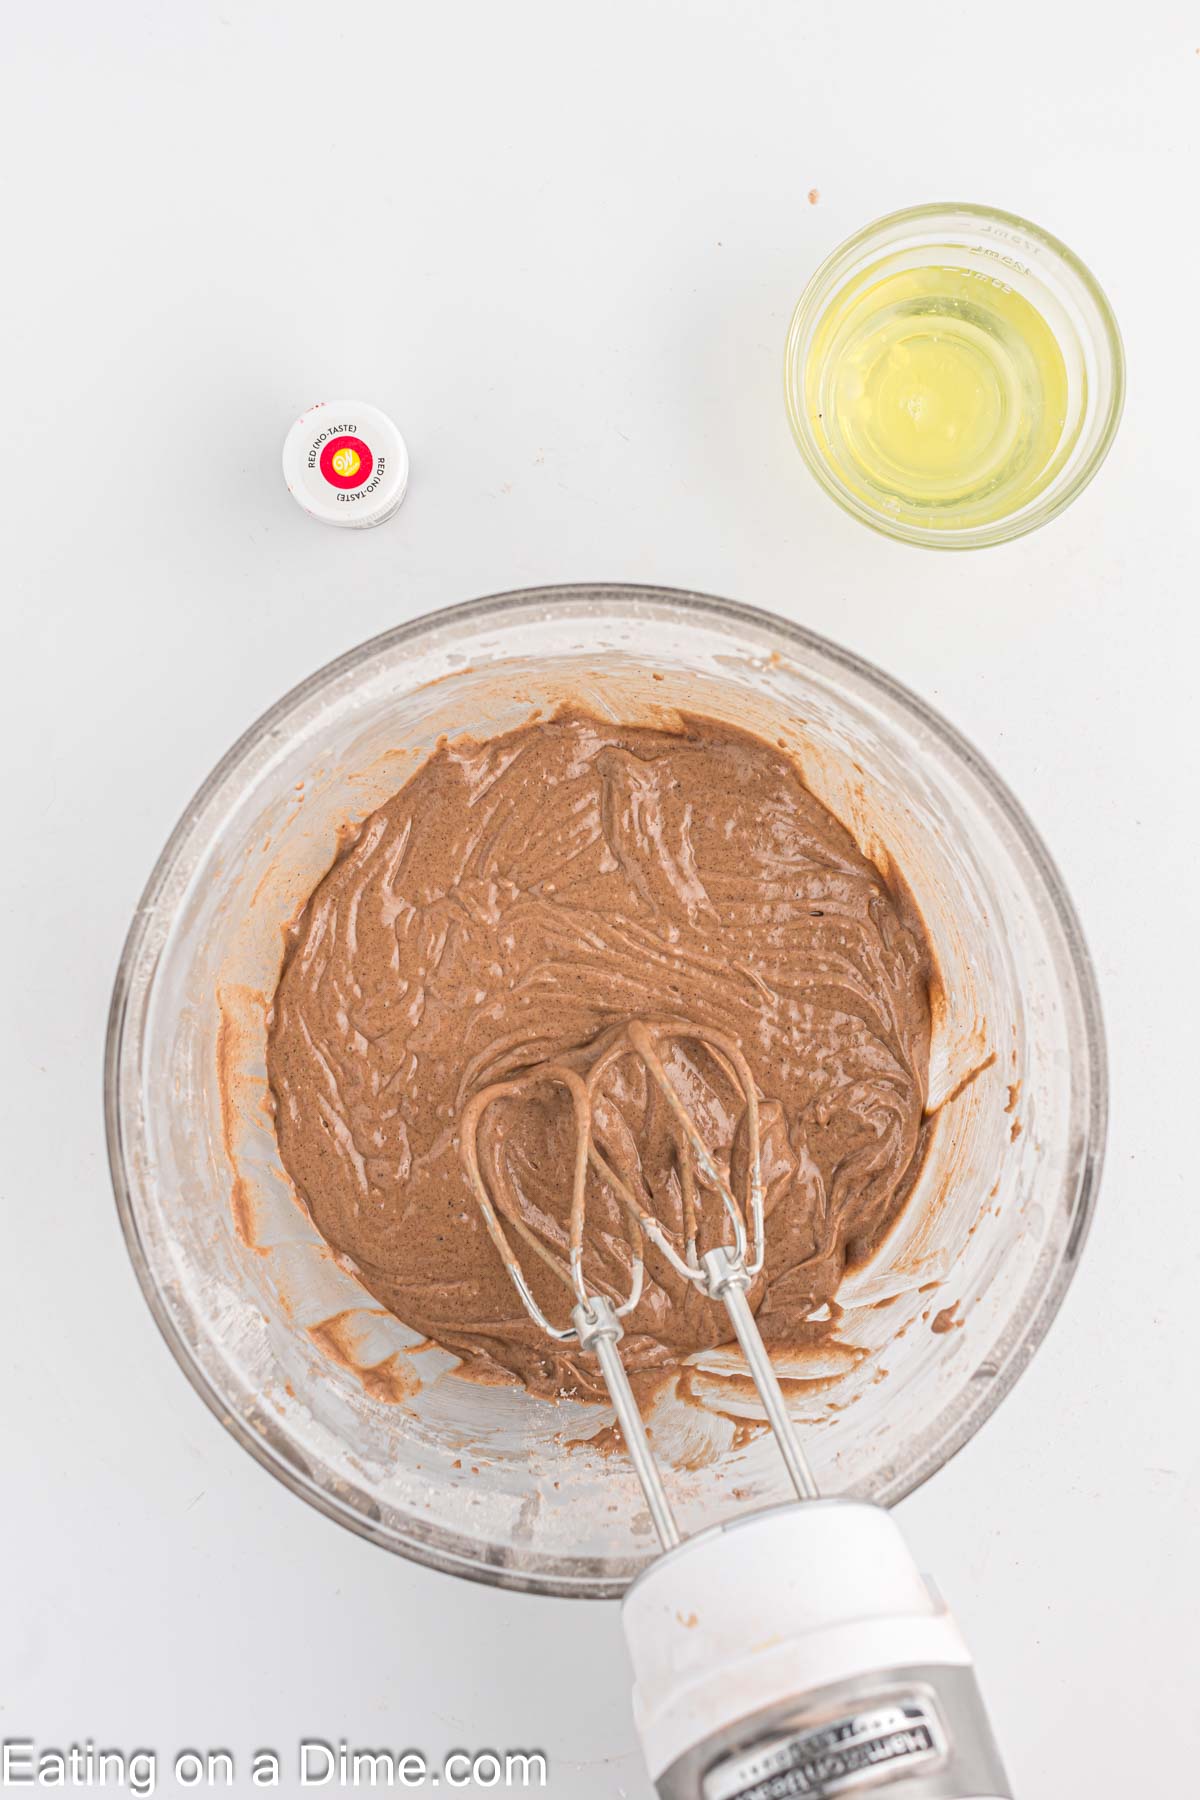
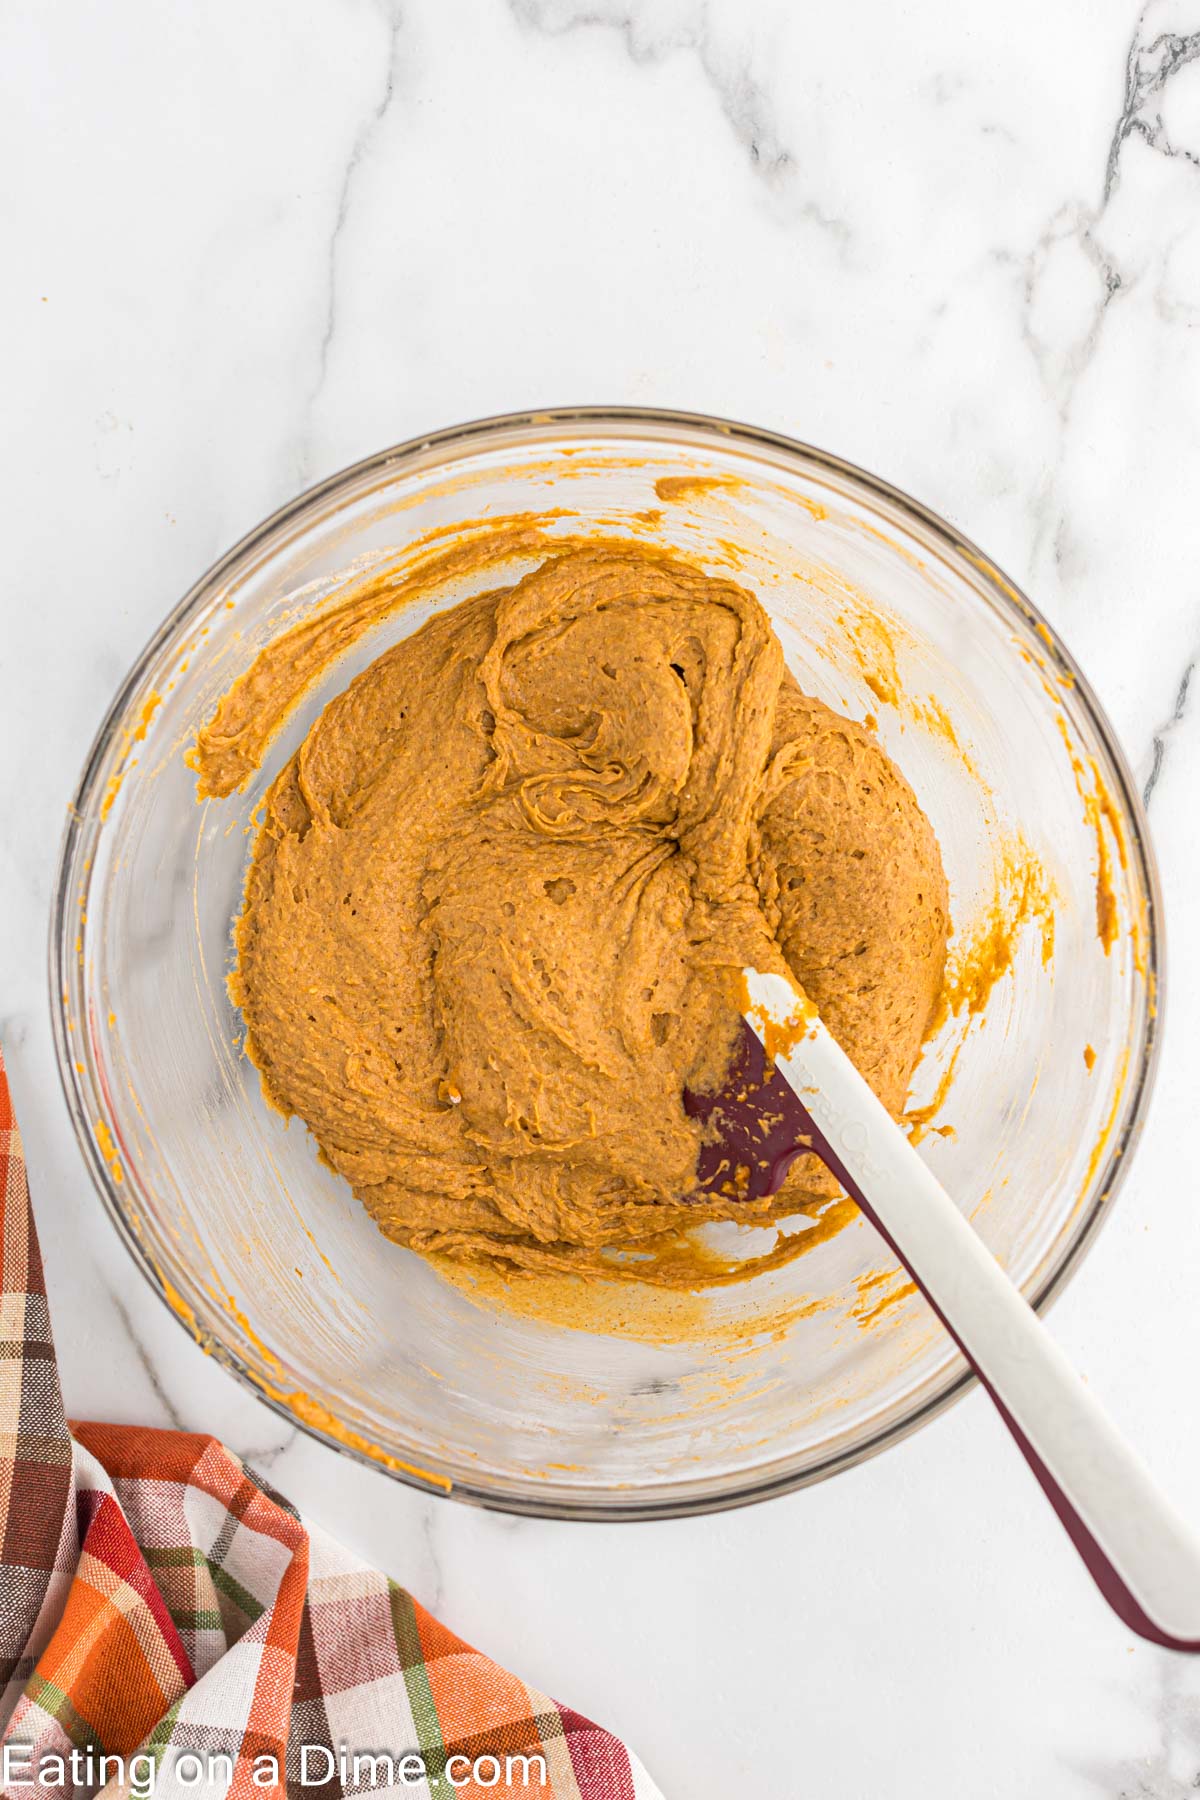
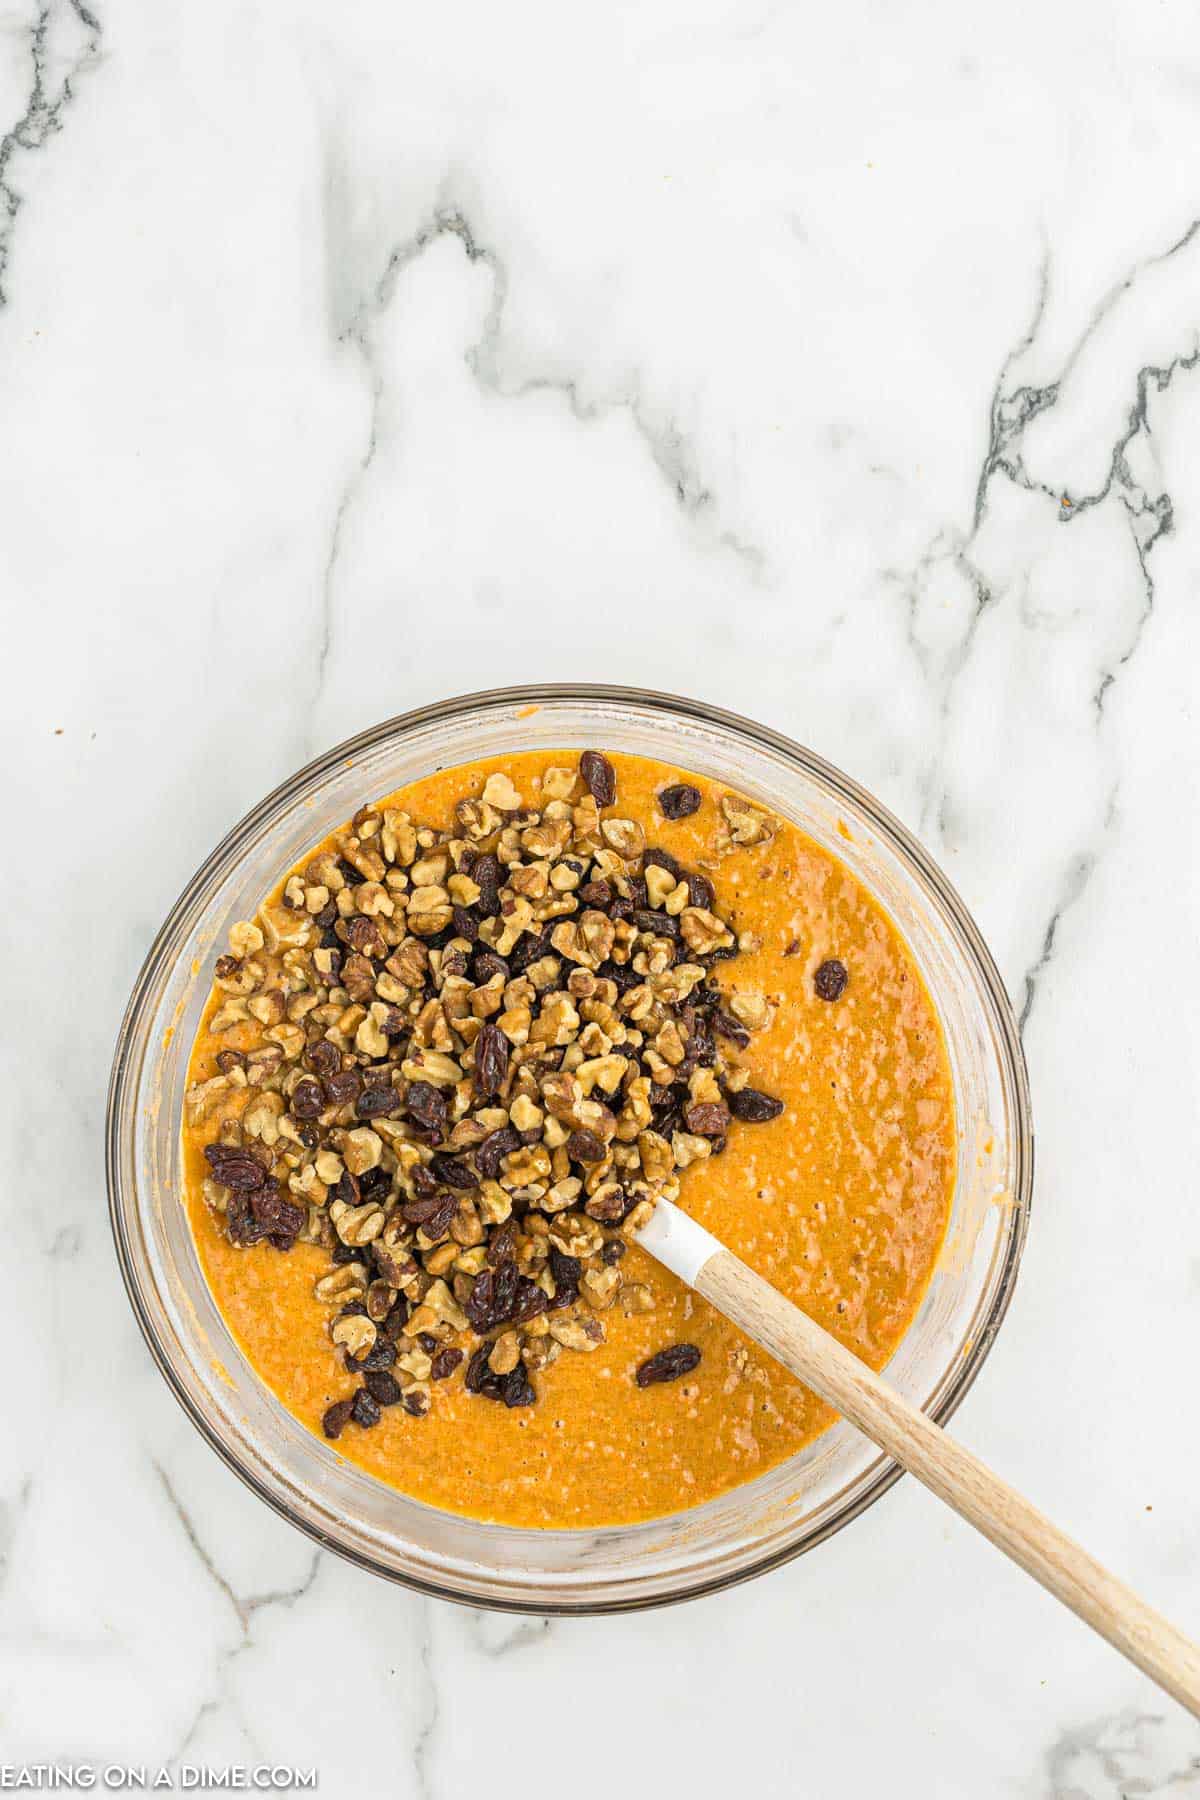
Step 5 – Then slowly add in the dry ingredients and the buttermilk until both are thoroughly combined into the wet ingredients.
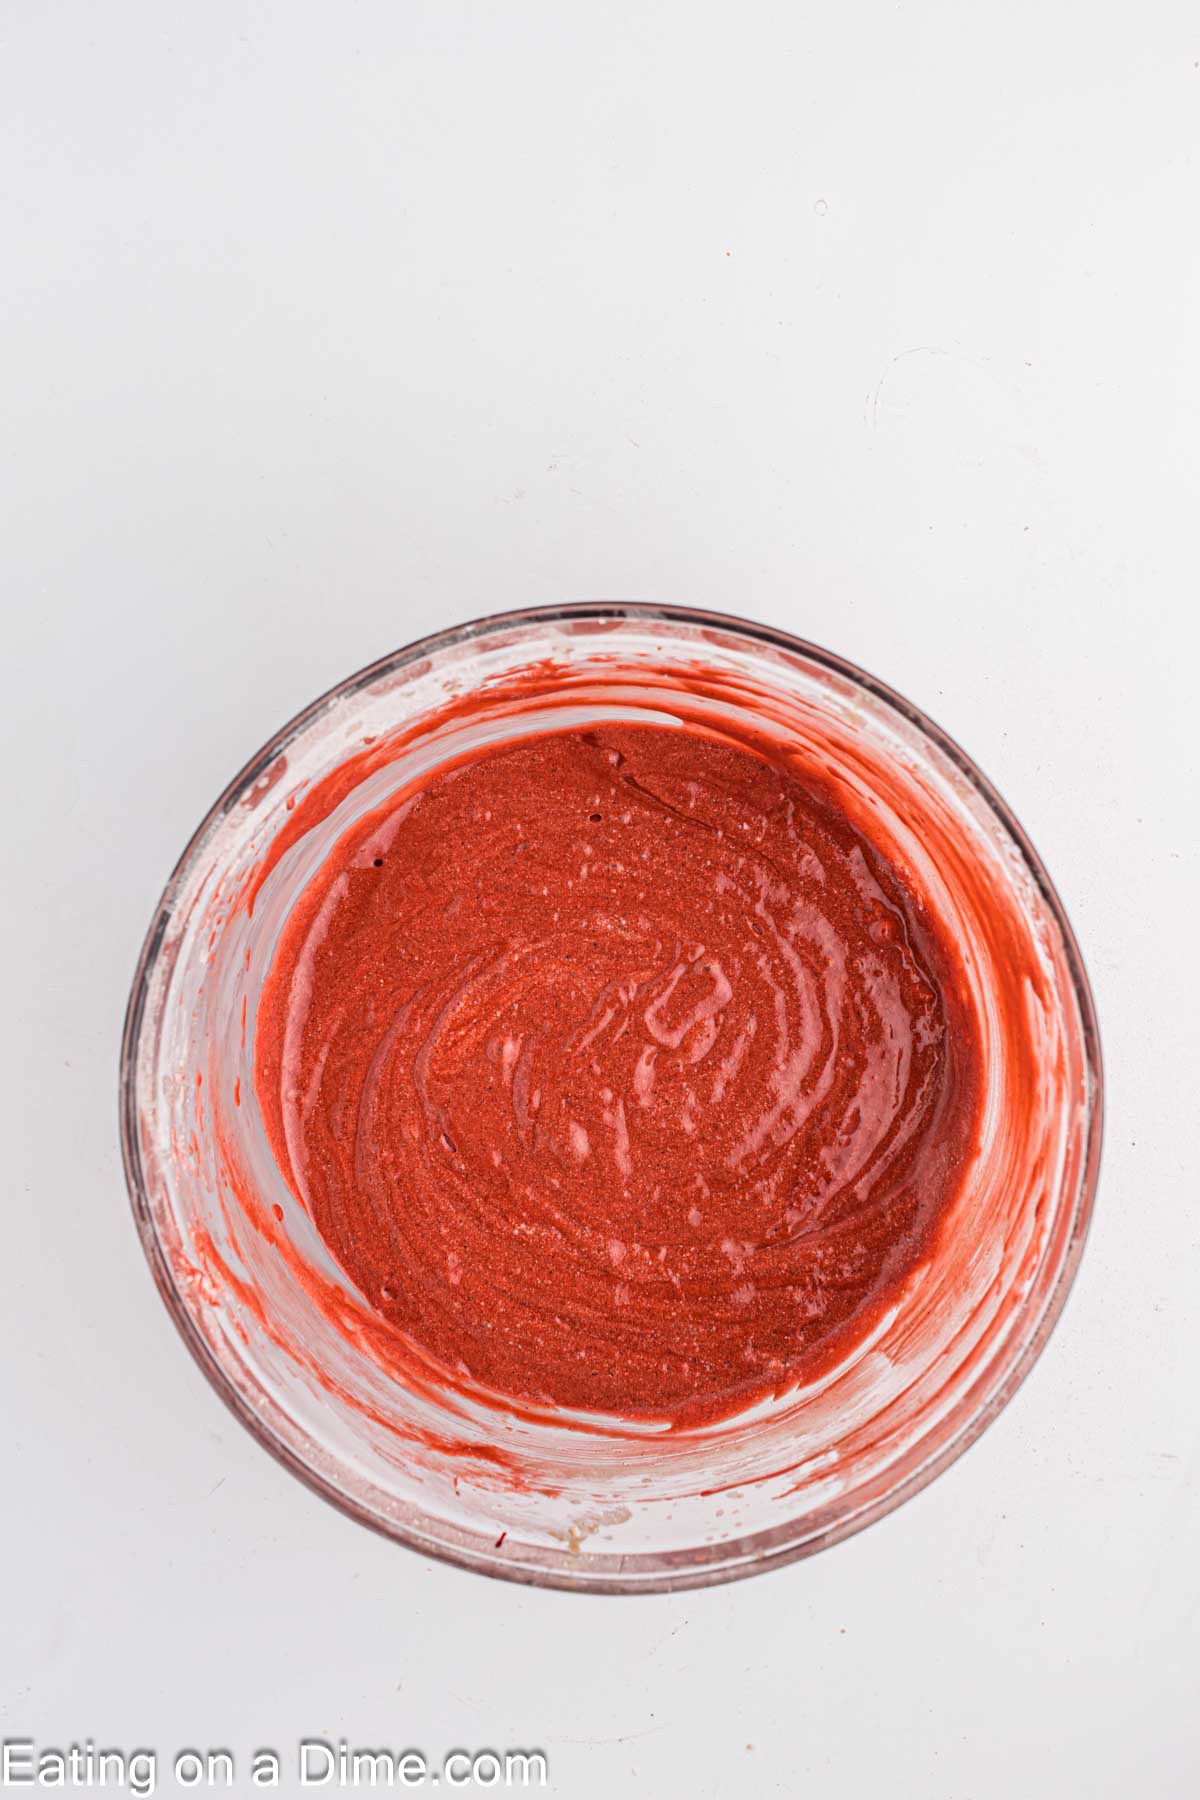
Step 6 – Next, add approximately 2 tsp of red gel food coloring until the batter is the color that you desire for your cake. Gently stir in the eggs white until the red batter until they are combined. Do not over mix.
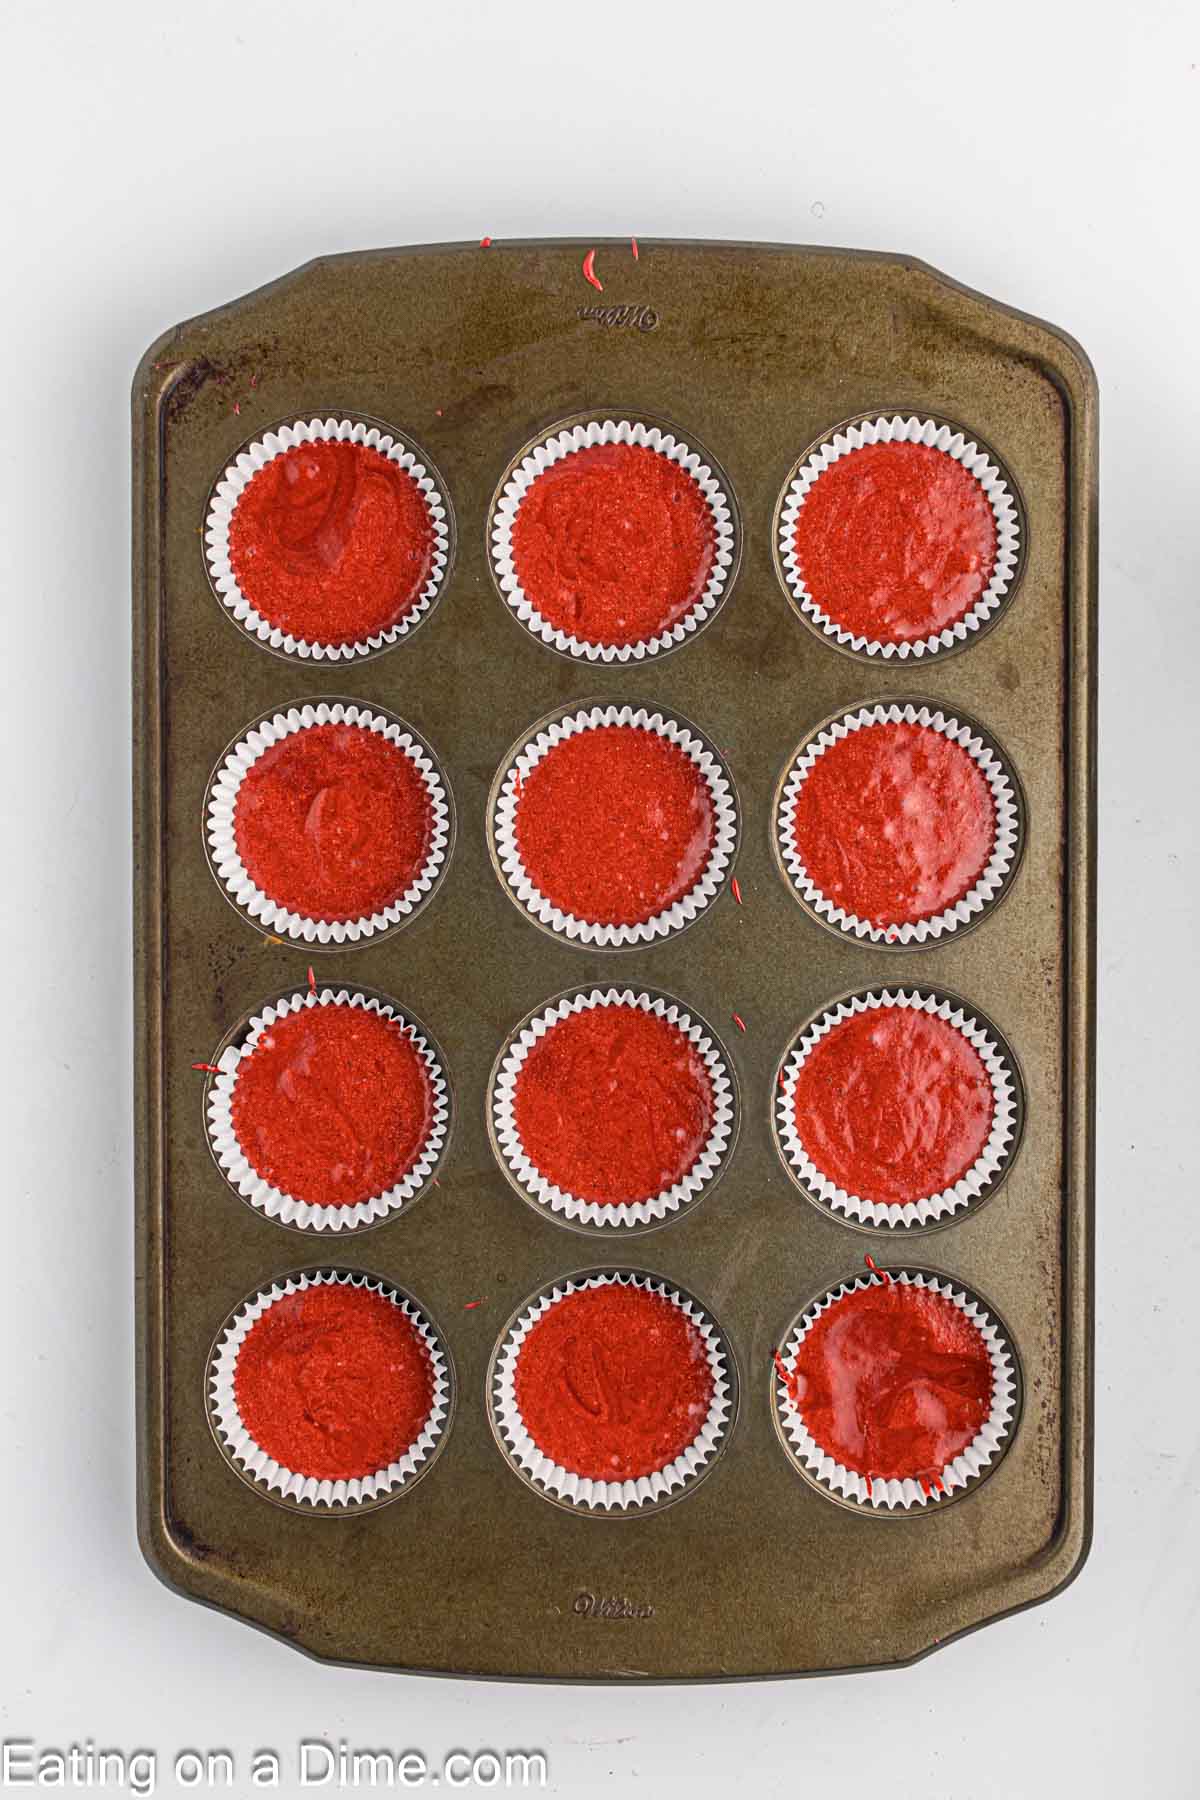
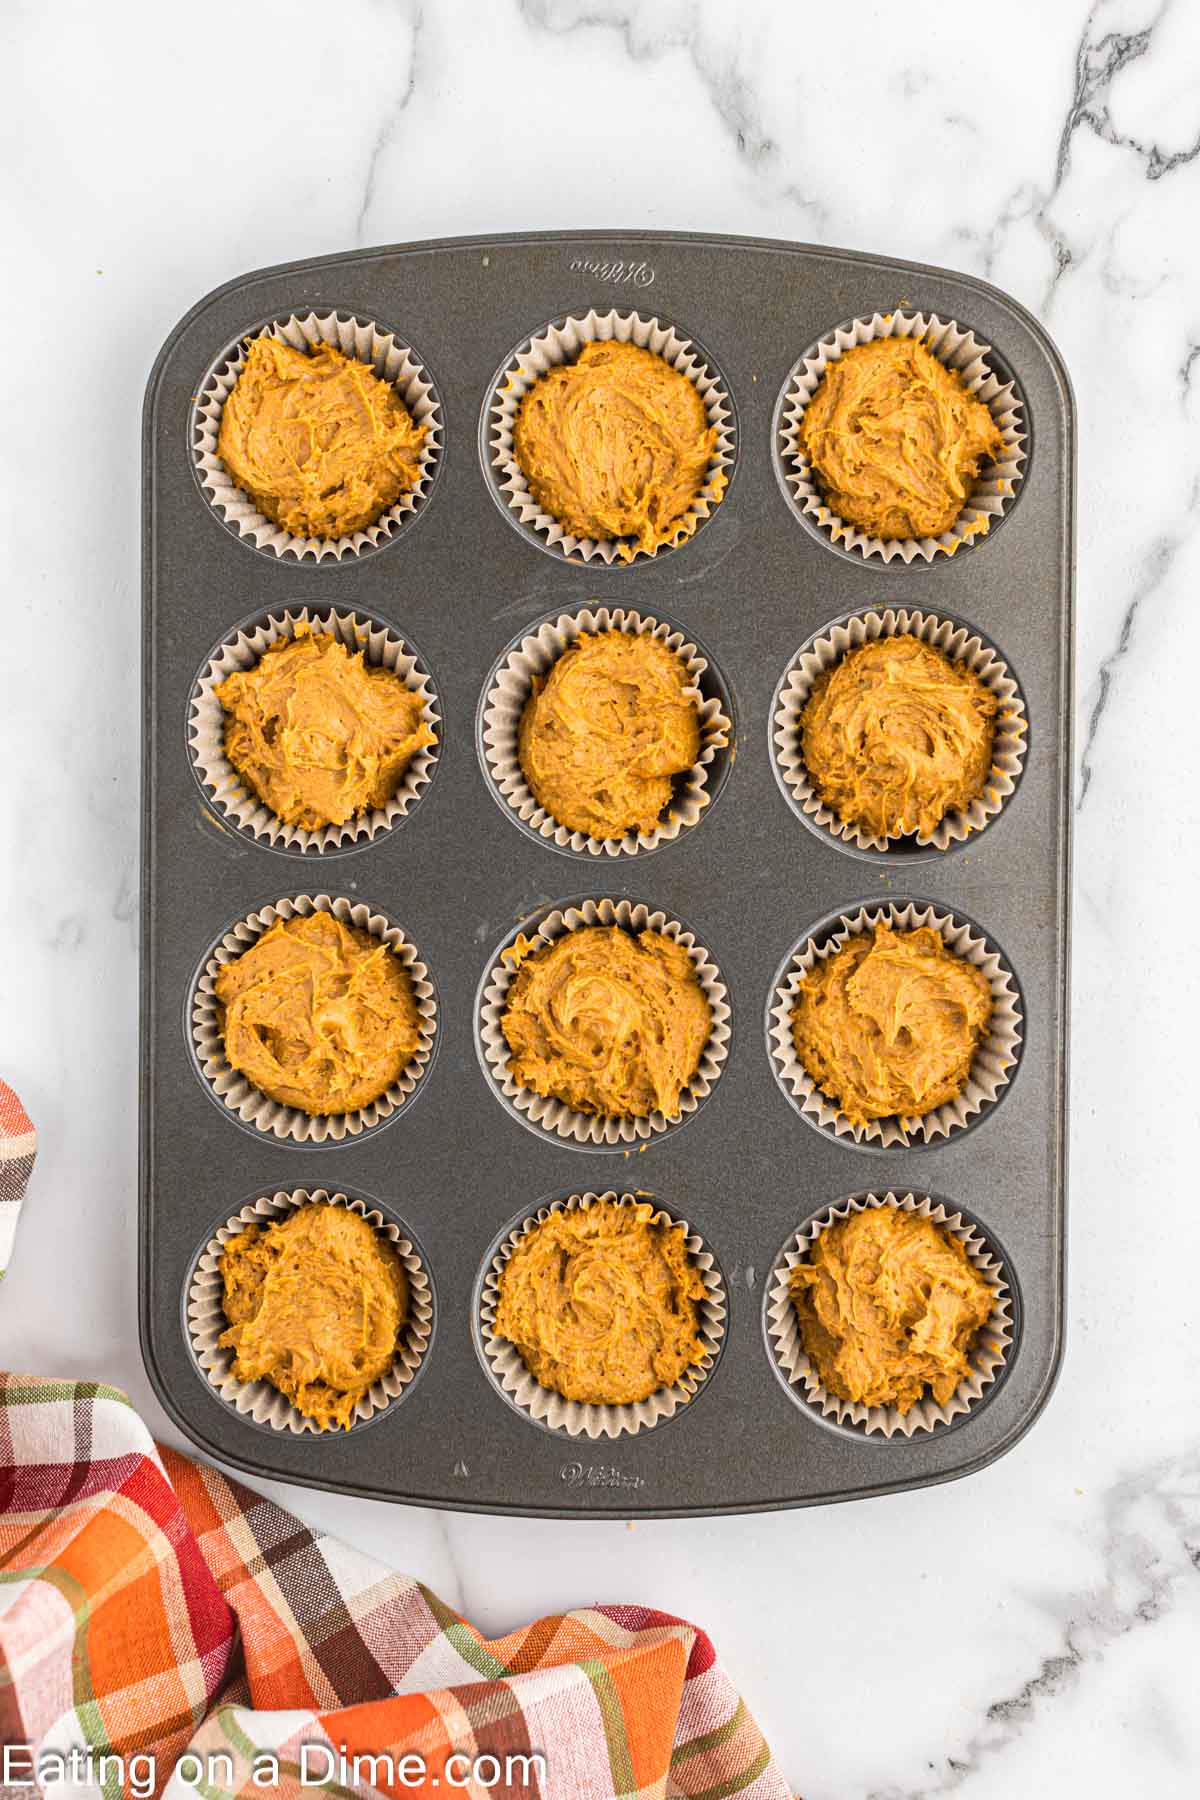
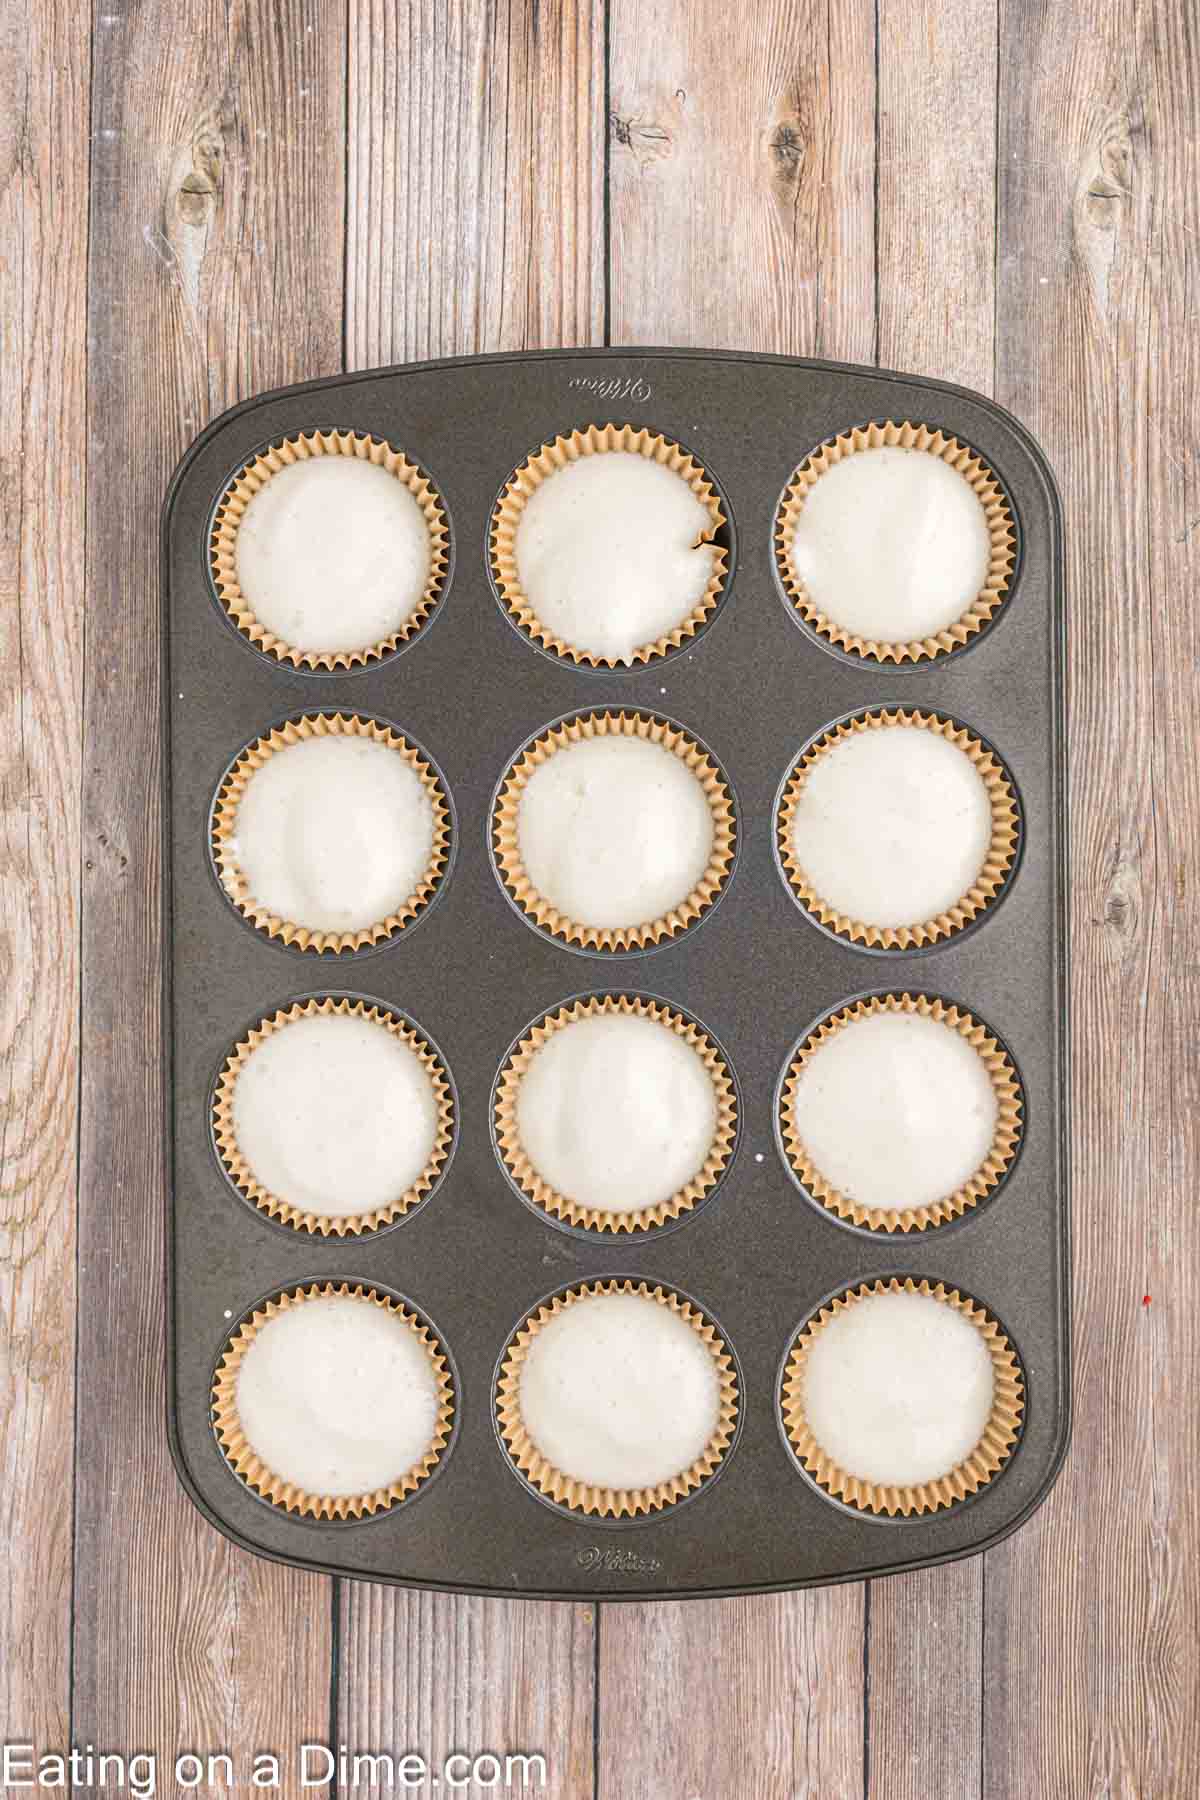
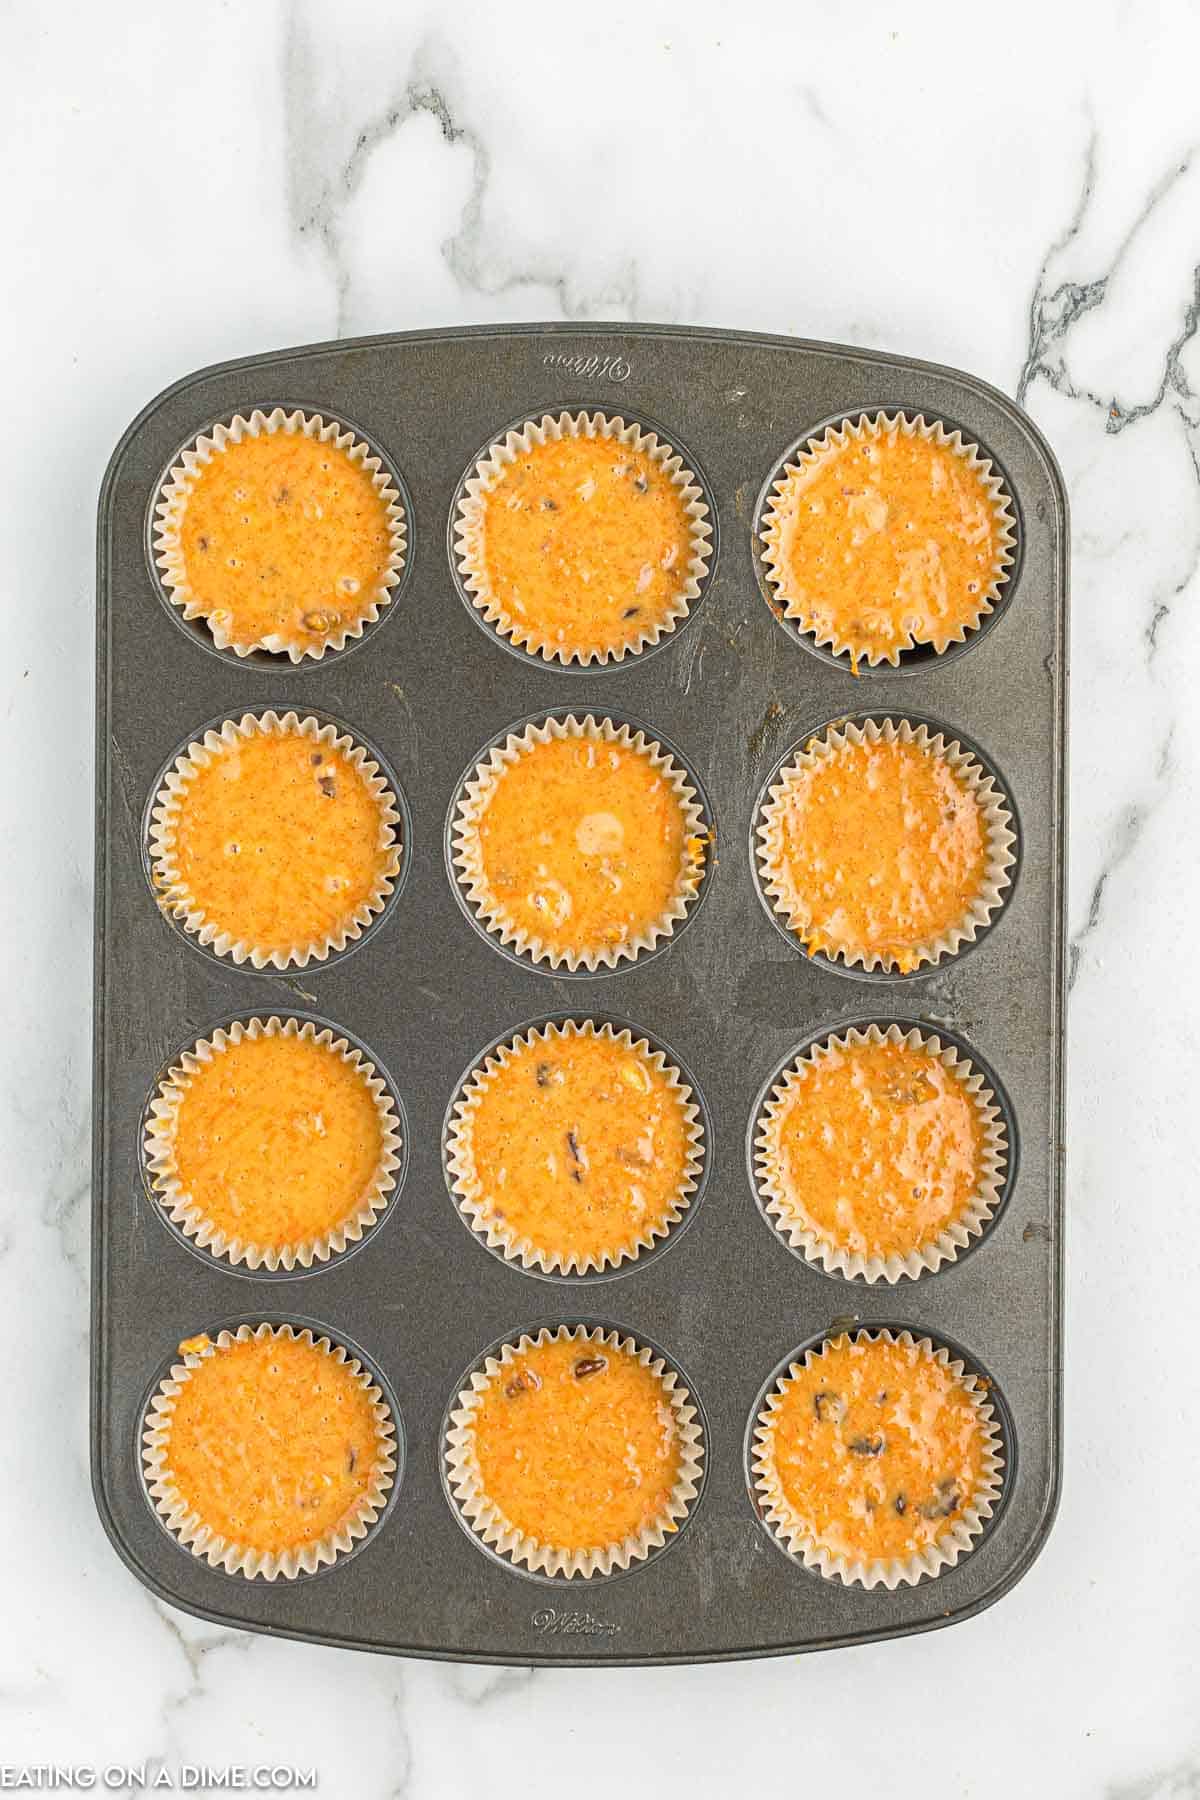
Step 7 – Pour the batter evenly into the 16 cupcake liners in the muffin pans. Bake for 15-18 minutes until a toothpick inserted into the center comes out clean.
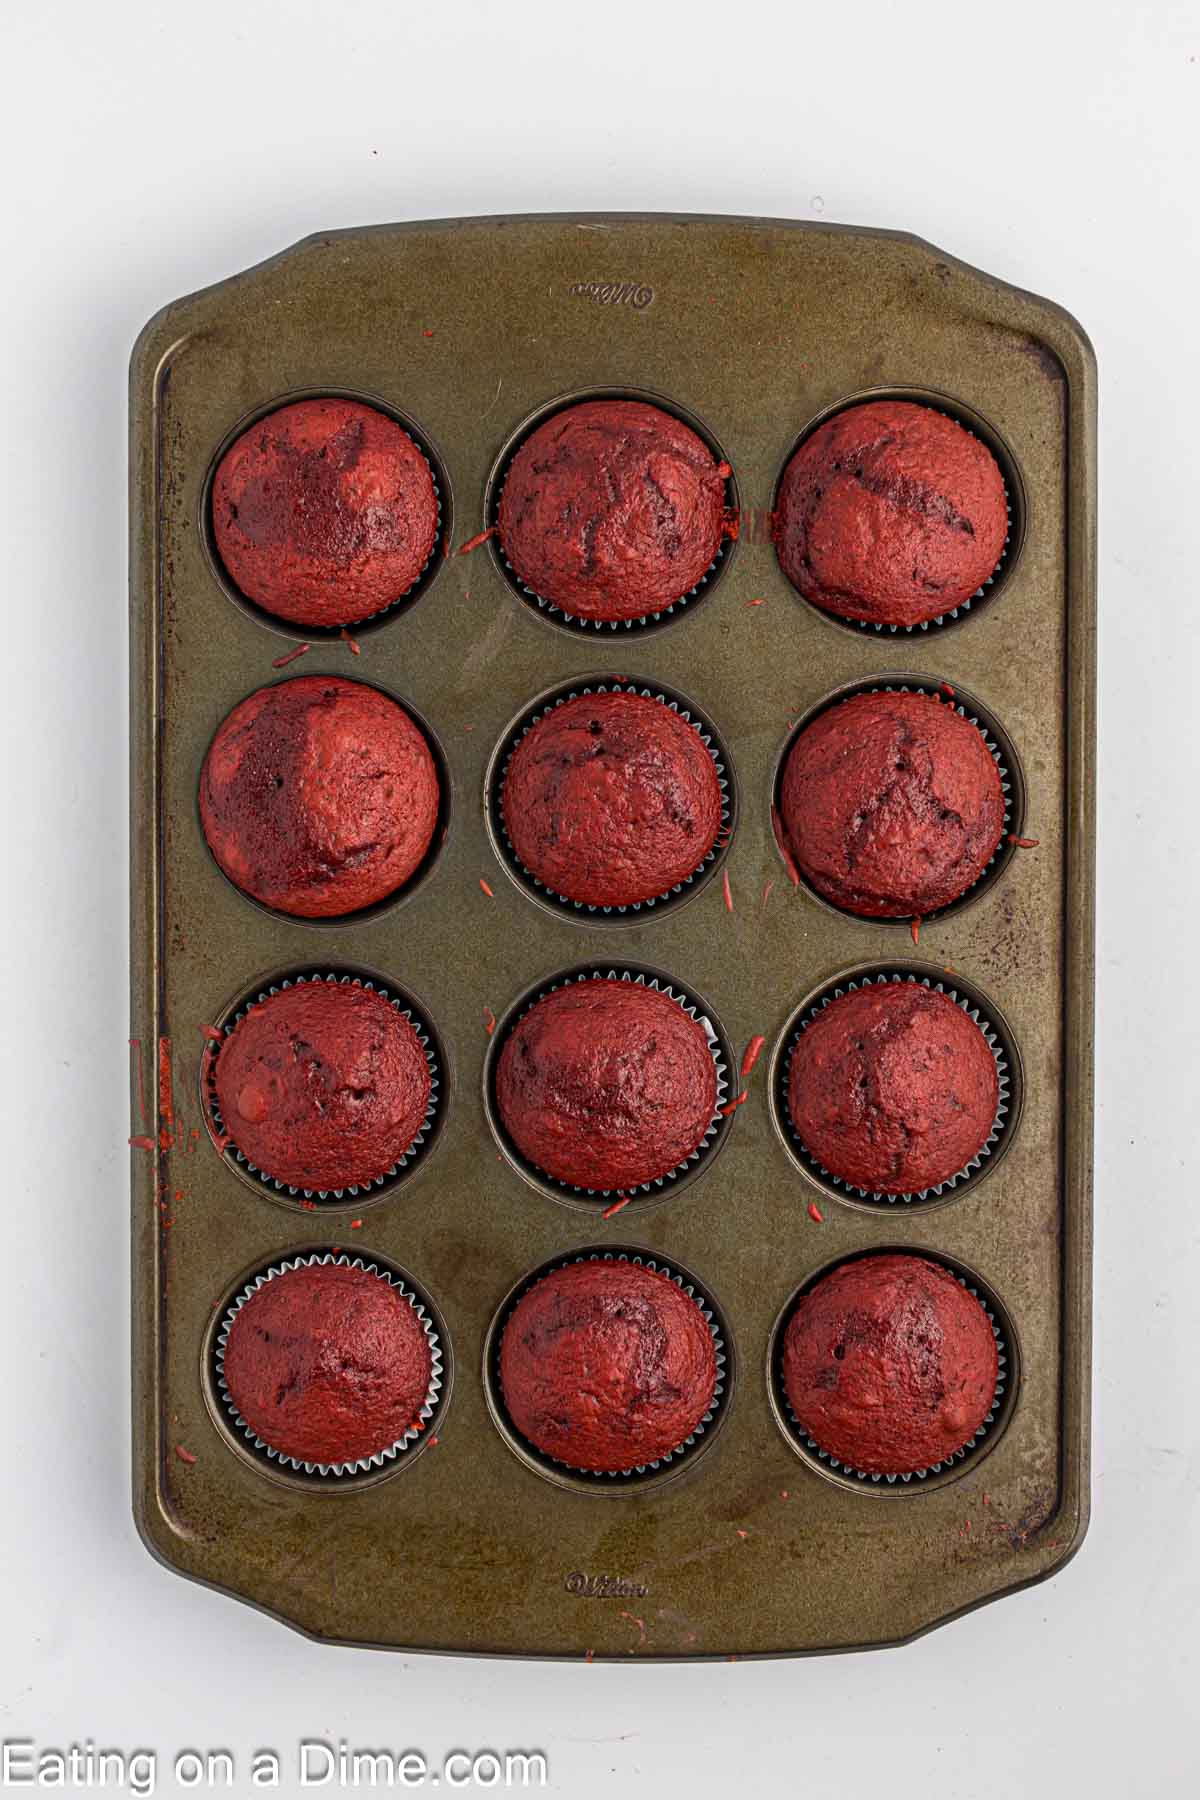
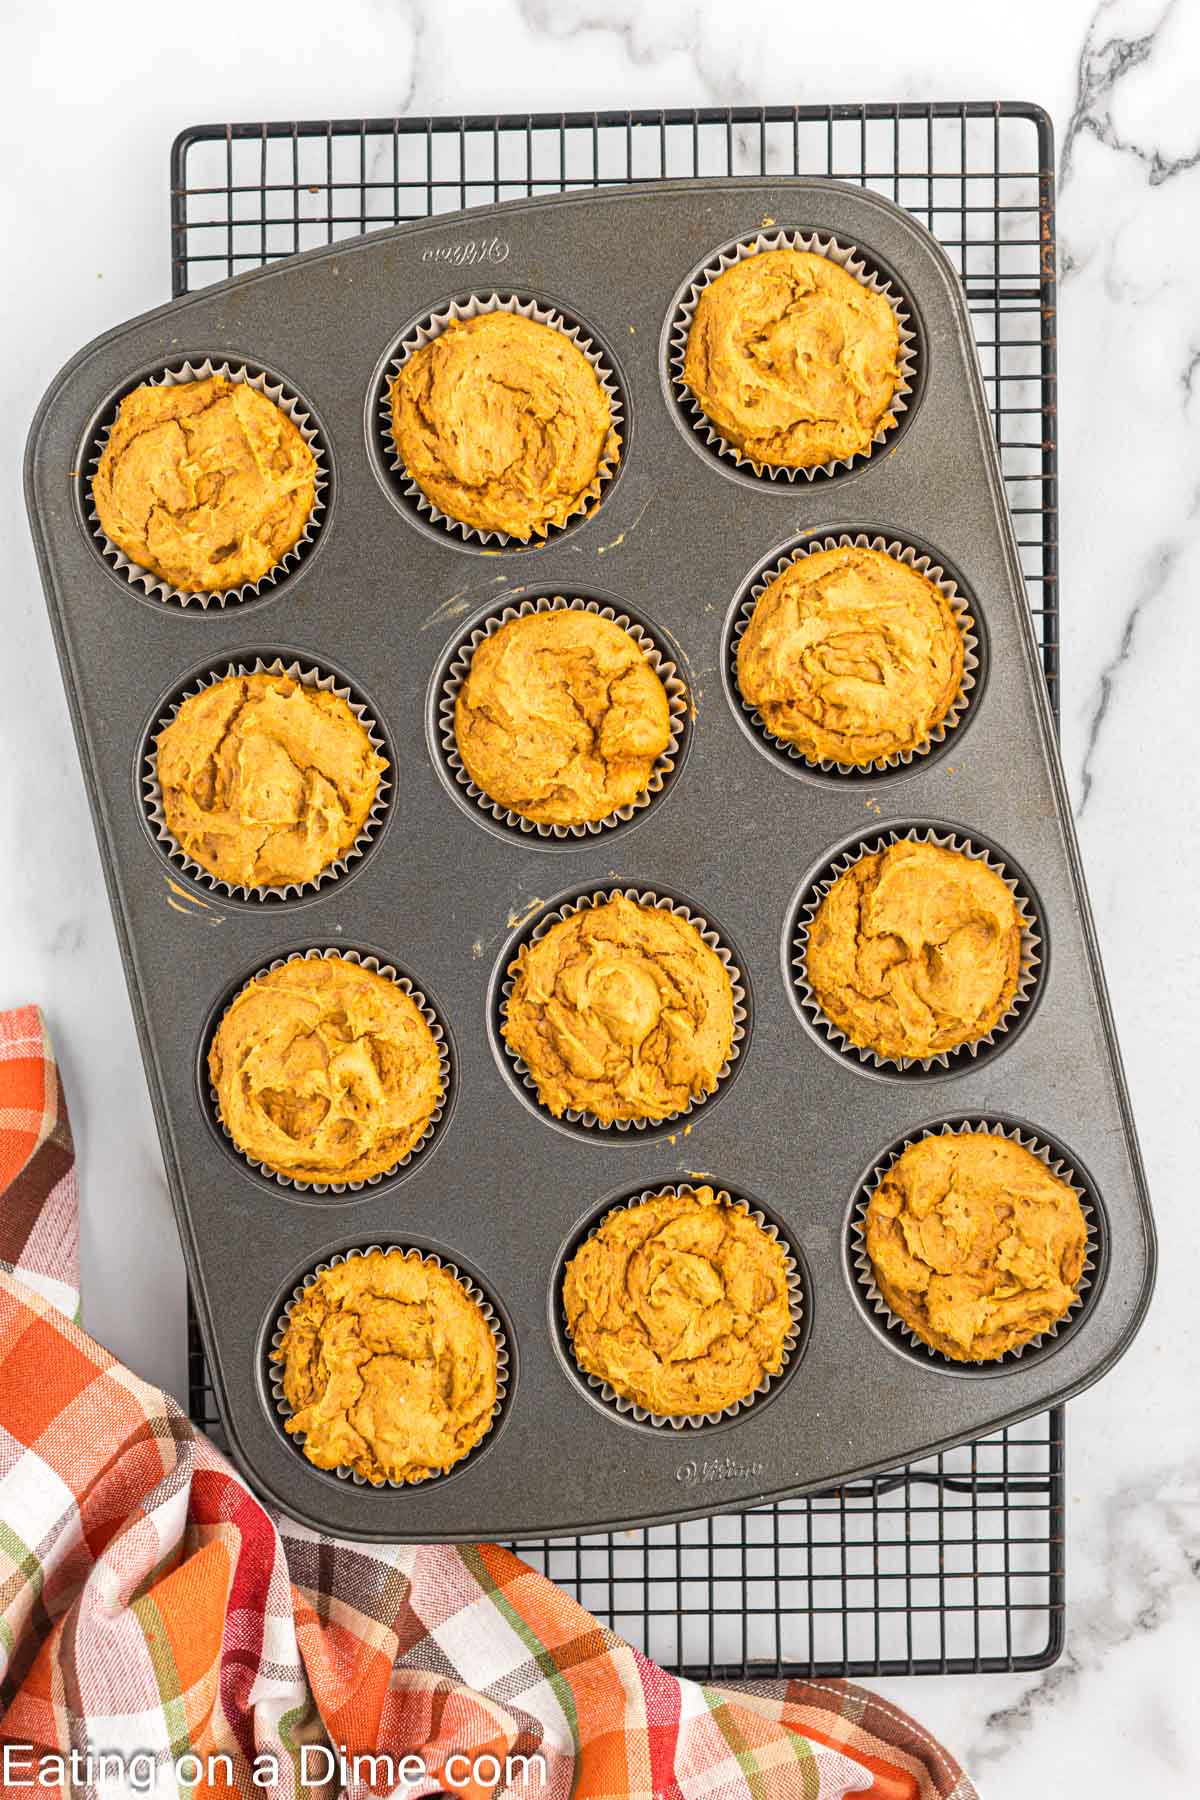
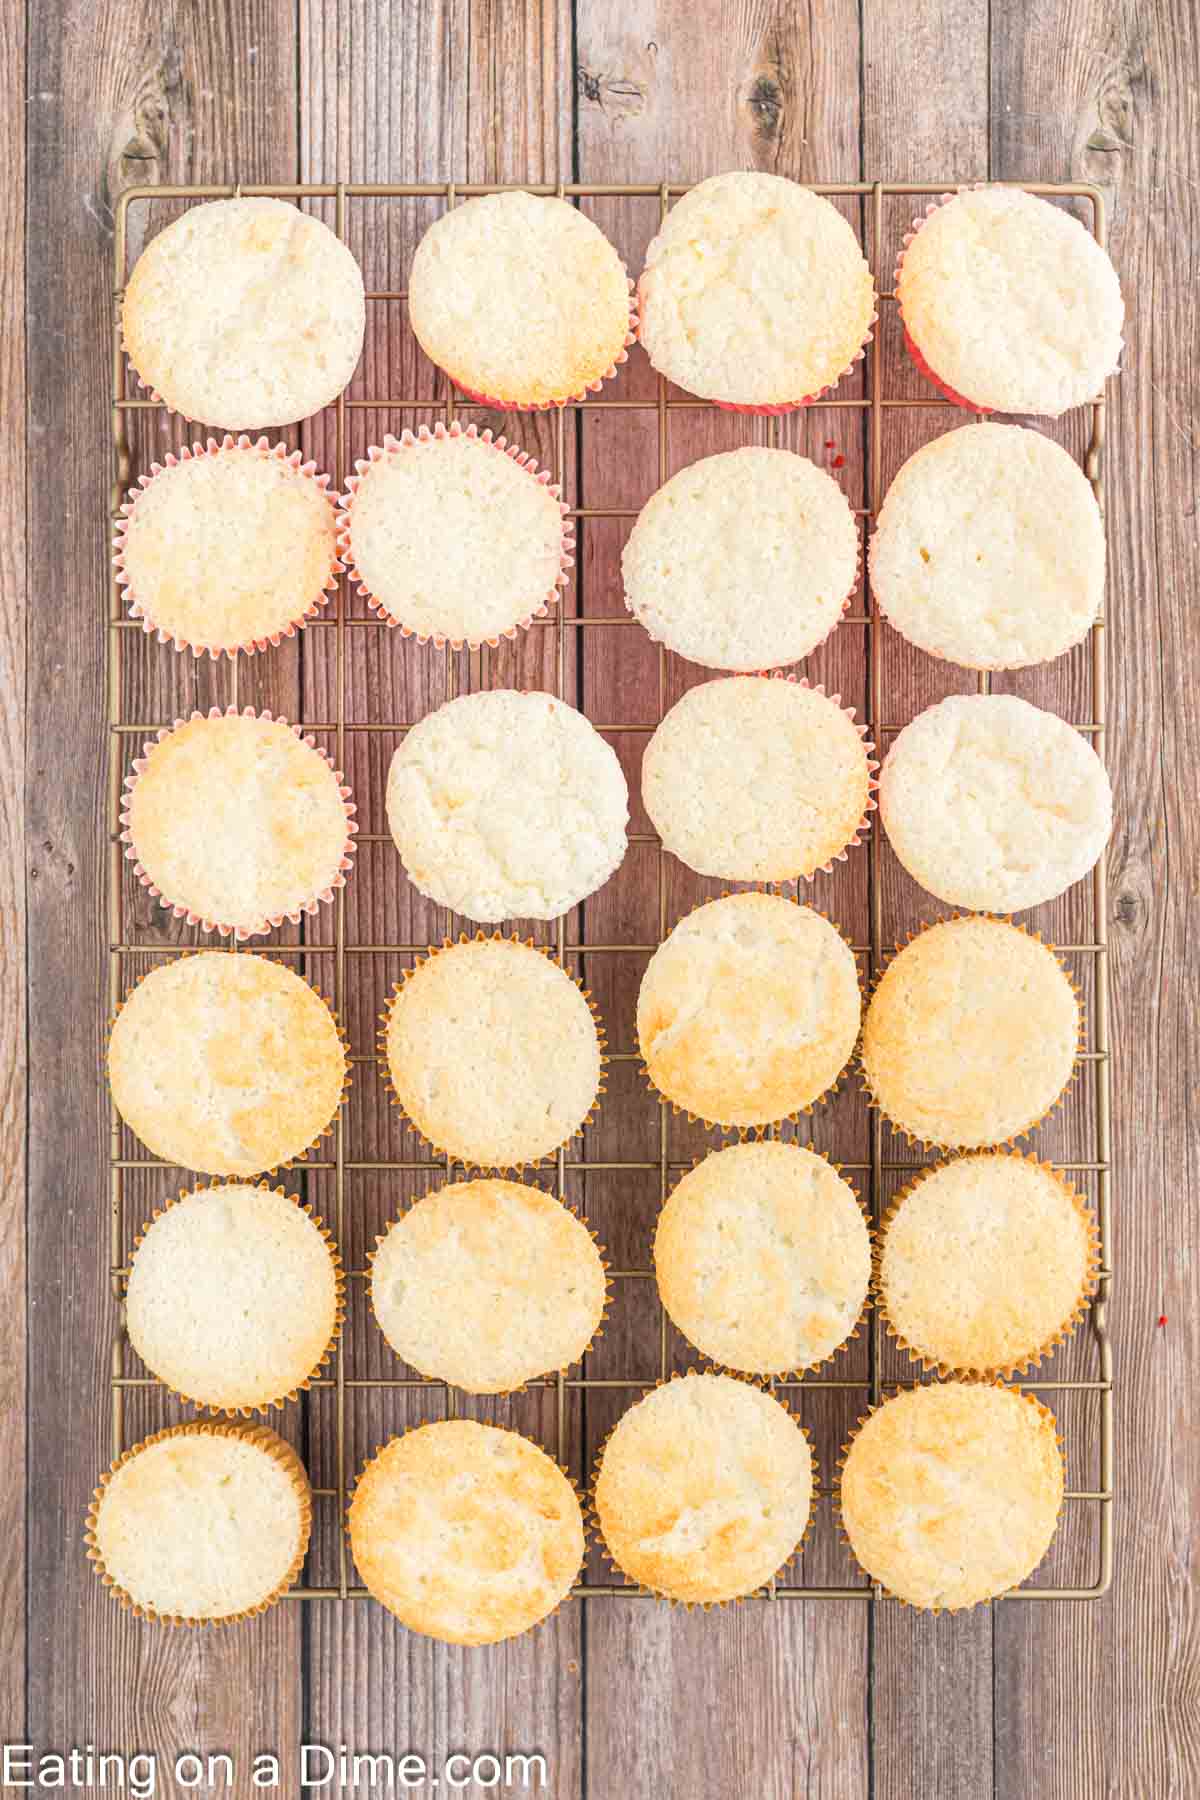
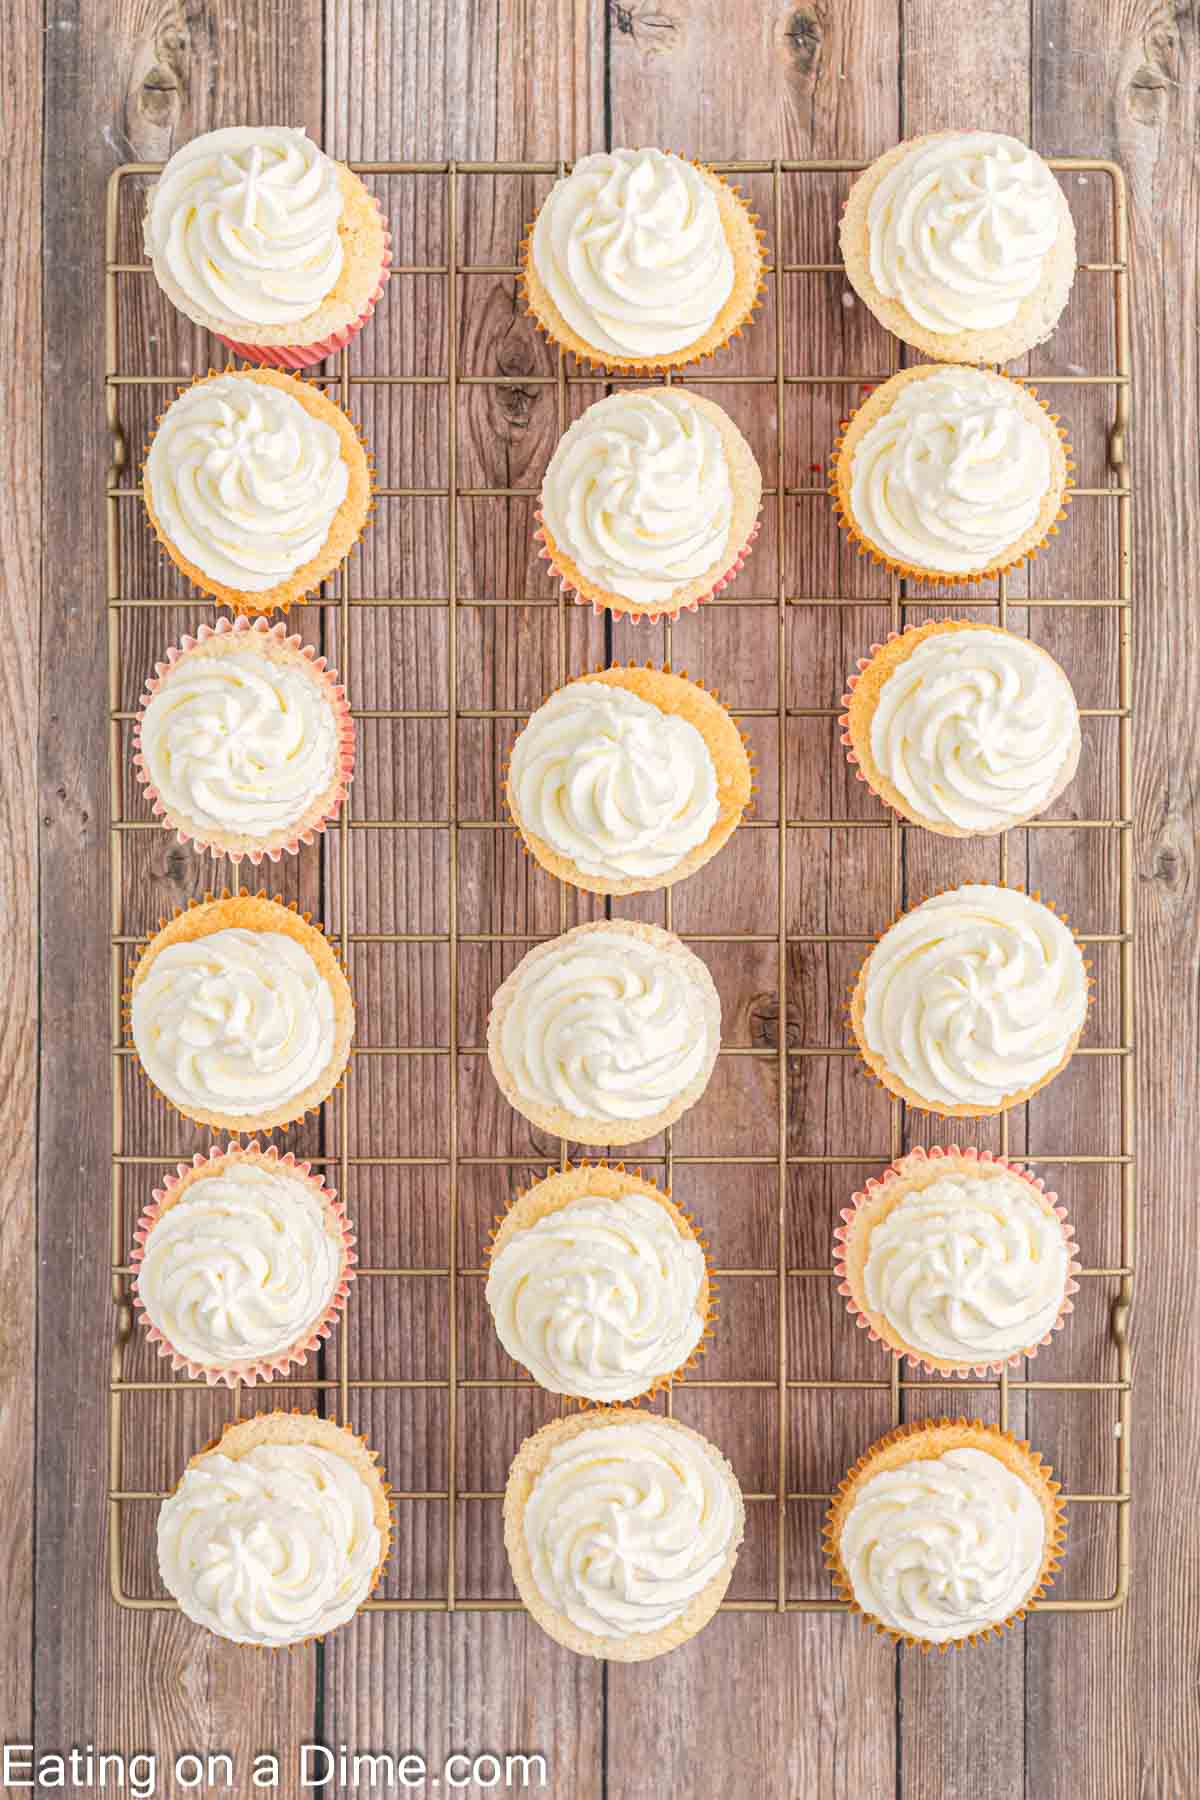
Step 8 – Move the cupcakes to a wire rack to cool completely.
How to Make Cream Cheese Frosting:
This frosting is also very easy to make. You just need some pastry bags (I love using disposable ones) and a large star tip. This easy tangy cream cheese frosting – yum is a must anytime we make this recipe.
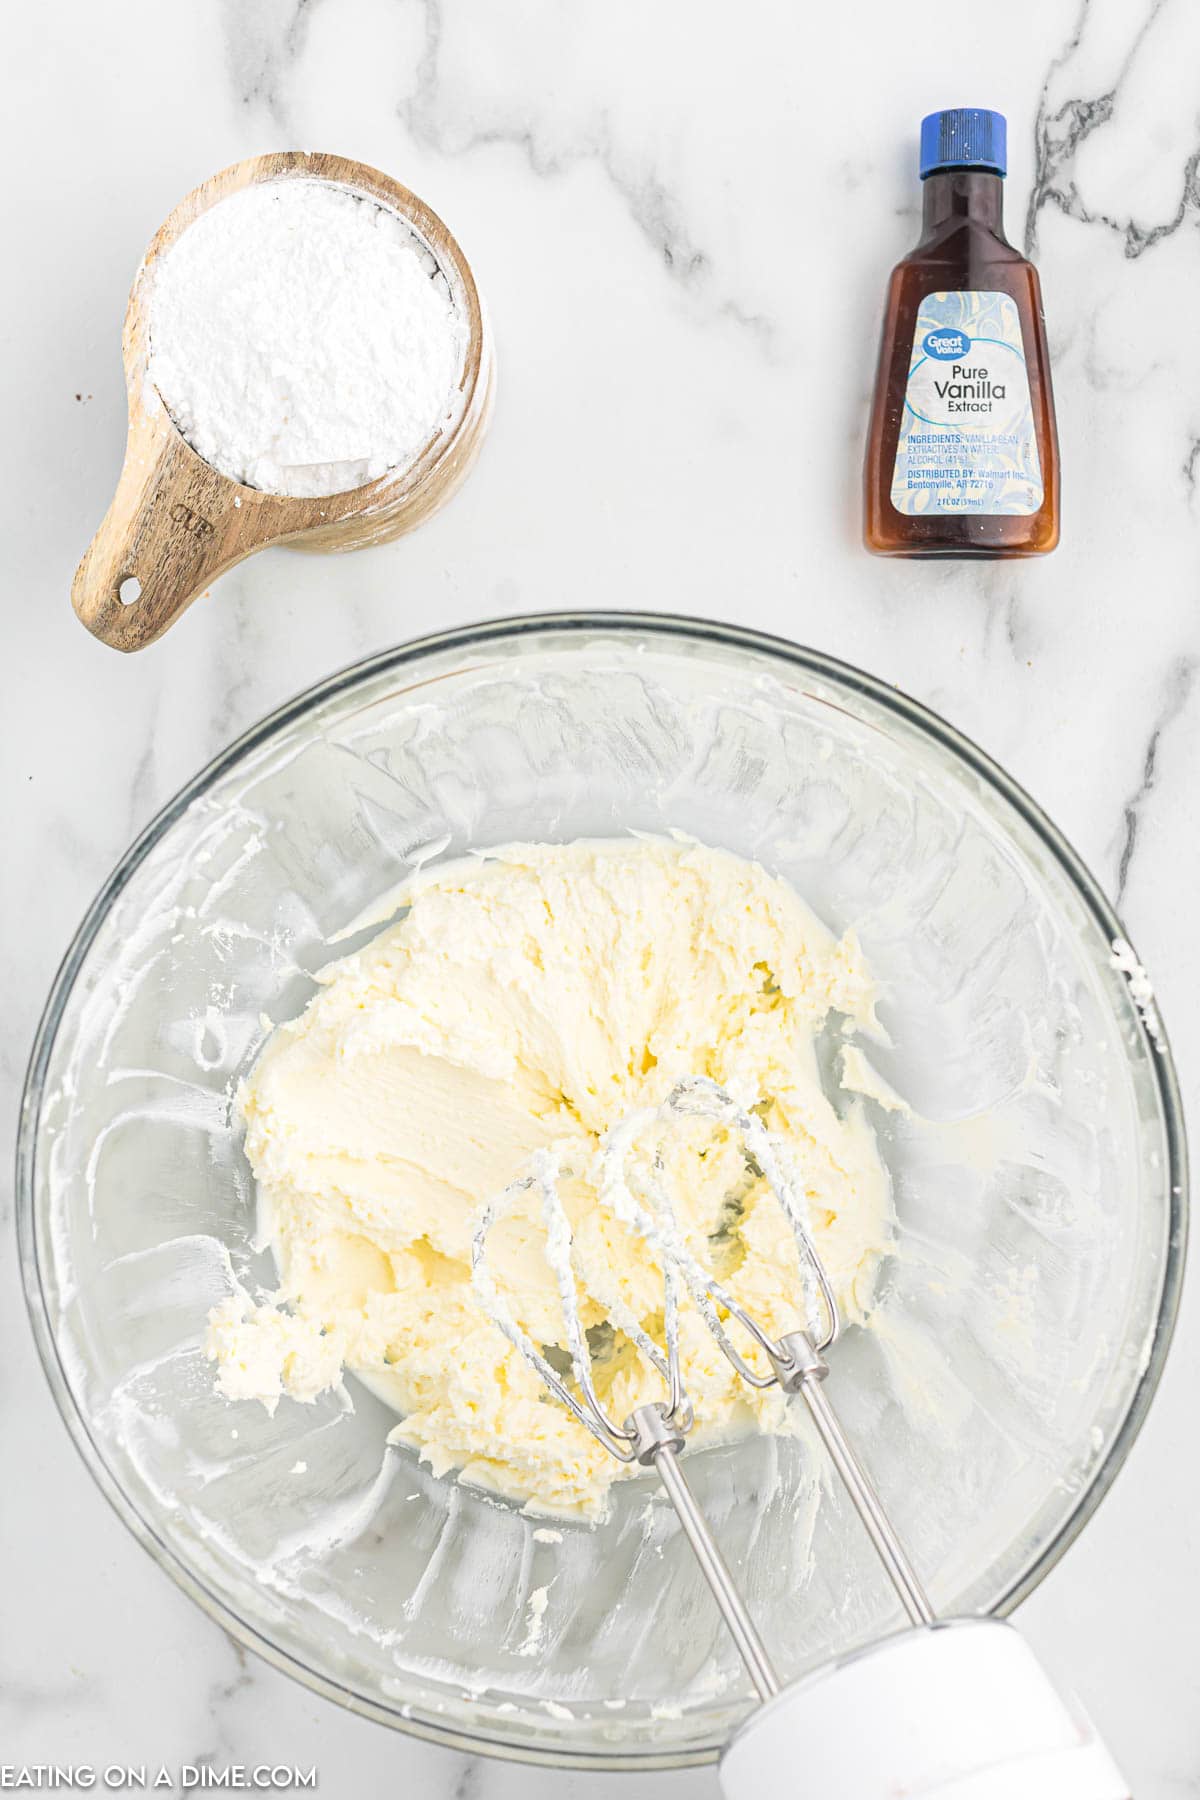
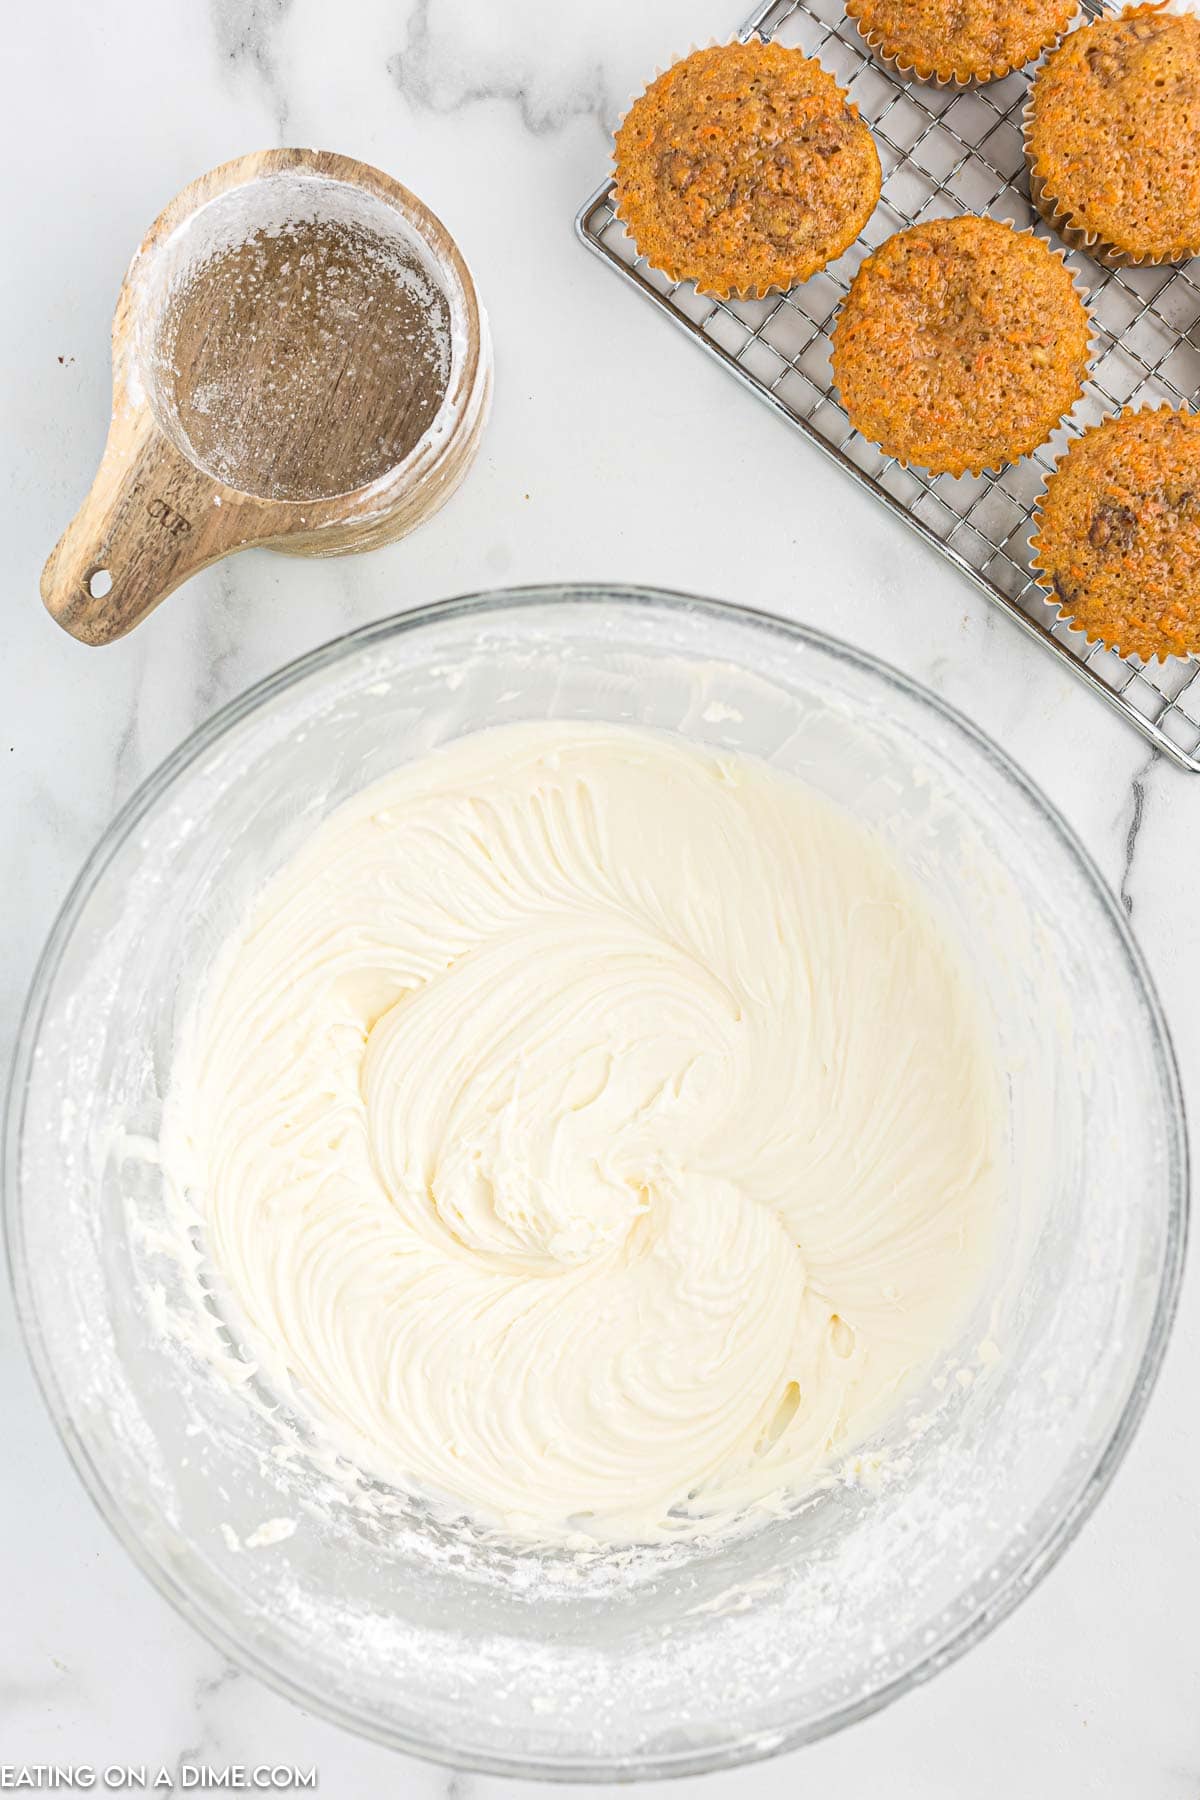
- Step 1 – Beat the cream cheese in a large mixing bowl until smooth.
- Step 2 – Add in the butter and beat until combined and smooth.
- Step 3 – Then slowly add in the powdered sugar (1 cup at a time). Mix after each cup is added. Continue to add until the frosting is thick and smooth. Then mix in the vanilla extract
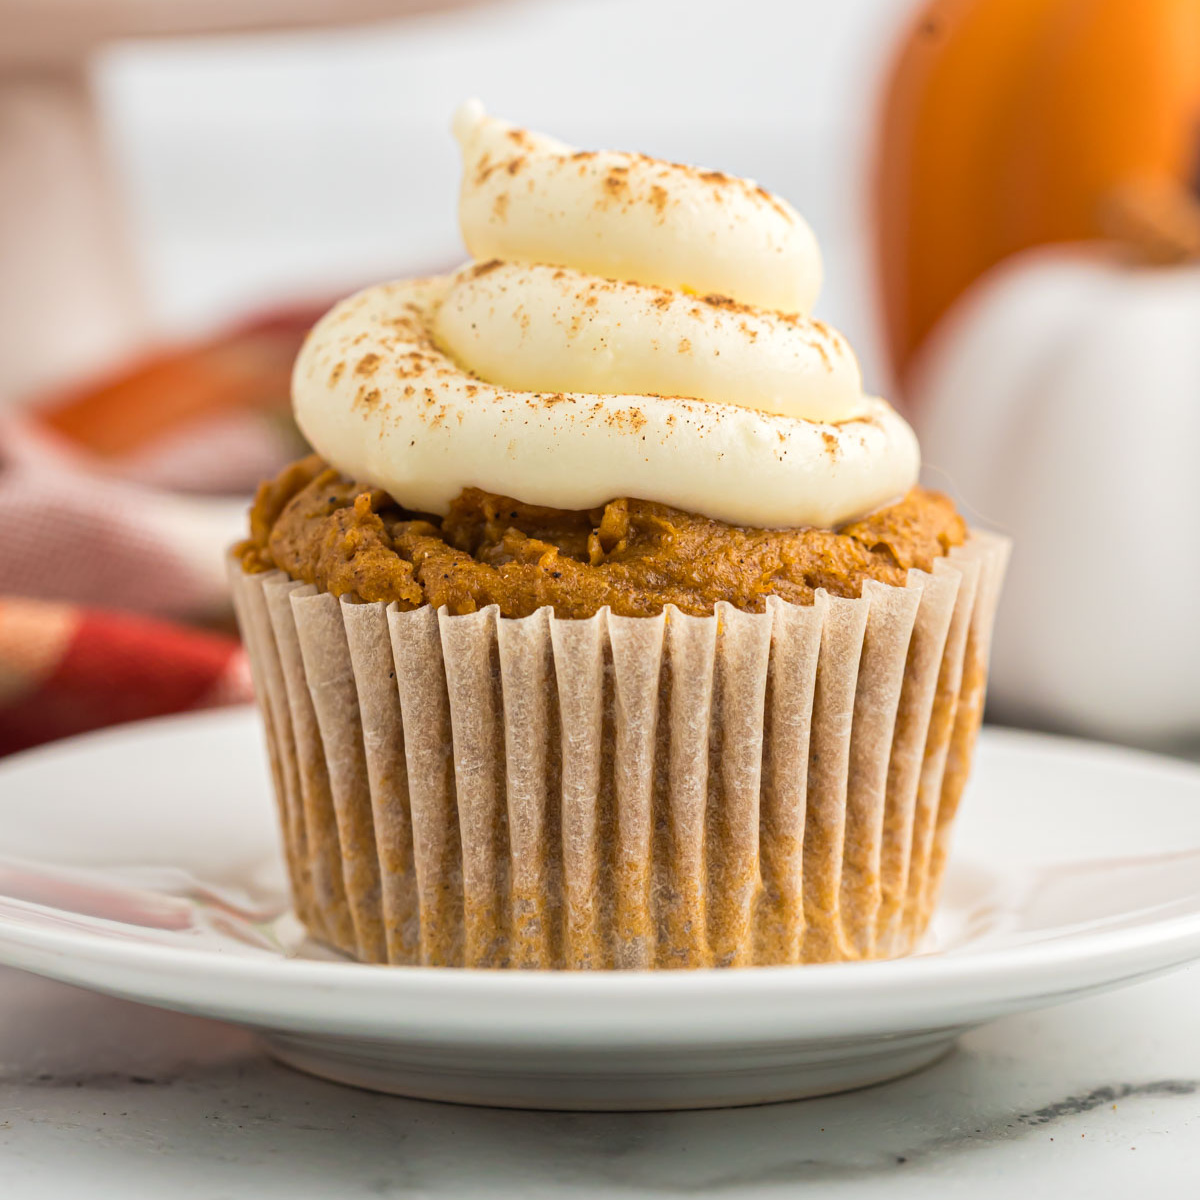
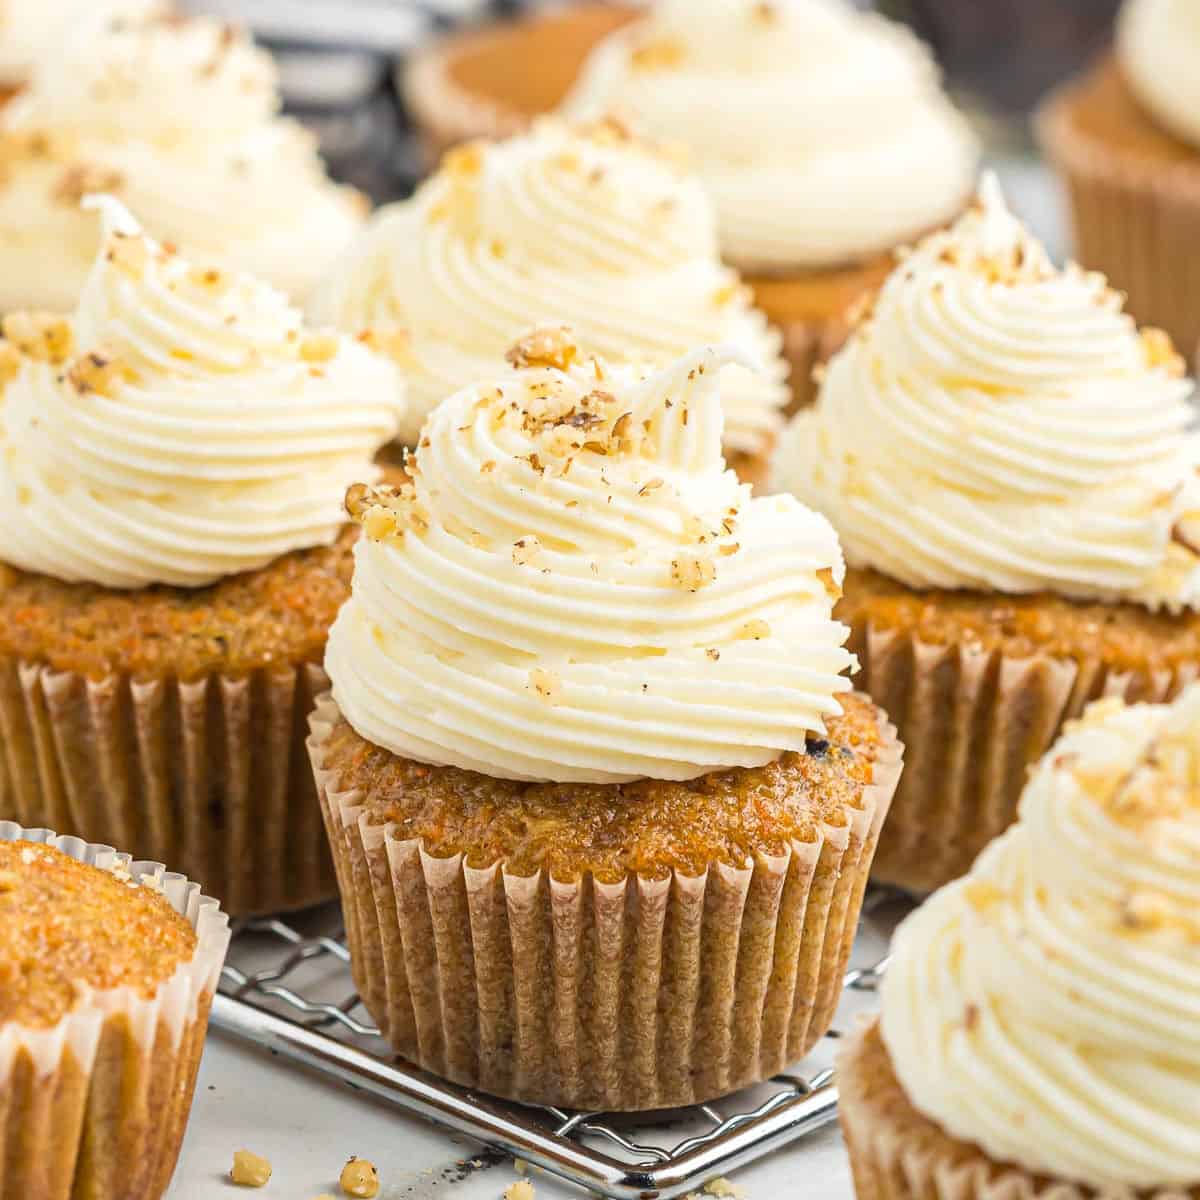
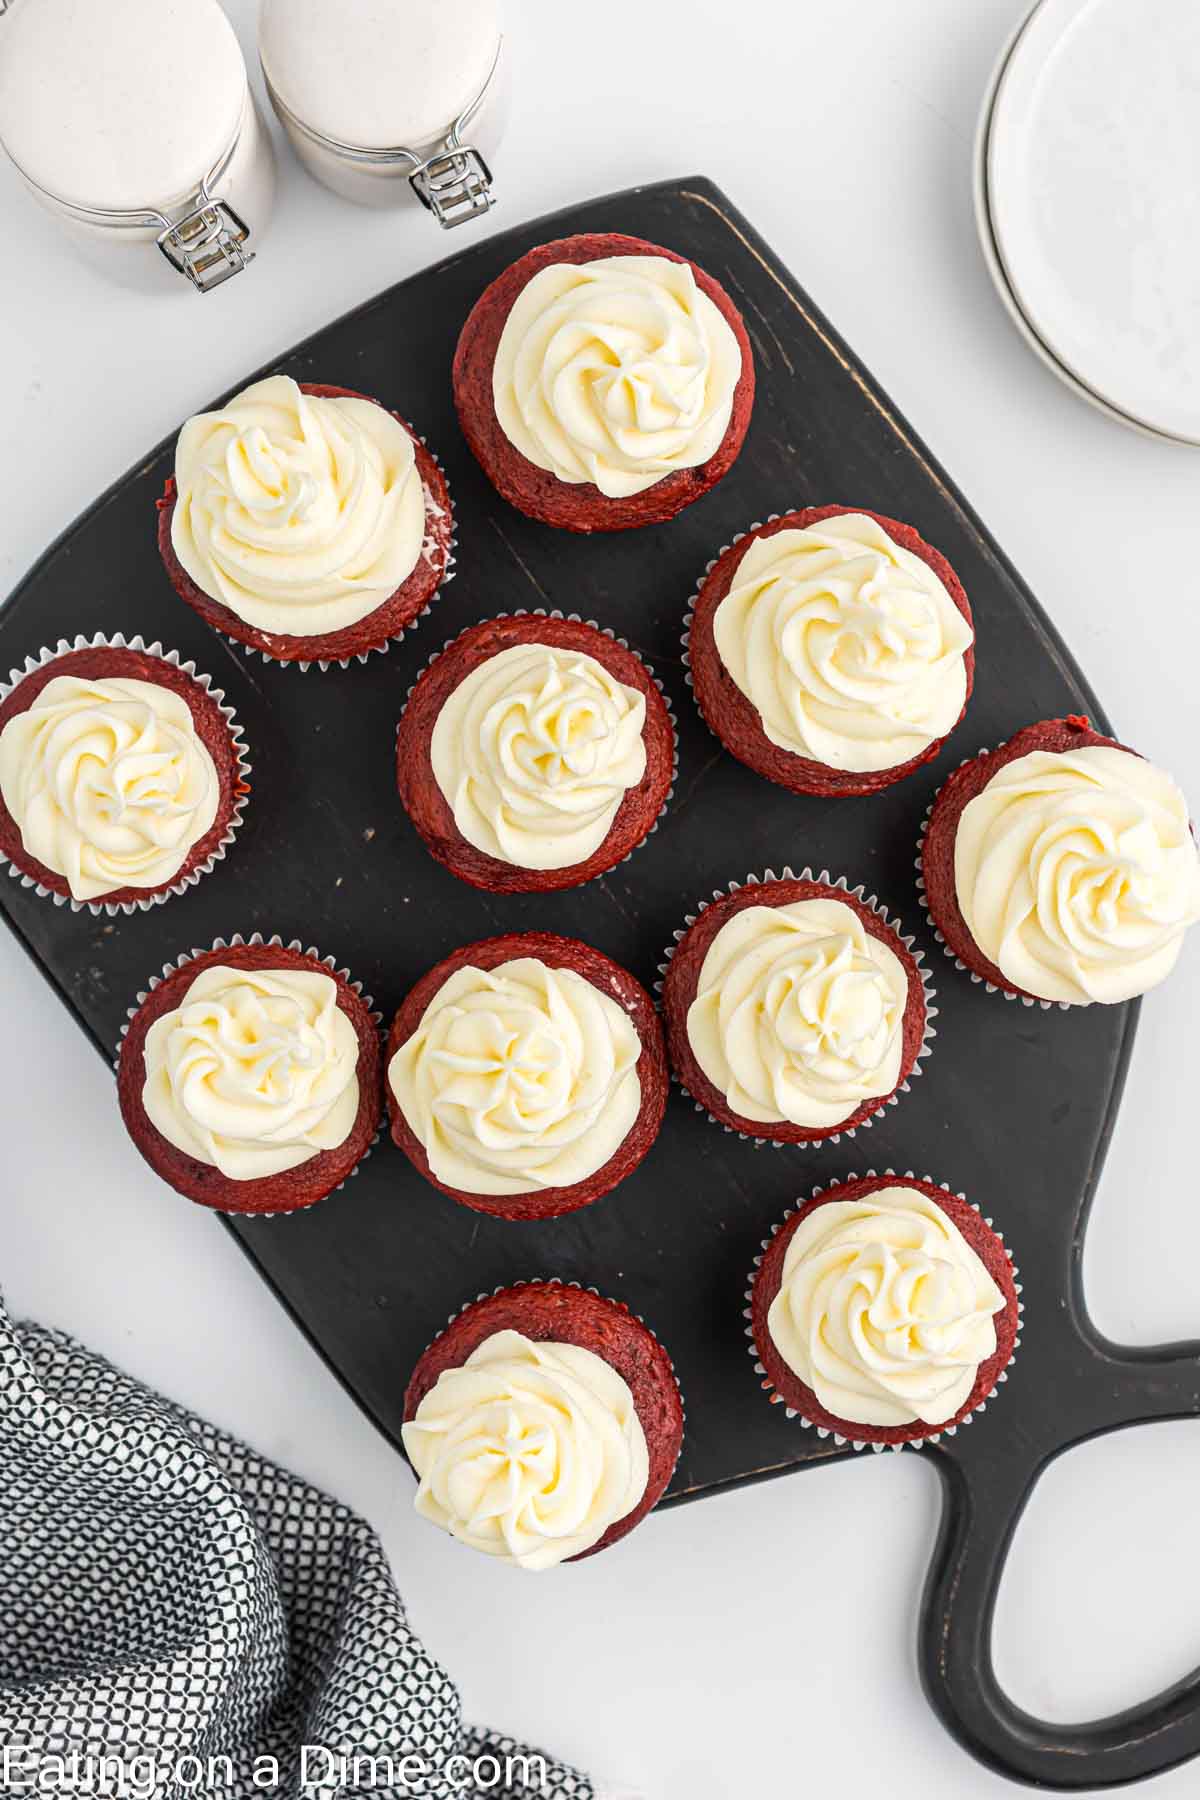
- Step 4 – Top each cupcake with cream cheese frosting. Start piping frosting on the outside of the cupcake and move towards the middle with one large circular motion. Serve and enjoy.
Recipe Tips:
- Combining Ingredients – We recommend combining ingredients with a hand mixer or an electric mixer with paddle attachment.
- Red Food Coloring – For the best color red, use quality liquid food coloring.
Frequently Asked Questions:
Store your leftover cupcakes in an airtight container in the fridge for up to a week.
Yes, you can freeze the prepared cupcakes and frosting separately in the freezer. Store in a freezer safe container for up to 3 months for best results. When ready to serve, defrost at room temperature and then frost and serve.
Yes, we like to prepare the cupcake and frosting in advance. Store them separately in the fridge in a container. When ready to serve, frost the cupcakes and serve.
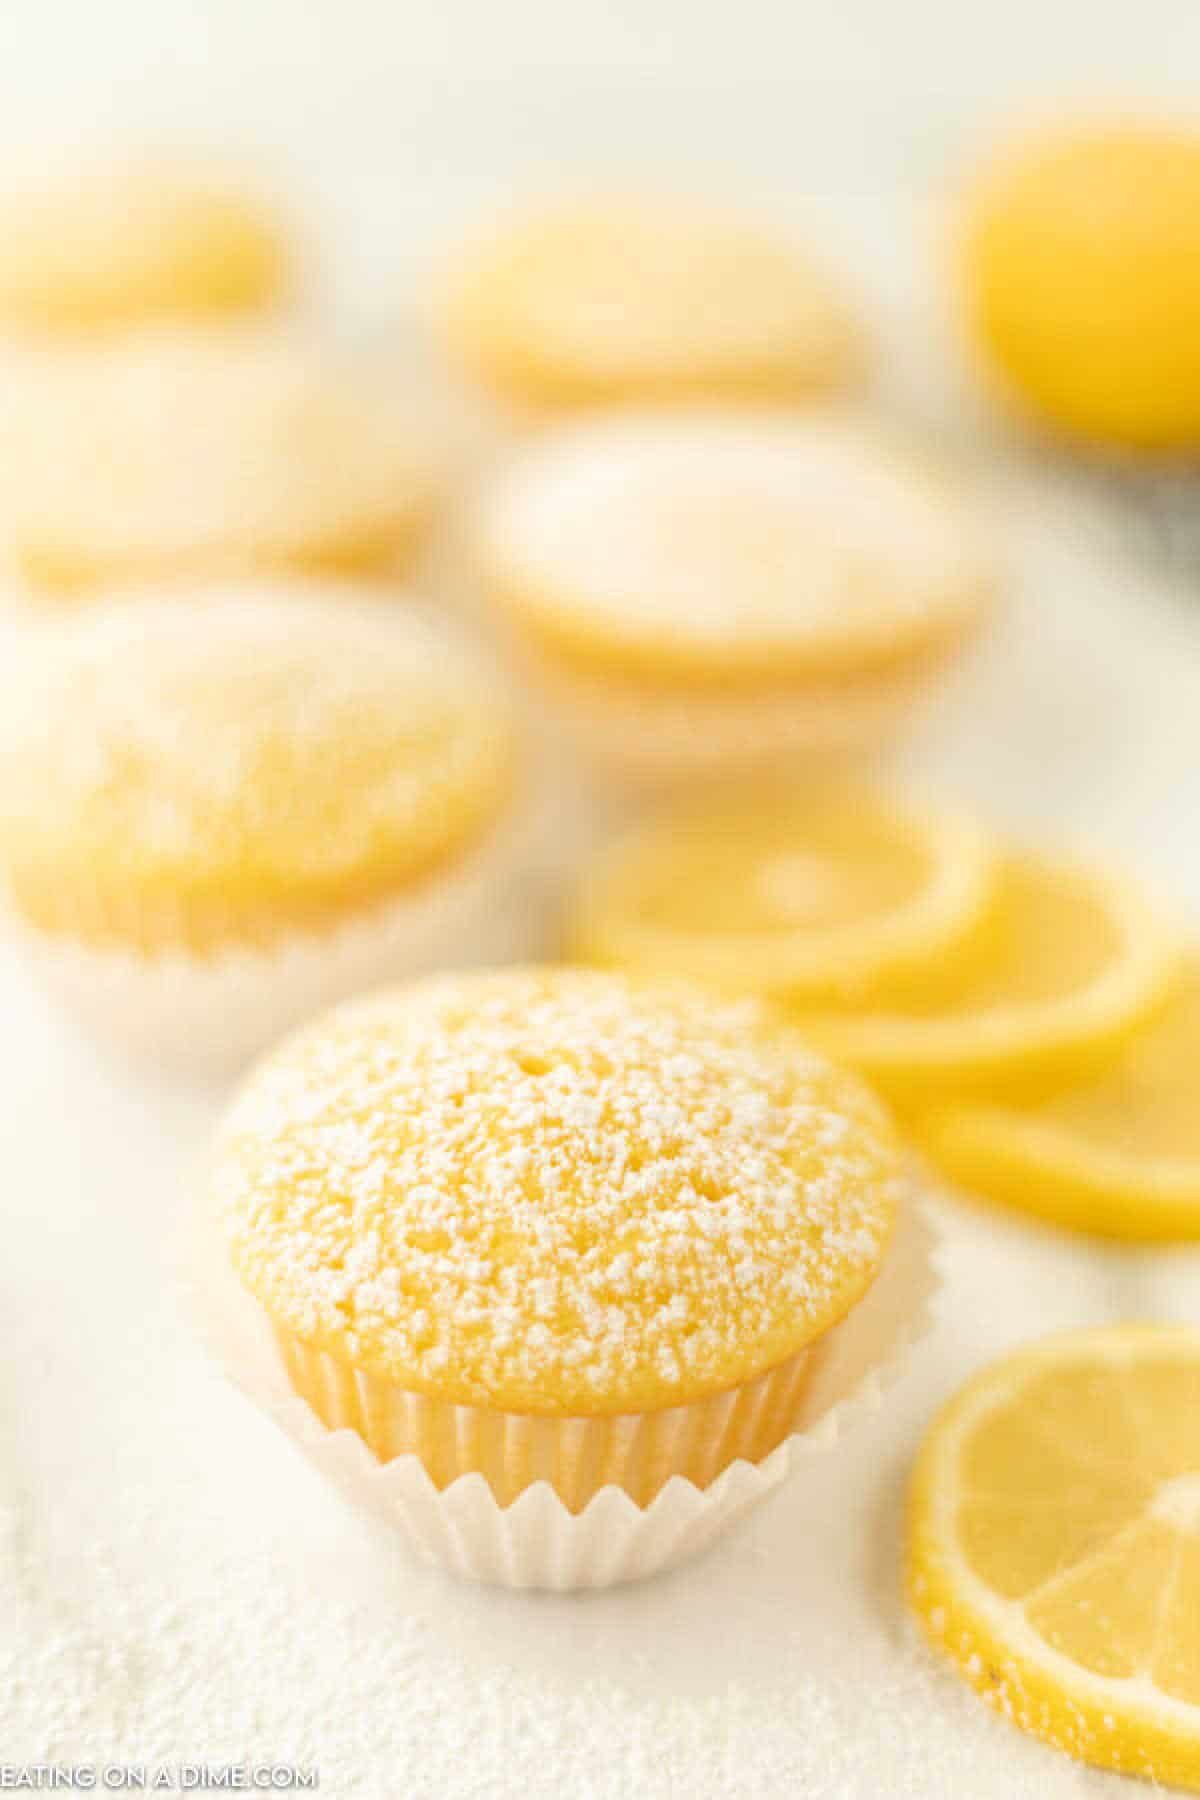
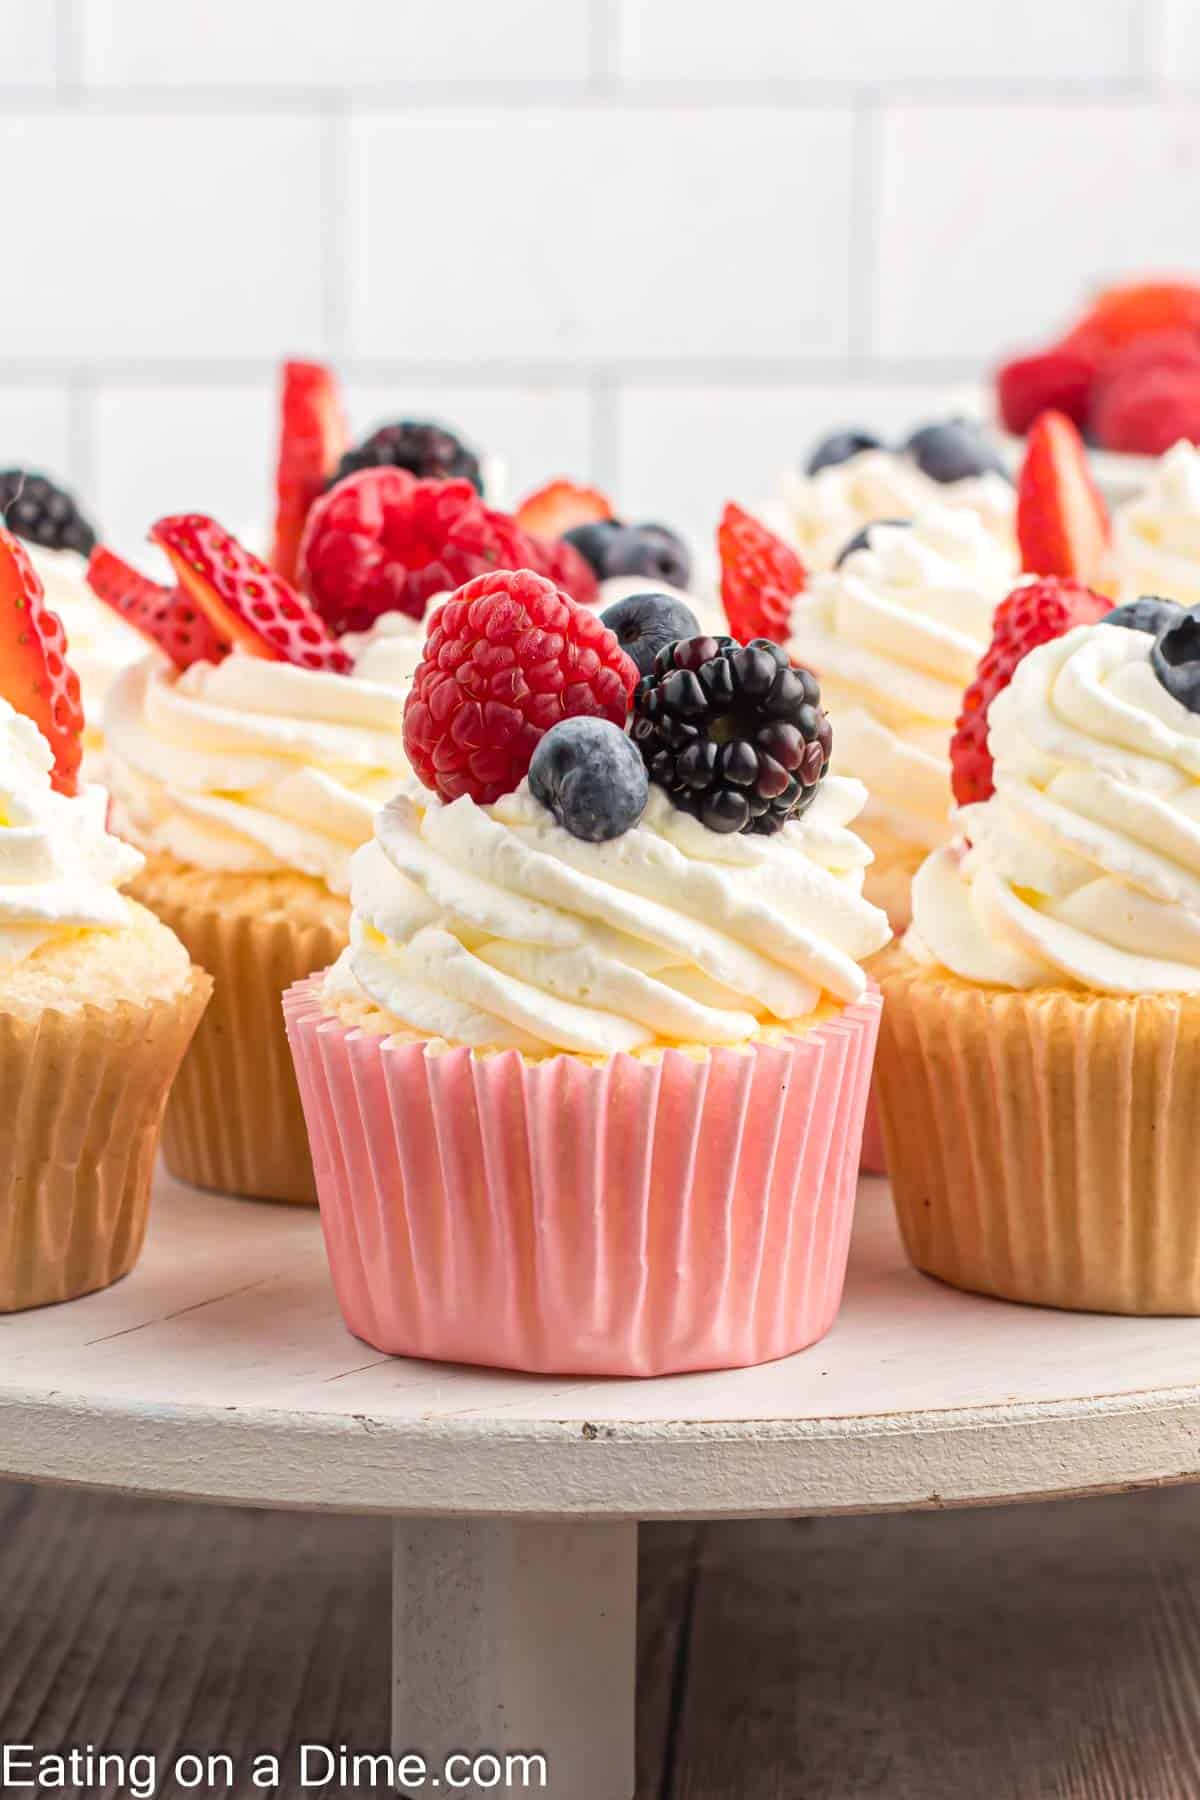
More Easy Cupcakes Recipe:
We love hearing from you. If you make these Red Velvet Cupcake Recipe, please leave us a comment or a star review.
Red Velvet Cupcake Recipe
This cupcake recipe is seriously the best red velvet cupcake recipe in the world. This red velvet cupcake recipe is made from scratch and you will love it.
For the Cream Cheese Frosting:
For the Cupcakes:
-
Preheat the oven to 350 degrees Fahrenheit and line 16 muffin tins with cupcake liners.
-
Combine the flour, baking soda, cocoa and salt together in a mixing bowl. Set aside.
-
In a separate bowl, using either a stand up or hand held mixer, combine the butter and sugar until thoroughly mix together (approximately 1 minute).
-
Then add in the oil, egg yolks (save the egg whites) and vanilla extract. Mix until these ingredients are combined and use a spatula to scrape the edge of the bowl as well.
-
Then slowly add in the dry ingredients and the buttermilk until both are thoroughly combined into the wet ingredients.
-
Then add approximately 2 tsp of red gel food coloring until the batter is the color that you desire for your cupcakes.
-
Next in a separate mixing bowl, beat the egg whites until they are light and fluffy and form peaks.
-
Gently stir in the eggs white until the red batter until they are combined. Do not over mix.
-
Pour the batter evenly into the 16 cupcake liners in the muffin pans.
-
Bake for 15-18 minutes until a toothpick inserted into the center comes out clean.
-
Move the cupcakes to a wire rack to cool completely. Make sure that the cupcakes have cooled completely before topping with the frosting.
For the Cream Cheese Frosting:
-
Beat the cream cheese in a large mixing bowl until smooth.
-
Add in the butter and beat until combined and smooth.
-
Then slowly add in the powdered sugar (1 cup at a time). Mix after each cup is added. Continue to add until the frosting is thick and smooth. Then mix in the vanilla extract.
-
Top each cupcake with cream cheese frosting and enjoy!
Keep the cupcakes in the refrigerator for up to 5 days and enjoy!
Calories 306kcal, Carbohydrates 69g, Protein 4g, Fat 23g, Saturated Fat 12g, Polyunsaturated Fat 2g, Monounsaturated Fat 6g, Trans Fat 1g, Cholesterol 73mg, Sodium 202mg, Potassium 82mg, Fiber 0.5g, Sugar 14g, Vitamin A 693IU, Calcium 47mg, Iron 0.3mg