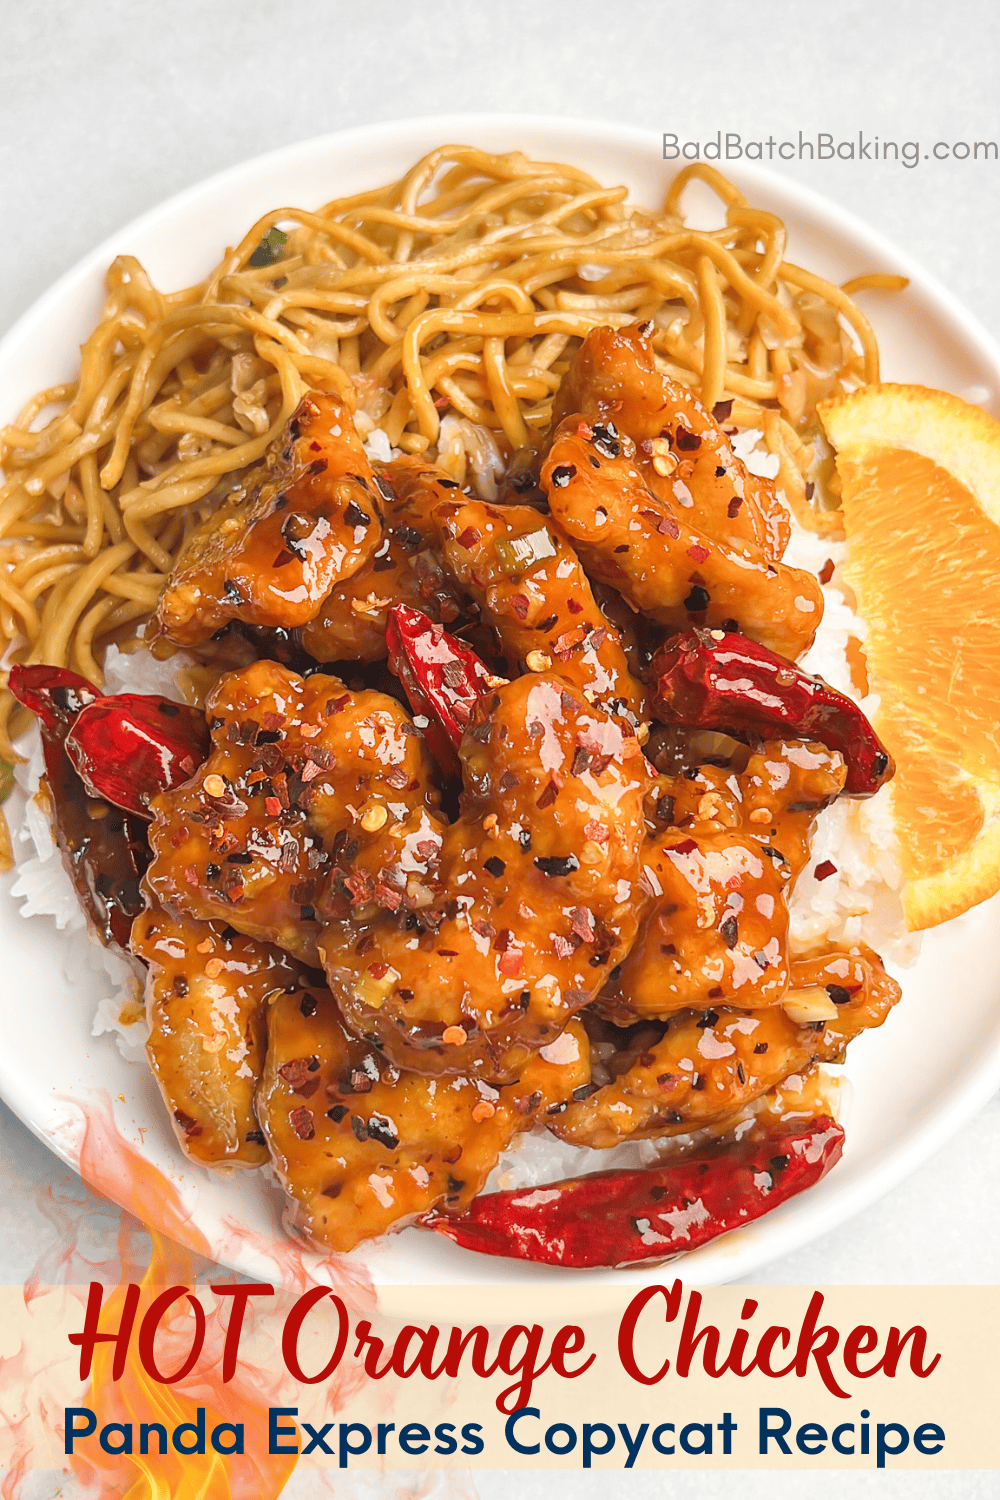
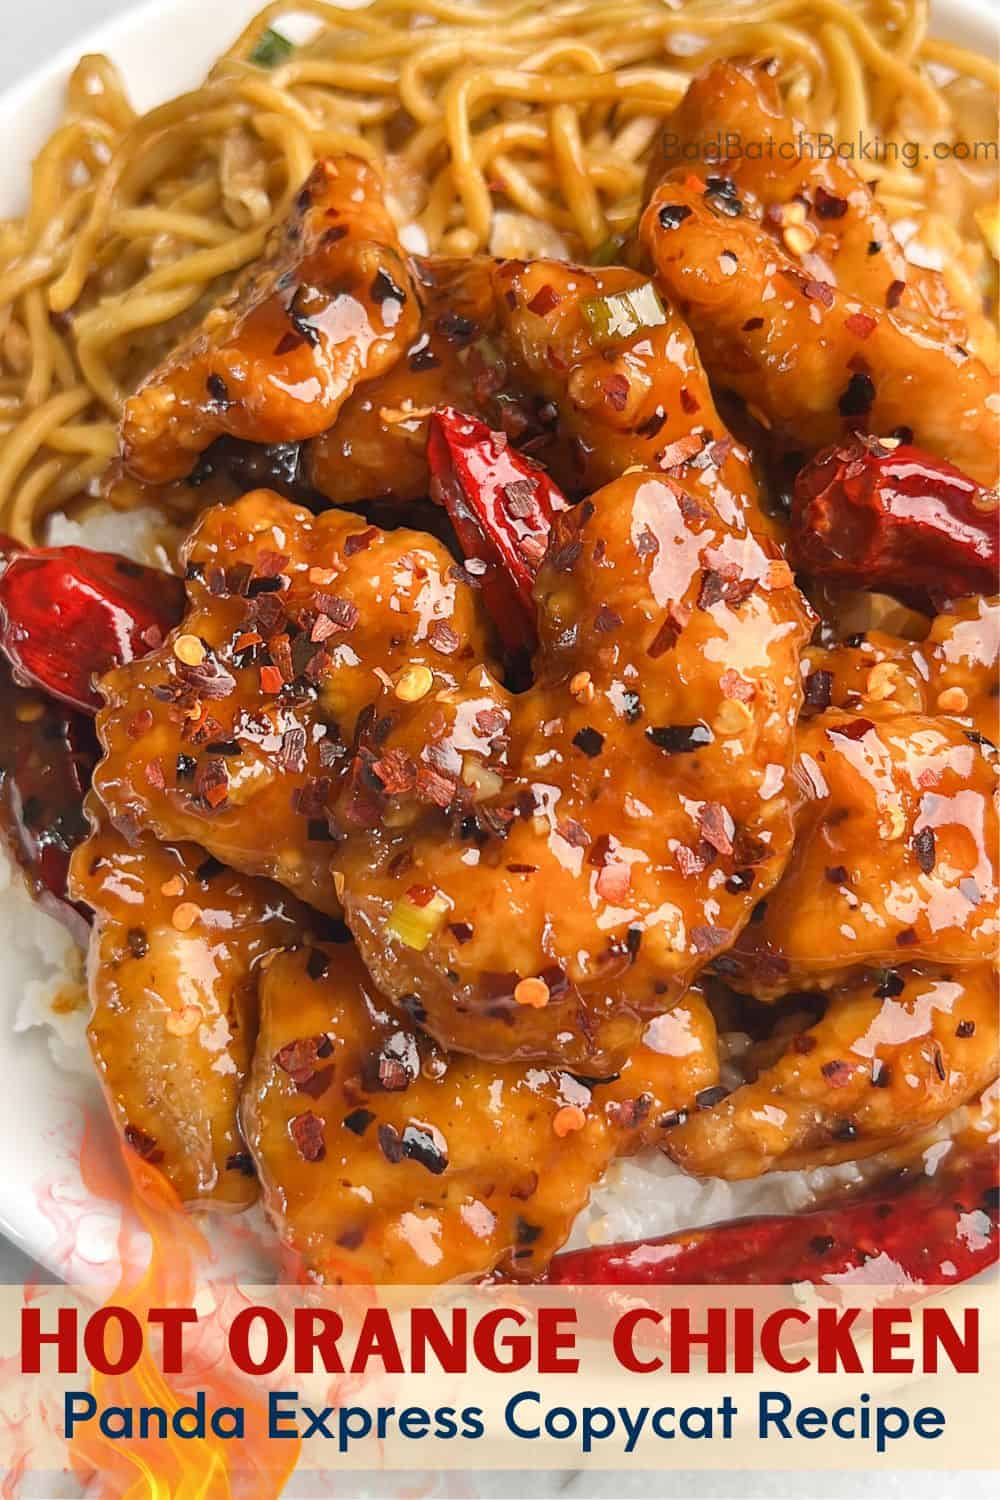
The Hot Orange Chicken Panda Express has dropped on their menu this week is all the rage on the internet and social media. After trying it myself, it was love at first bite! And since this hotty is only available at their restaurants for a limited time, I just knew this was a recipe that deserved a homemade remake we can all enjoy once it disappears.

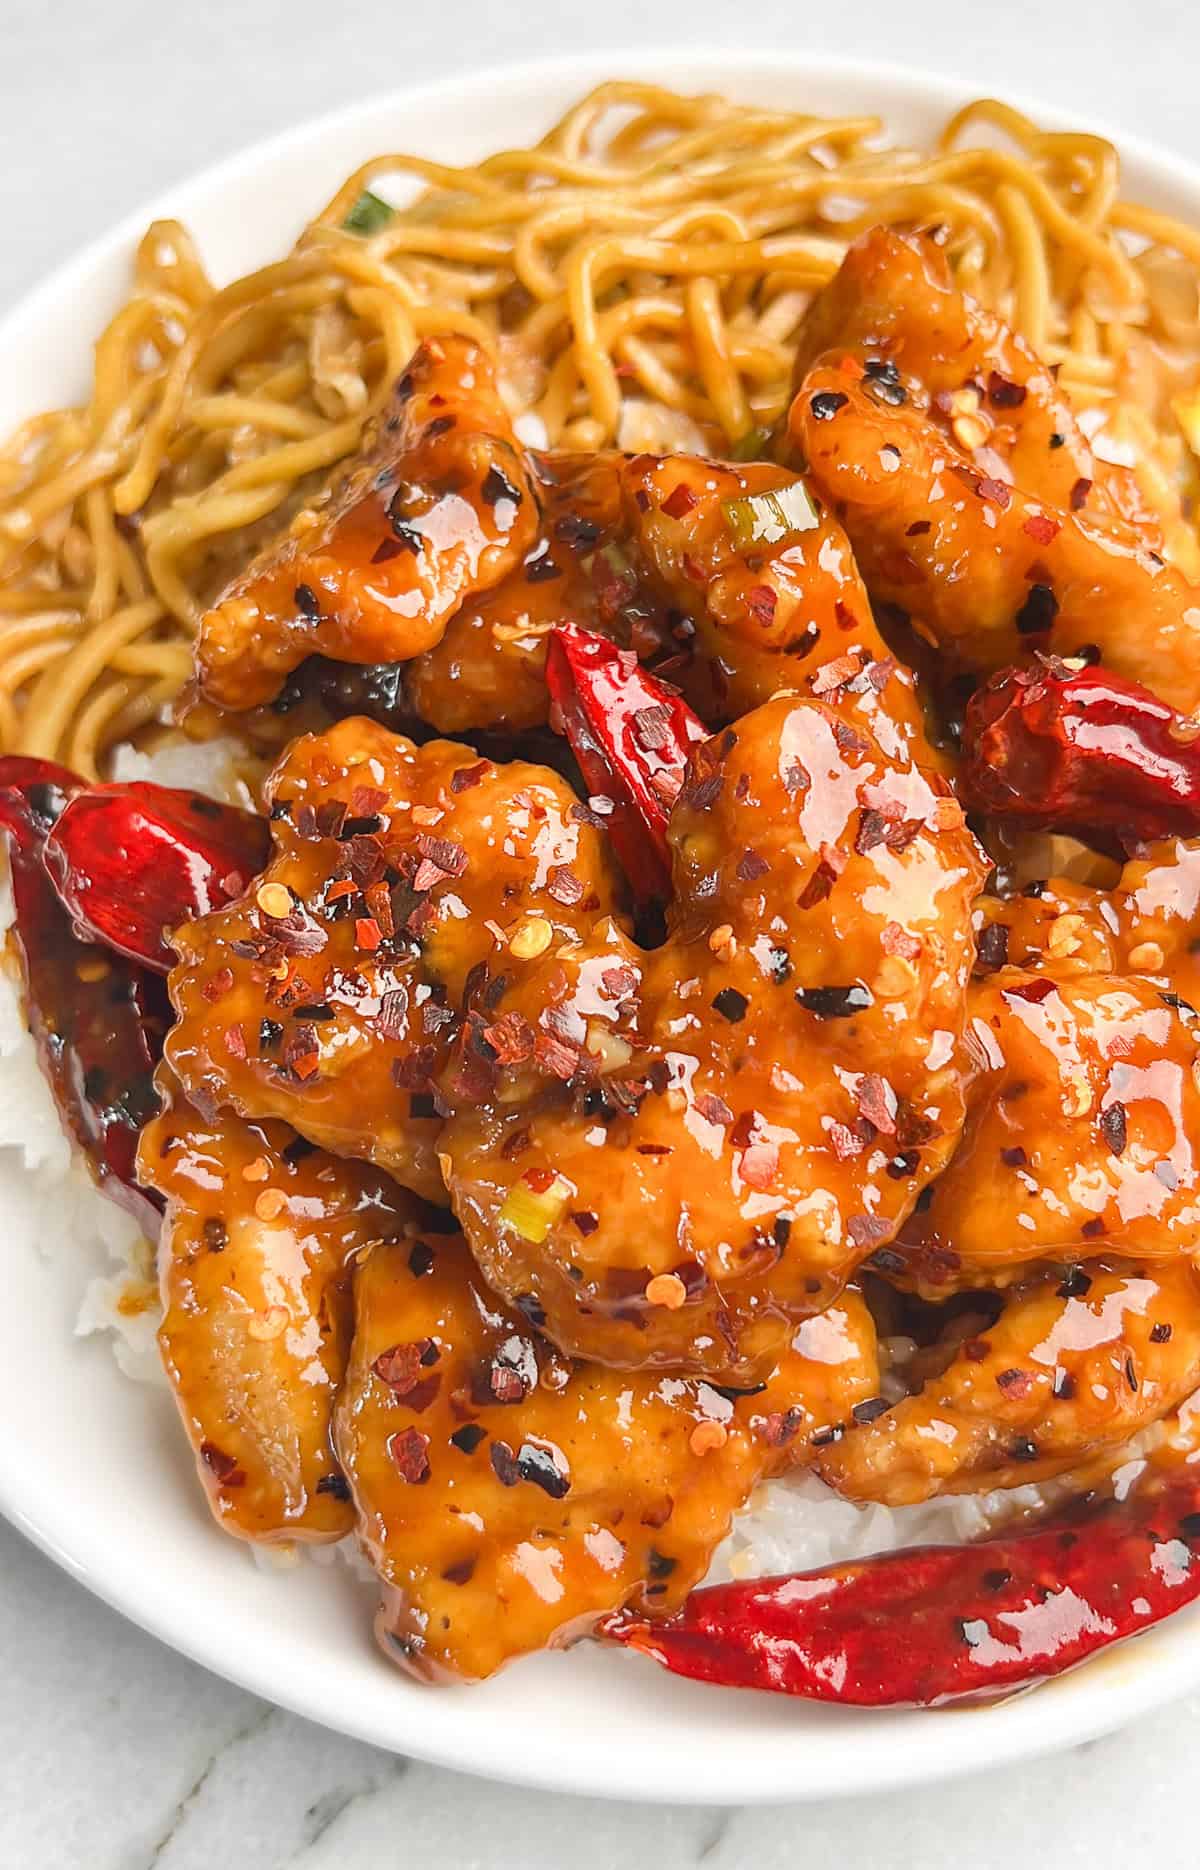
Tender chicken breasts are sliced into bite sized pieces, fried crispy and tossed in a sizzling wok full of fragrant spices, garlic, and a citrusy tangy sweet sauce. This copycat recipe is a spin on their classic Orange Chicken amped up with tons of chilies! The spice is intensely fiery delicious but not overwhelming as it’s complimented by the sweet tanginess of the orange chicken.
Why You’ll Love Hot Orange Chicken
If you haven’t tried Panda Express Hot Orange Chicken you absolutely must make this at home. Panda Express locations aren’t saturating each street corner and they can be out of reach for lots of us. So if you’re curious (or already a lover of their Hot Orange Chicken), you gotta try it. Here’s why:
Fiery Spice – the six scoops of red pepper flakes and szeschuan red chili peppers add the perfect warm heat without being unbearable.
Better Than Panda Express – yes, I said it. This hot orange chicken was selected by everoyone in a blind side-by-side taste test.
Sticky Sweet – the balance of tang, sweetness and spice is perfectly balanced.
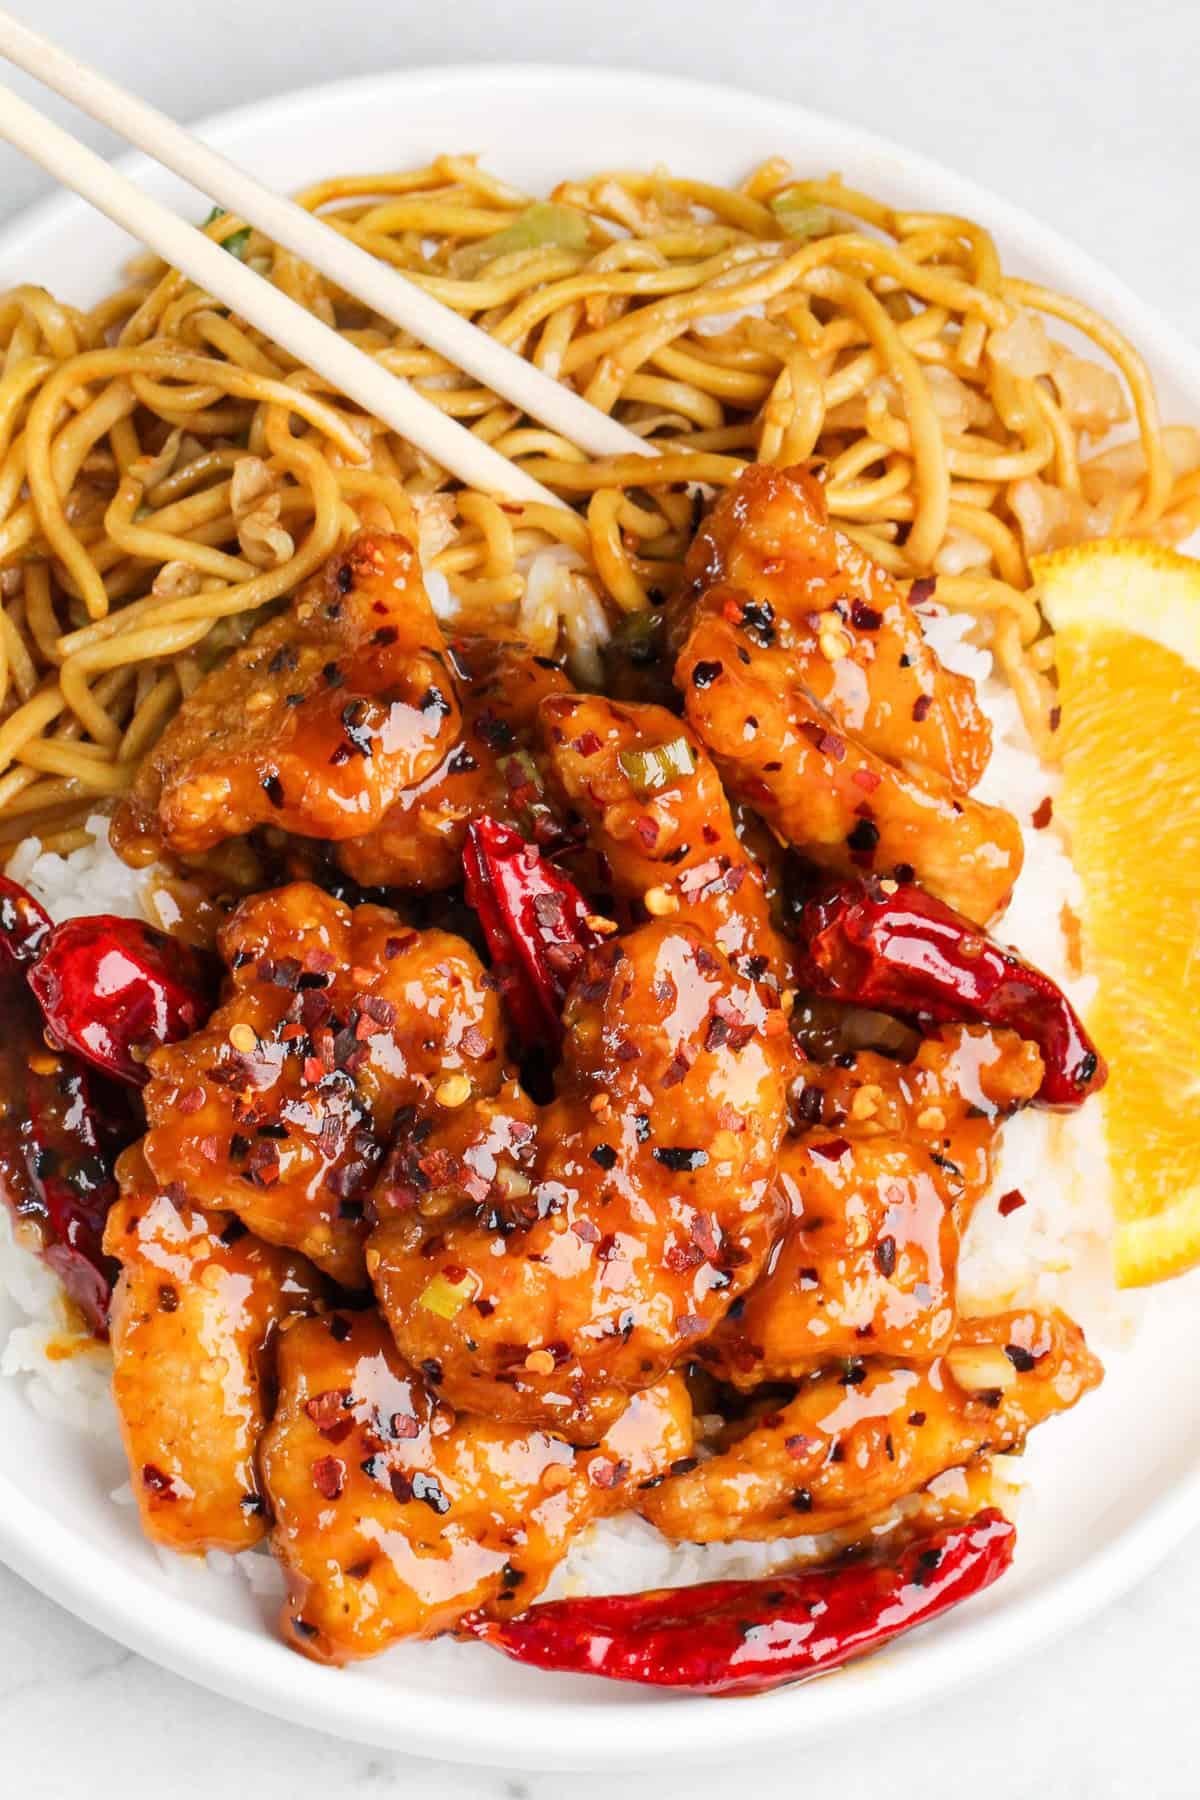
Lots of Citrus – arguably more “orangey” than Panda Express’ version. The fresh zest and juice yield a strong orange flavor.
Breading stays in tact – unlike some sauce-coated asian dishes, the breading can get goopy and soggy, this hot orange chicken stays firmly attached to the chicken.
What is Hot Orange Chicken from Panda Express?
The latest limited time menu item from Panda Express is a hot and spicy version of their famous and beloved Orange Chicken. It’s gone crazy on social media and according to Panda, they added dried whole red chili peppers and SIX scoops of red pepper flakes (where the traditional orange chicken has just one scoop).
Where to Find Ingredients?
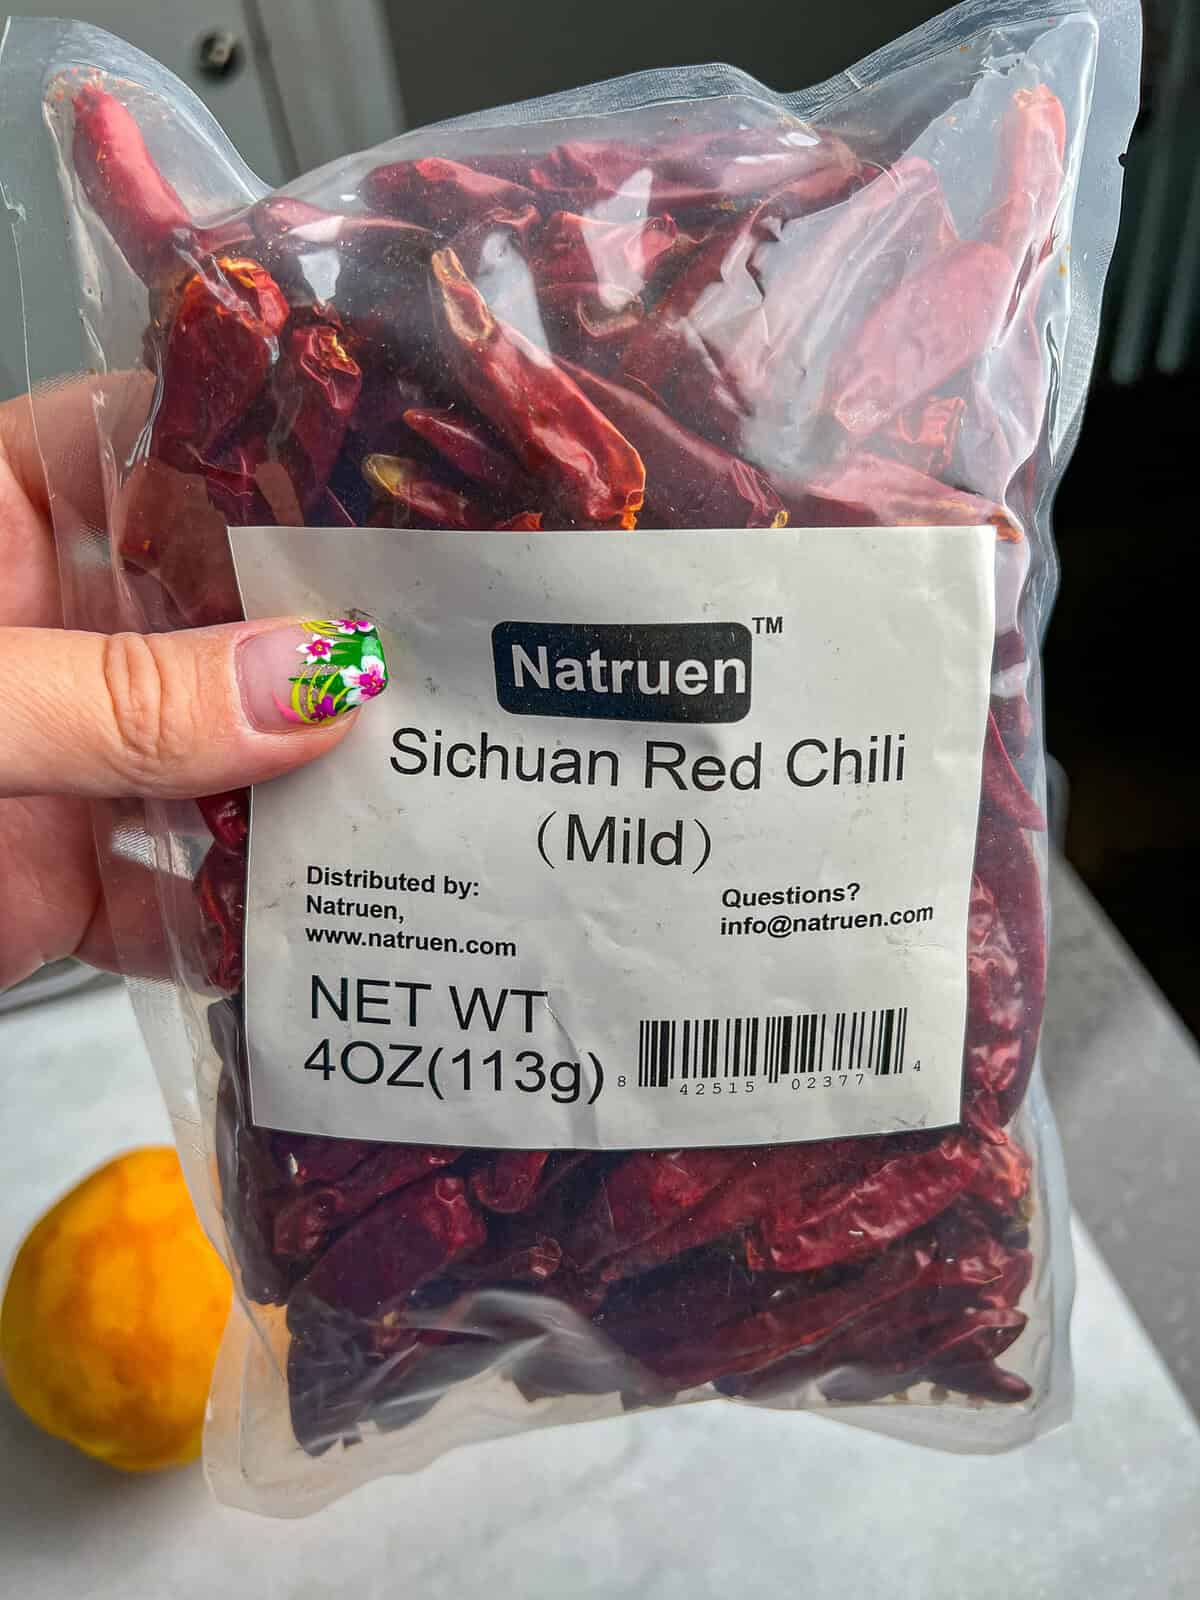
Most all of the listed ingredients can be found right in the asian foods/International aisle of your grocery store. If you are near an Asian mart (like H Mart) they will certainly have everything. The dried Szechuan red chili peppers are the only ingredient that can be tricky to find. If you can’t find them locally, Amazon sells a large bag that will last a while.
Key Ingredients
Chicken breasts – we’ll dice up boneless skinless chicken breasts into 1-2″ pieces. You can also use dark meat like chicken thighs, which is what they use in the restaurant.
Orange juice + zest – a whole orange is zested and added to the sauce. Be sure you have a microplane or zester to remove the zest without removing the pith (the white bitter part).
Brown sugar – the brown sugar adds a caramely sugar taste.
Soy sauce – the salty element for the sauce. I always use a low sodium variation as to not overwhelm the dish with too much salt.
Rice wine vinegar – this adds tanginess to the sauce. If you can’t find rice wine vinegar, you can substitute with distilled white vinegar or apple cider vinegar.
Garlic – be sure to use freshly minced garlic and not the pre-minced kind in the jar as it doesn’t add a true distinct garlicky flavor.
Sesame oil – just a few spoonfuls go a long way in added flavor. If you can get your hands on toasted sesame oil it’s even more intensely flavored.
Flour + Cornstarch – the base for our chicken dredge. The cornstarch is also used in the sauce to help thicken.
How to Make Hot Orange Chicken
Step 1: Make The Sauce
We’ll whisk together all of the ingredients in the sauce, then cover and set it aside until it’s ready to be used in the final step.
Step 2: Bread & Fry the Chicken
Once the chicken is cut into bite-sized chunks, we’ll toss it in the egg+oil wash, then into the cornstarch+flour dredge. Dust off the excess flour and fry them in batches for about 3 minutes.
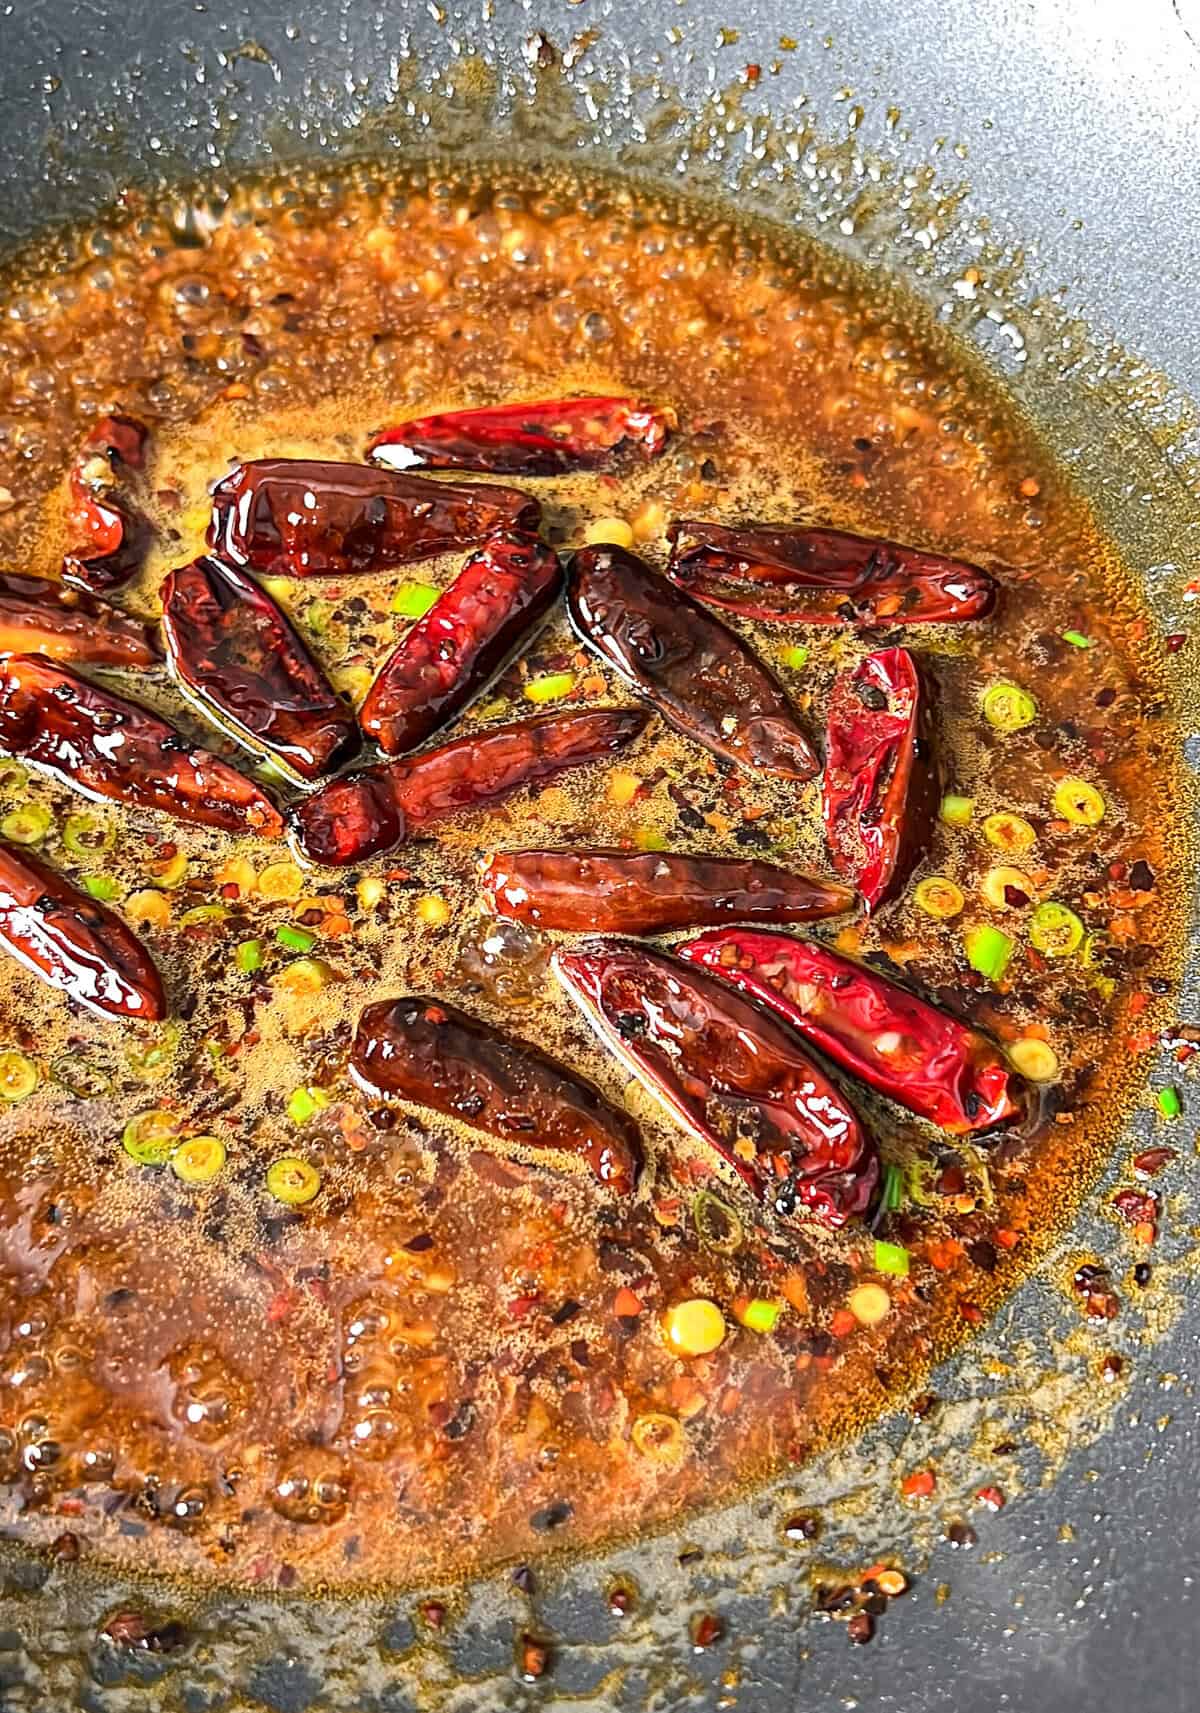
Step 3: Fire Up the Wok
We start with sizzling up our chilies, red pepper flakes and garlic in a wok with hot oil. Once those sizzle for 30 seconds or so, we’ll add in the sauce and allow it to begin to thicken. Toss in the chicken and stir and toss until all the pieces are well coated and warmed through.

I hope you enjoyed this Hot Orange Chicken Panda Express recipe. I look forward to your questions and feedback below.
Please be sure to tag me @BadBatchBaking using hashtag #badbatchbaking if you made this recipe and I will feature you on my story! Plus, I LOVE to see your baking accomplishments.
Make The Orange Sauce
-
In a medium bowl, whisk together all of the ingredients for the sauce, then cover and set it aside until it’s ready to be used in the final step.
Prep and Bread Chicken
-
Prep the dredge by adding cornstarch and flour together in a shallow pie dish (or similar). Whisk in the salt and pepper to it’s evenly distributed.
-
In a medium bowl, whisk together the eggs with 2 tablespoons vegetable oil. Whisk vigorously until the egg is no longer stringy and the mixture starts to emulsify.
-
Start to get the oil heated to 375 degrees in a heavy bottom skillet, wok or deep saute pan. Attach a thermometer to best manage the heat.
-
While oil is heating, work in batches placing diced chicken pieces into the egg wash. Coat well then toss into the dredging flour. Coat the chicken pieces well on all sides making sure no chicken shows through the breading.
Stir Fry in Wok
-
In a wok, add 2 tablespoons of vegetable oil and heat over medium-high. Add in the chili peppers and red pepper flakes. Heat through about 15 seconds, stirring constantly.
-
Add in the garlic (and ginger if using) and sesame oil, cook another 15 seconds as you stir.
-
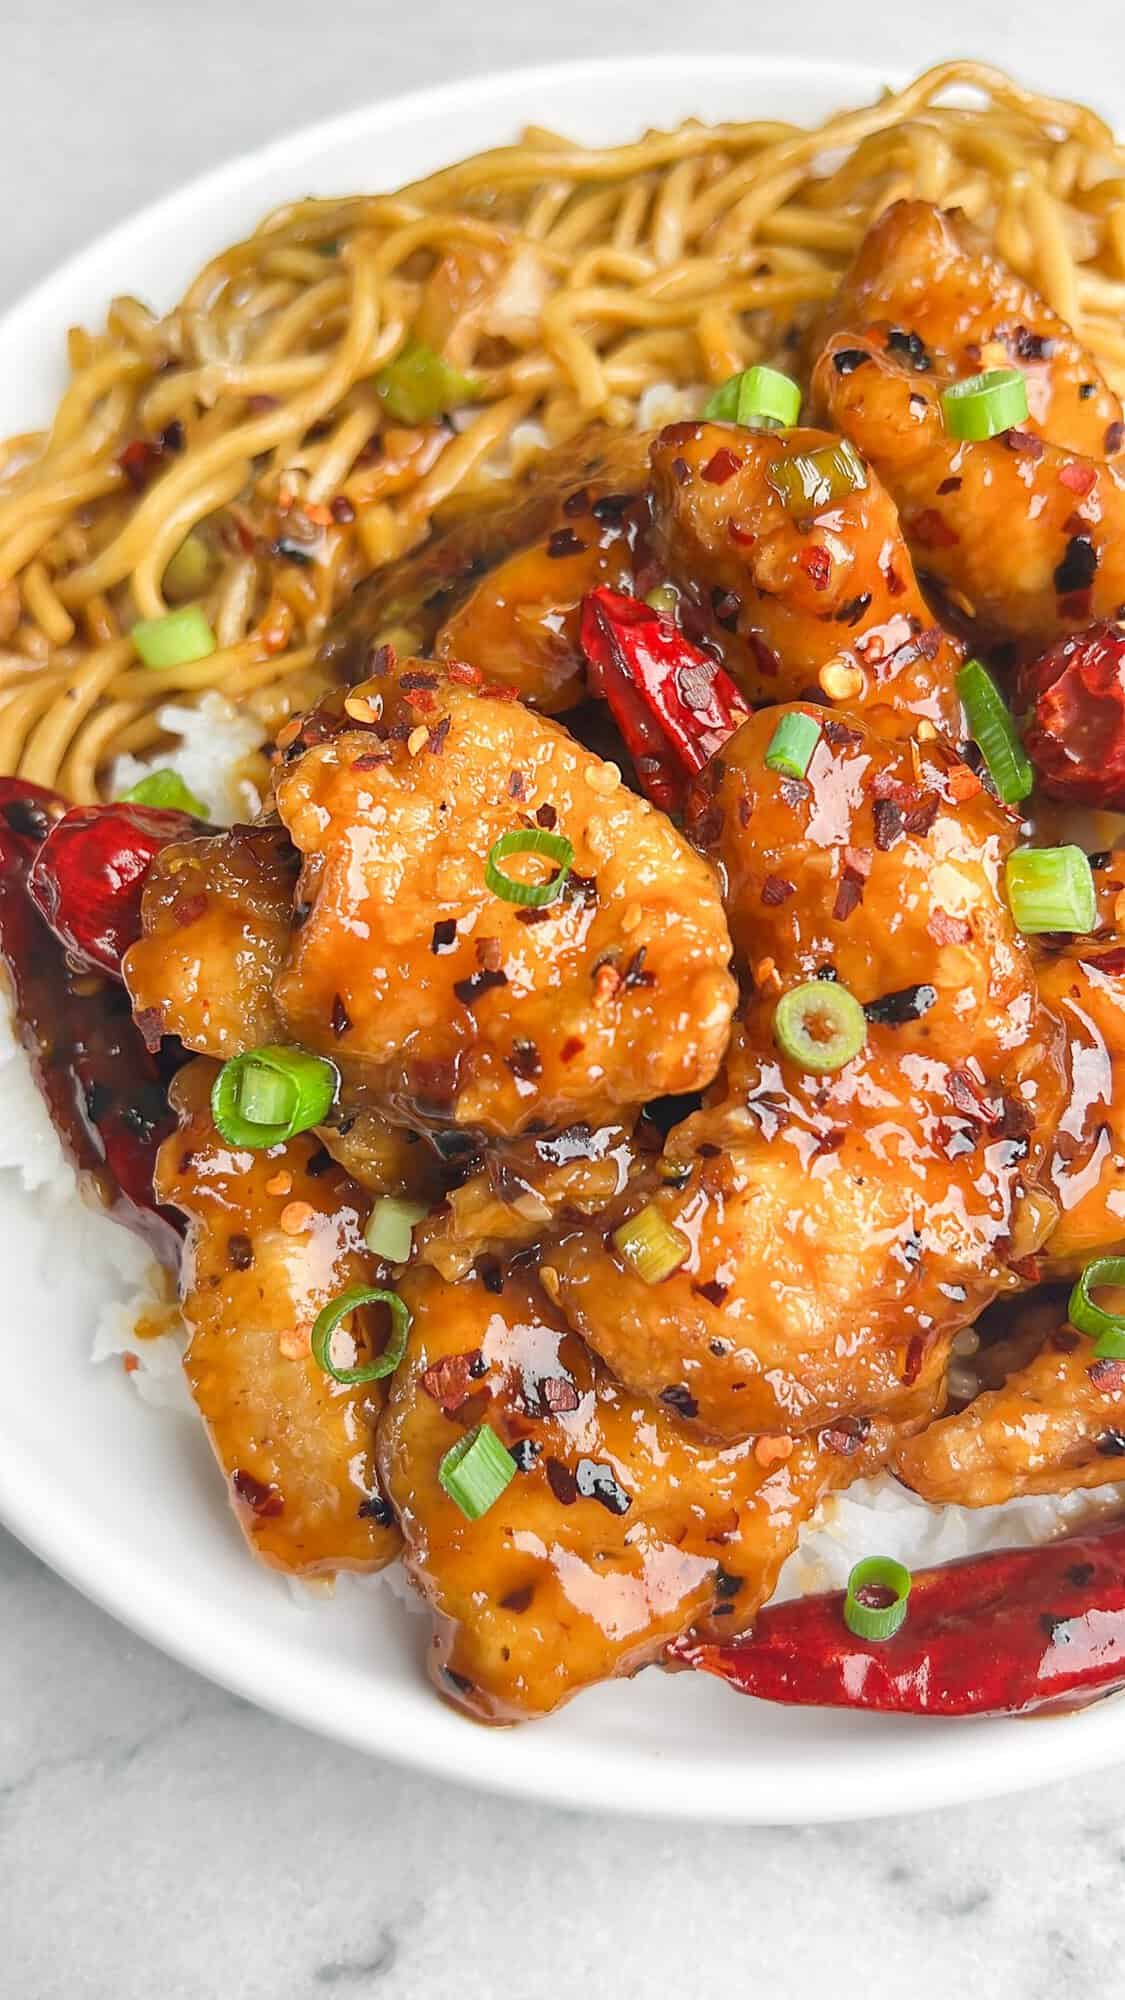
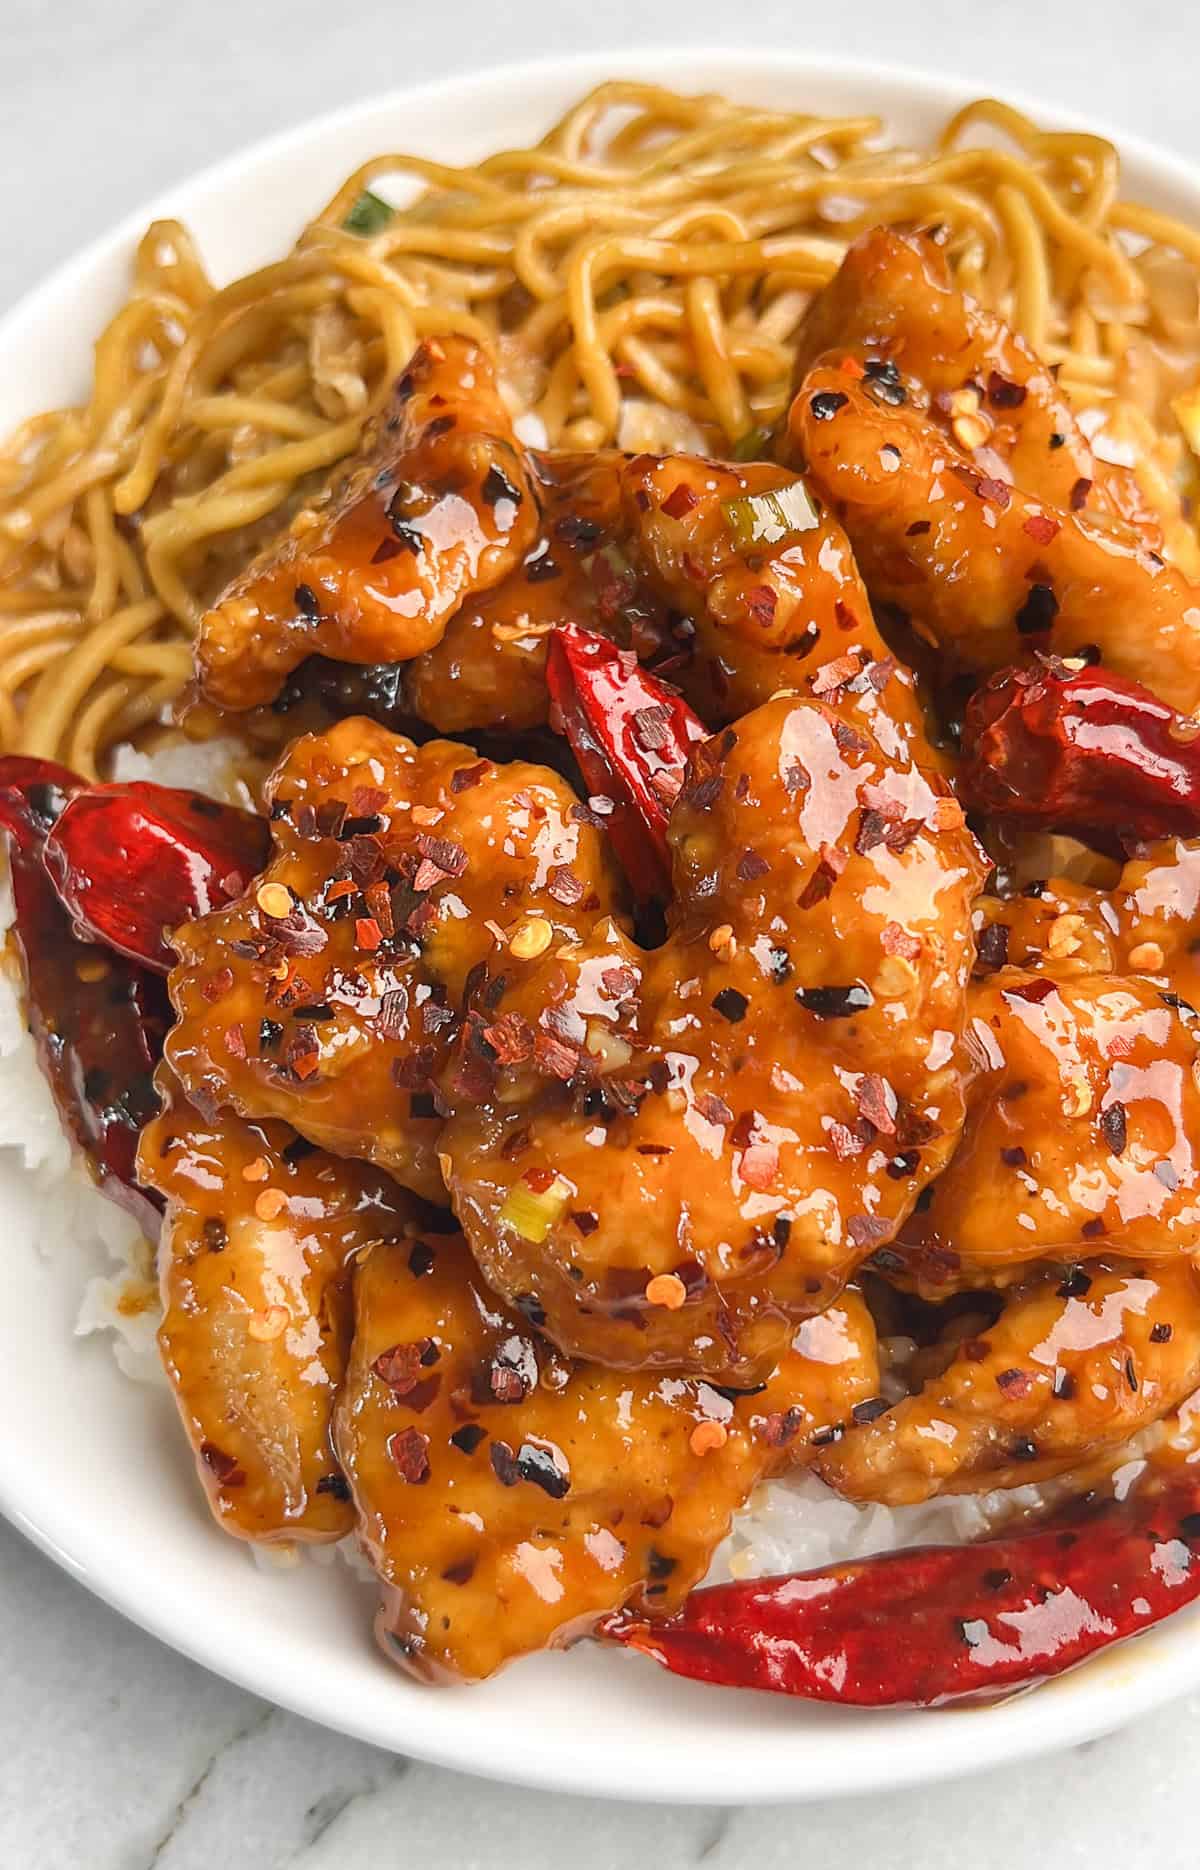
Pour the sauce into the wok to thicken. You’ll see it start to bubble on the edges and begin to thicken, about 2 minutes. Add the crispy chicken pieces to the sauce and toss multiple times to coat well and warm the chicken back up, about 1 minute. Serve over rice and top with green onion slices.

Hot Orange Chicken Panda Express Recipe
- Prep Time: 20minutes
- Cook Time: 20minutes
- Total Time: 40 minutes
Description
Ingredients
To Make Chicken
- 2 lbs chicken boneless skinless breasts or thighs, cut into 1–2” inch pieces
- 1 cup cornstarch
- 1/2 cup all-purpose flour
- 2 eggs
- 2 tablespoons oil canola or vegetable
- 1 tsp salt
- 1/2 tsp white pepper
- oil for frying
To Make Orange Sauce
- 1 cup orange juice
- 1 orange, zest of
- 3 tablespoons soy sauce
- 4 tablespoons rice wine vinegar
- 1/2 cup brown sugar
- 2 teaspoons sesame oil
- 1 tablespoon cornstarch
- 1 tablespoon green onions, sliced plus extra for garnish
To Stir-Fry
- 2 tablespoons oil canola or vegetable
- 1/2 cup dried whole red chili peppers
- 6 teaspoons red pepper flakes
- 1 tablespoon sesame oil
- 2 cloves garlic, minced
- optional: 1 tablespoon ginger, grated
Instructions
Make The Orange Sauce
-
In a medium bowl, whisk together all of the ingredients for the sauce, then cover and set it aside until it’s ready to be used in the final step.
Prep and Bread Chicken
-
Prep the dredge by adding cornstarch and flour together in a shallow pie dish (or similar). Whisk in the salt and pepper to it’s evenly distributed.
-
In a medium bowl, whisk together the eggs with 2 tablespoons vegetable oil. Whisk vigorously until the egg is no longer stringy and the mixture starts to emulsify.
-
Start to get the oil heated to 375 degrees in a heavy bottom skillet, wok or deep saute pan. Attach a thermometer to best manage the heat.
-
While oil is heating, work in batches placing diced chicken pieces into the egg wash. Coat well then toss into the dredging flour. Coat the chicken pieces well on all sides making sure no chicken shows through the breading.
Fry the Chicken
-
Dust off the excess flour and fry them in batches for about 3 minutes. Be sure to adjust the heat as it will drop once the chicken is added. Place cooked chicken on a wire rack to drain oil.
Stir Fry in Wok
-
In a wok, add 2 tablespoons of vegetable oil and heat over medium-high. Add in the chili peppers and red pepper flakes. Heat through about 15 seconds, stirring constantly.
-
Add in the garlic (and ginger if using) and sesame oil, cook another 15 seconds as you stir.
-
Pour the sauce into the wok to thicken. You’ll see it start to bubble on the edges and begin to thicken, about 2 minutes. Add the crispy chicken pieces to the sauce and toss multiple times to coat well and warm the chicken back up, about 1 minute. Serve over rice and top with green onion slices.
Nutrition
- Serving Size: 4