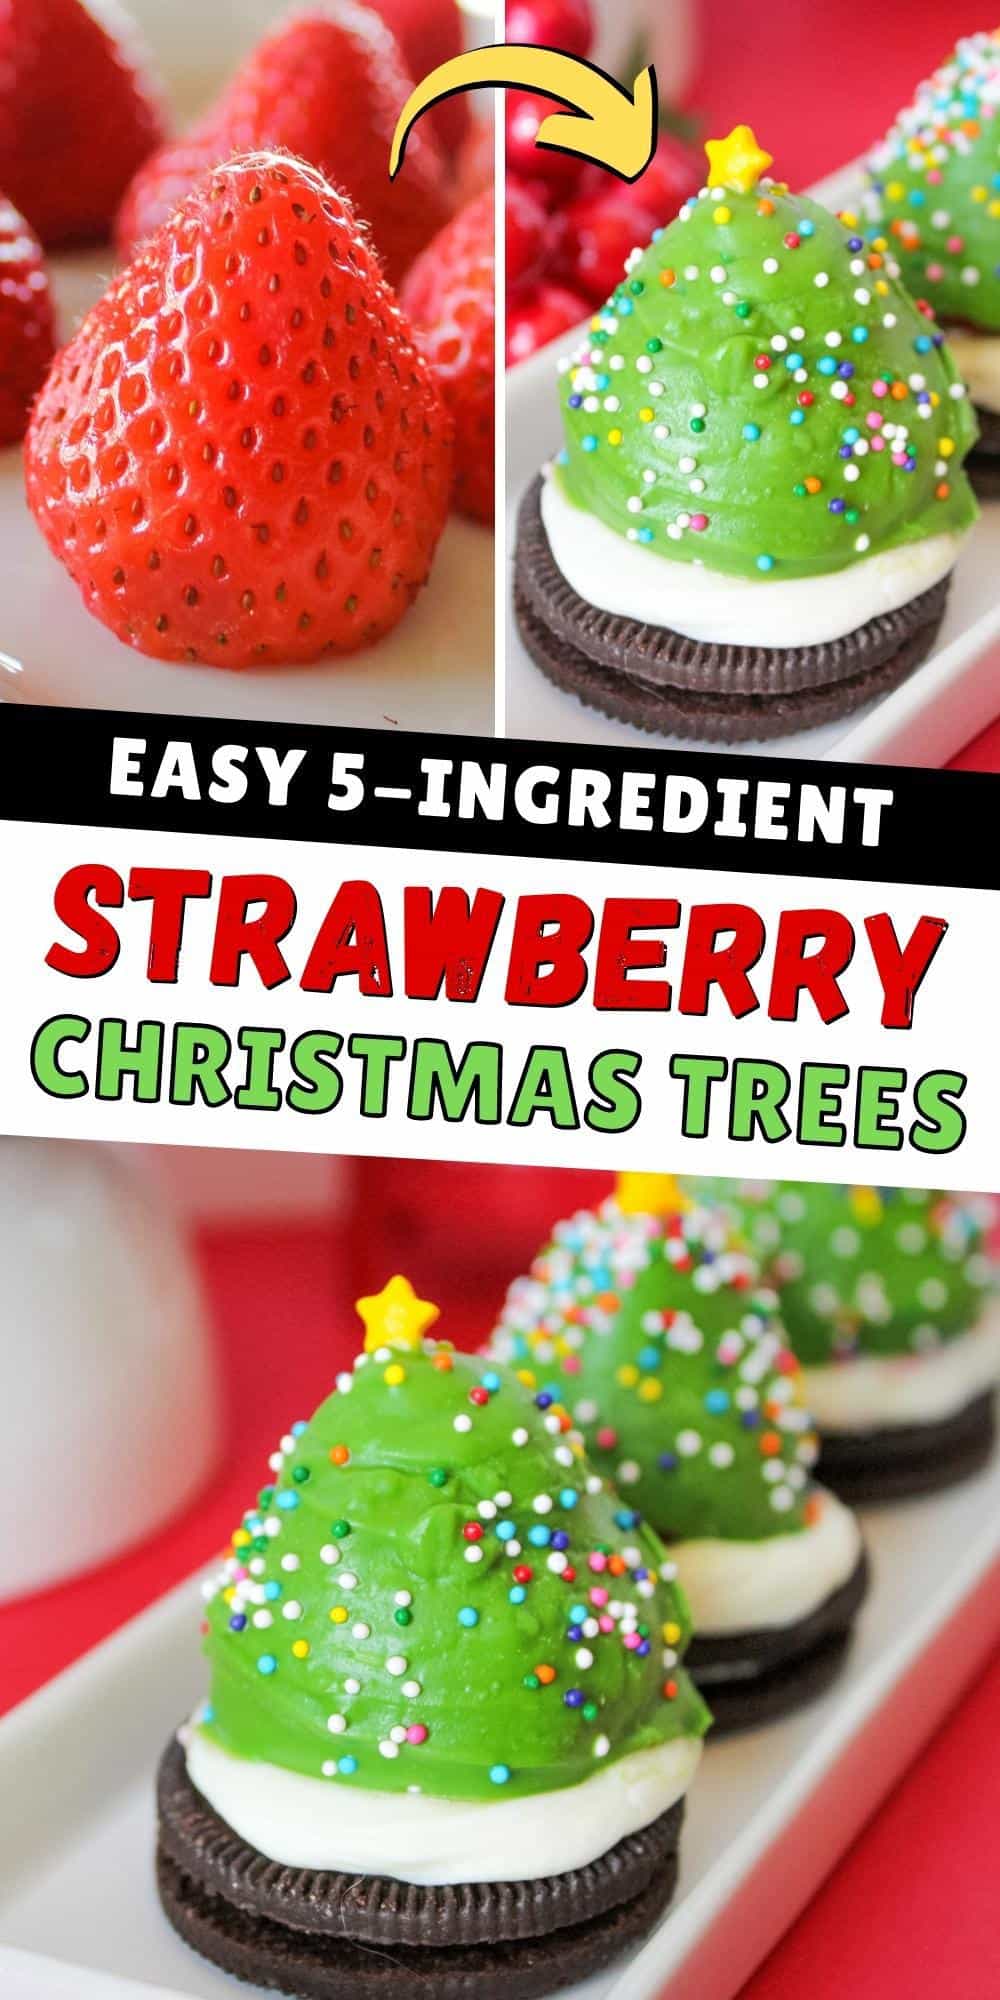
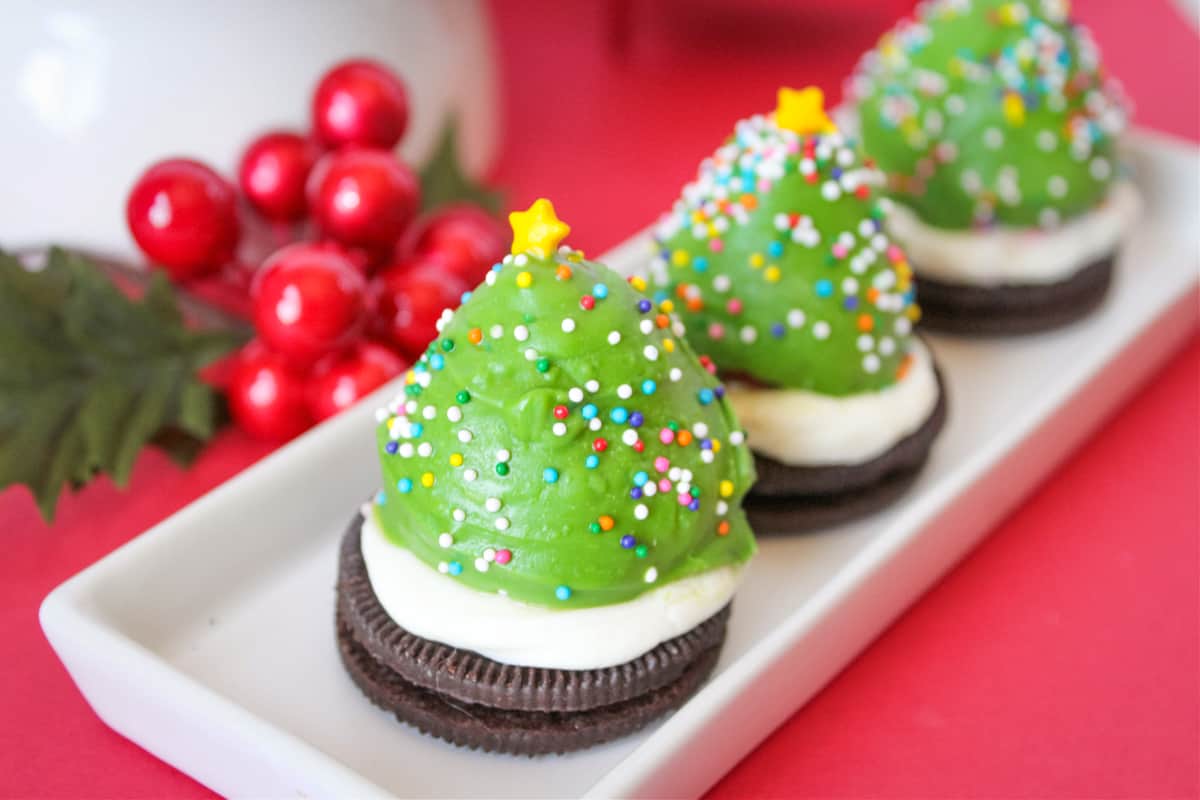
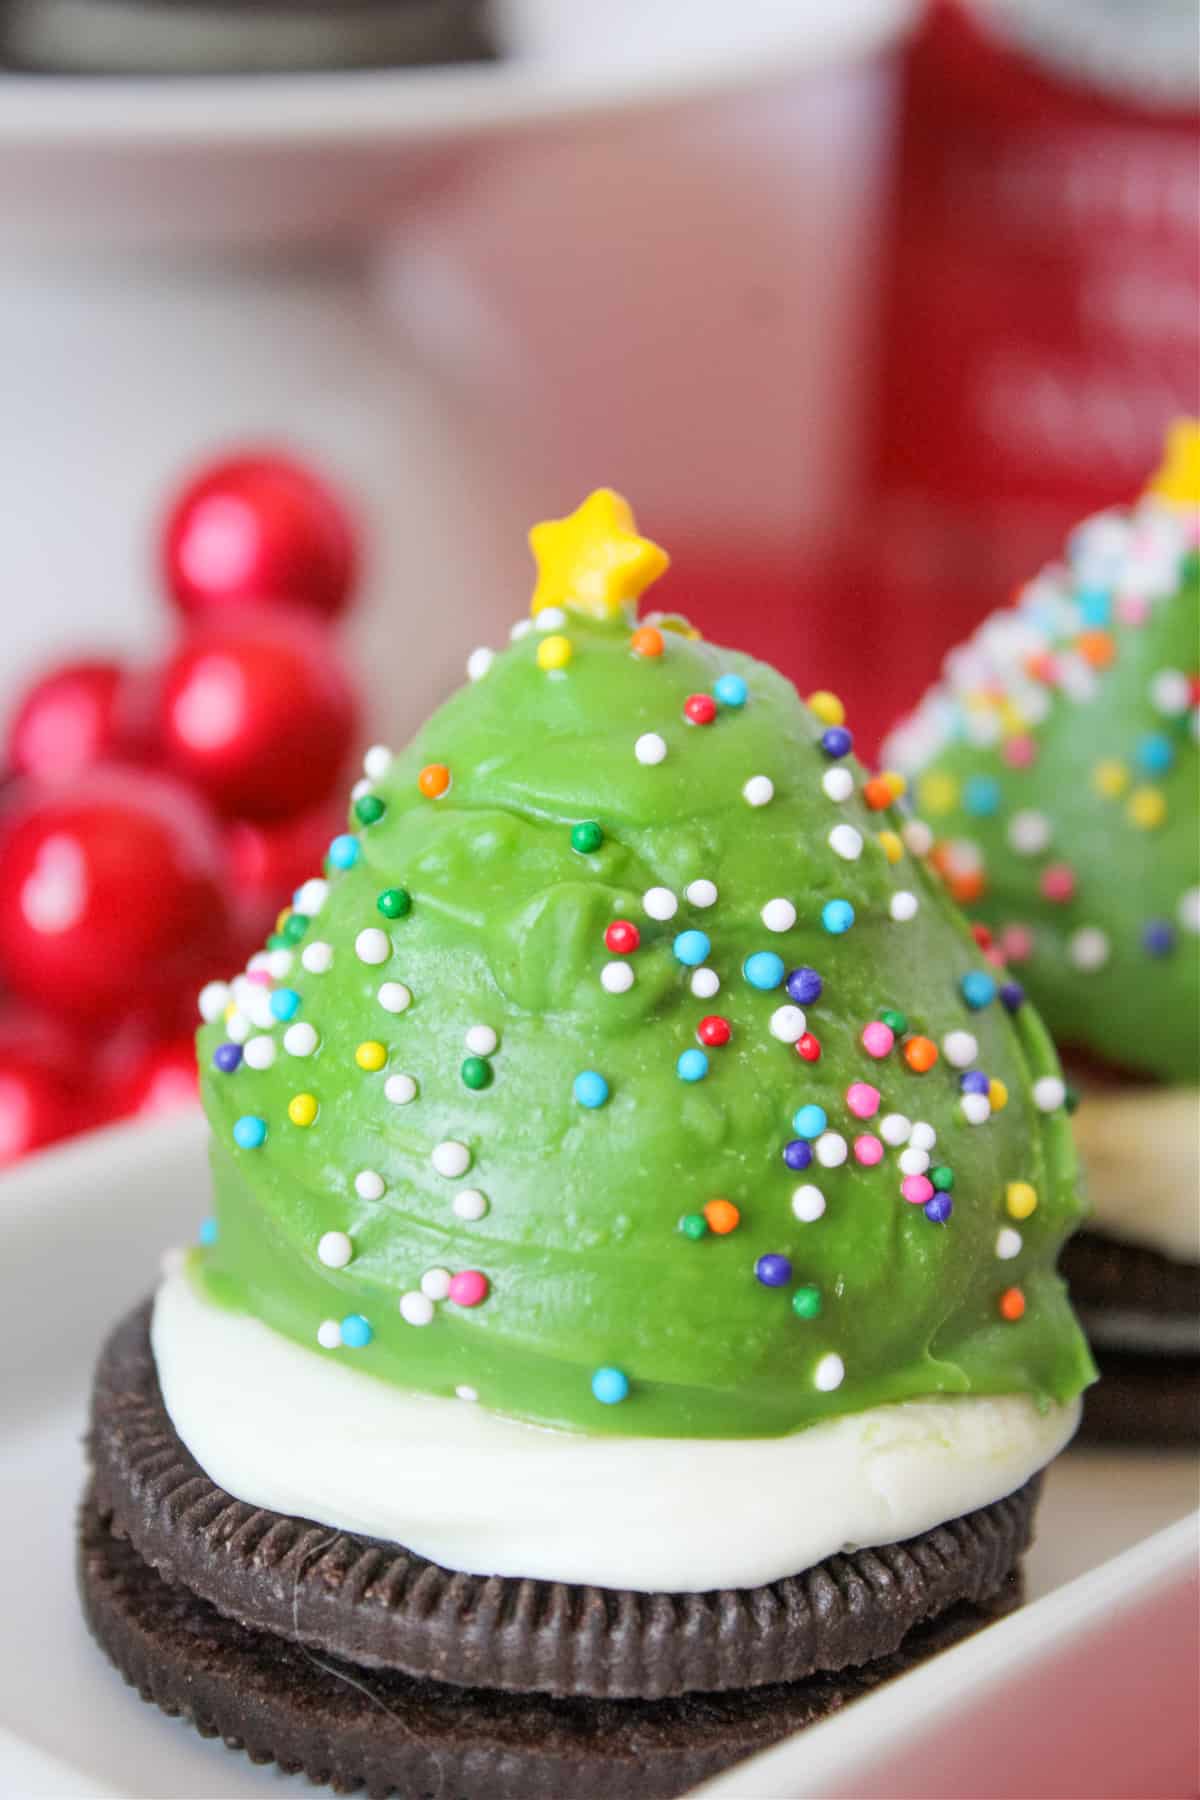
Strawberry Christmas Trees are an easy no-bake holiday treat that takes an Oreo cookie and tops it with frosting and a chocolate-dipped strawberry decorated to look like a Christmas Tree.
A great Christmas-tree shaped dessert for holiday entertaining, making treats with the kids, or gifting to loved ones.
For more Christmas tree desserts, check out these Christmas Tree Cupcakes, Christmas Tree Meringues, and Christmas Tree Rice Krispies Treats.
They are festive, fun, and beyond delicious.
In fact, your Christmas tree bites are pretty much guaranteed to turn heads at your annual Christmas party!
These Strawberry Christmas Trees Are…
- easy to make
- kid-friendly
- fun to decorate
- great for Christmas parties and entertaining
Ingredients
This section includes ingredient notes and substitution options. Get all measurements, ingredients, and instructions in the printable recipe card at the end of this post.
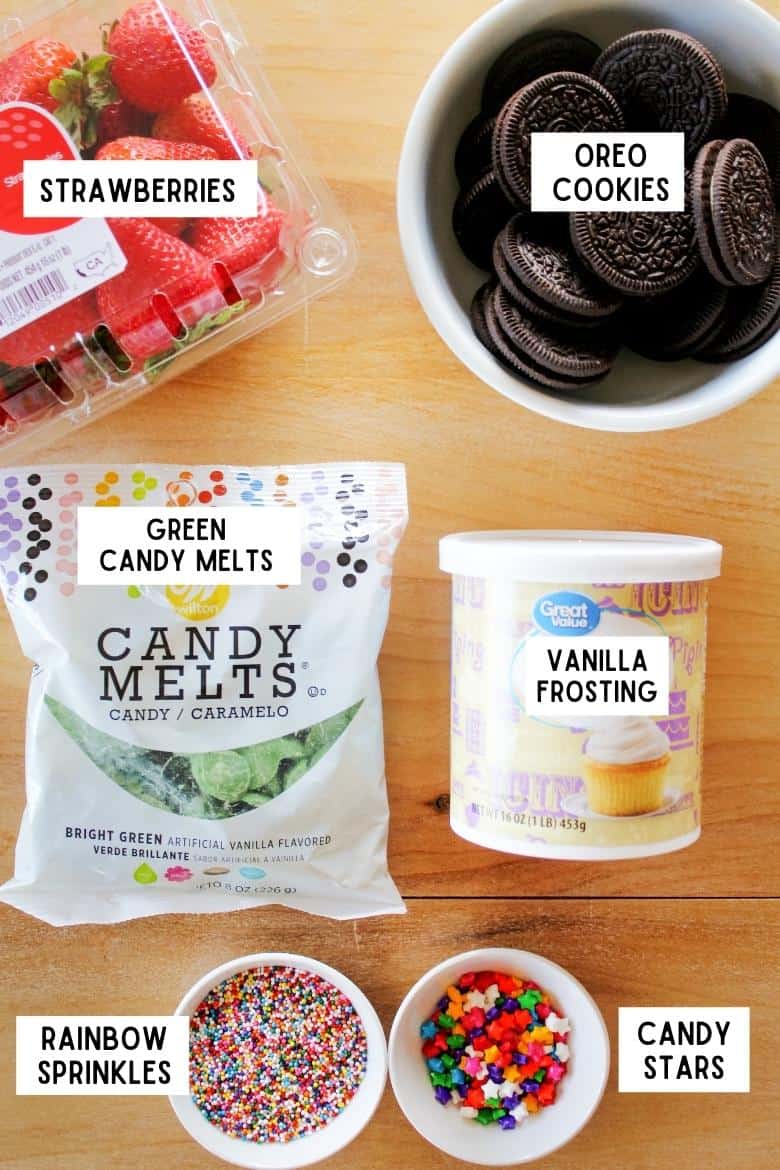
- Oreo Cookies – That’s right, the base of your tree is made from everyone’s favorite chocolate and cream sandwich cookie!
- Frosting – I used store-bought frosting to speed up the prep, but you can go ahead and make your own if you prefer.
- Strawberries – Fresh strawberries are key, as you will dip them in the chocolate then decorate.
- Candy Melts – I used green candy melts , the perfect color to mimic a Christmas tree. But who says you can’t have pink trees? Use any color your heart desires!
- Sprinkles – I used candy stars for the tree topper then rainbow nonpareils sprinkles to mimic Christmas lights. These star sprinkles would work well for the topper too.
Variations
- Swap out the Oreo with other types of cookies. Golden Oreos, gingersnaps, frosted Oatmeal cookies, a sugar cookie, etc. Any type of cookie will work.
- Change up the colors of the dipped berries. A teal color, white, etc. There are trees these days of all colors so have fun!
- Change up the types of sprinkles. Do gold, silver, or teal and yellow. Use any of your favorite sprinkles!
How to Make
This section shows you how to make the recipe with step-by-step photos and instructions. For the full printable recipe, see the recipe card below.
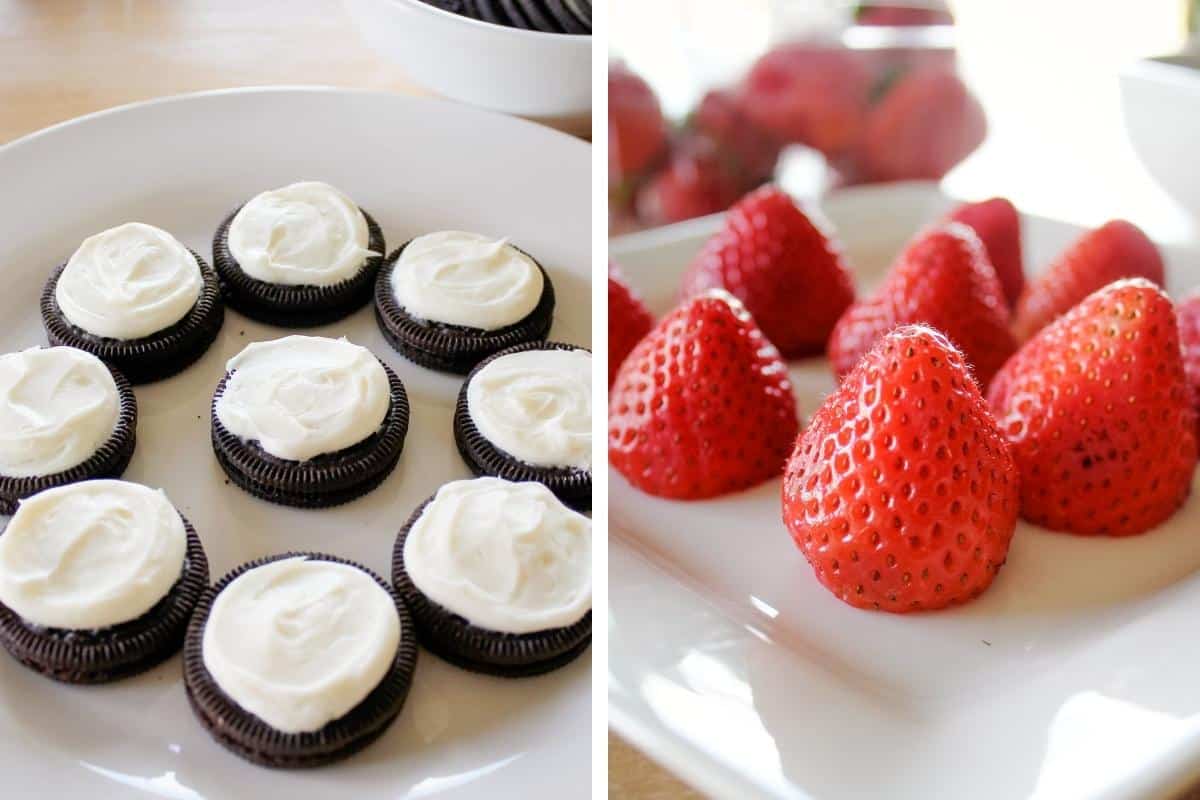
Step 1: Top each cookie with a layer of vanilla frosting. This will act as the glue to stick the strawberry on top, but also look like snow! To make frosting neat and easy I recommend using a piping bag or zip-top baggie with the corner cut off.
Step 2: Next, cut stem-end off strawberries, slicing the end to create a flat surface so that the berry will stand up nicely.
Step 3: Melt candy melts in 30-second increments in the microwave, stirring between each increment until completely melted.
Step 4: Insert a dipping tool or small fork into the flat, cut end of each strawberry and dip it into the melted green candy. Use a second fork to gently remove the strawberry, placing it on top of the frosted cookie. Immediately top with a star and add sprinkles.
Step 5: Chill strawberries uncovered in the refrigerator until set (about 30 minutes). Then serve and enjoy!
Storing Strawberries
Store Christmas tree strawberries in the refrigerator until serving.
For best taste and texture, serve your strawberries within a few hours of making them. As the strawberries set they will release juices, which can sog up the cookie over time.
Common Questions
Yes, chocolate covered strawberries like these do need to be refrigerated.
You have to use a special type of food coloring called candy coloring to color white chocolate. Adding regular food coloring to white chocolate can cause it to seize, making it unable to be used. That is why you will see candy melts are very popular as you can buy tons of colors of pre-colored candy melts to dip desserts in.