Author: Hannah

  • Easy Cottage Cheese Cloud Bread – Low Carb & Gluten Free – My Home Made Recipe

    Easy Cottage Cheese Cloud Bread – Low Carb & Gluten Free – My Home Made Recipe

    This heavenly light, protein-rich cloud bread transforms simple ingredients into a versatile low-carb bread alternative. Perfect for keto and gluten-free diets, it offers a satisfying way to enjoy sandwiches and toast without traditional carbs.

    After numerous test batches, I’ve discovered that room temperature ingredients and proper egg white whipping are crucial for achieving that perfect cloud-like texture that made this recipe famous.

    Essential Ingredients

    • Large eggs (separated): Creates structure and lightness
    • Cottage cheese (full fat): Provides protein and richness
    • Cream of tartar: Stabilizes egg whites
    • Salt: Enhances flavor
    • Optional cornstarch: Improves stability

    Detailed Instructions

    Initial Preparation
    Preheat oven to 300°F, Line baking sheet with parchment, Bring all ingredients to room temperature, Process cottage cheese until smooth, Separate eggs carefully, avoiding yolk in whites
    Egg White Preparation
    Add cream of tartar to whites, Begin whipping on medium speed, Gradually increase to high, Continue until stiff peaks form, Whites should be glossy and hold shape
    Yolk Mixture
    Blend yolks with processed cottage cheese, Add salt and optional seasonings, Mix until completely smooth, Ensure no cottage cheese lumps remain
    Combining Mixtures
    Add 1/3 of whites to yolk mixture, Fold gently with rubber spatula, Add remaining whites in two additions, Maintain airiness while folding, Stop when just combined
    Baking Process
    Scoop mixture onto prepared sheet, Form 6-8 even rounds, Smooth tops gently, Bake 25-30 minutes until golden, Cool completely before removing
    Fluffy Cottage Cheese Cloud Bread Recipe


    pin it
    Fluffy Cottage Cheese Cloud Bread Recipe | myhomemaderecipe.com

    The versatility of this cloud bread makes it perfect for customization. Add herbs for savory applications or a touch of vanilla and sweetener for breakfast variations.

    Storage Guidelines

    Keep in airtight container, Best consumed within 2 days, Separate layers with parchment, Can be frozen up to 1 month

    Final thoughts: This Fluffy Cottage Cheese Cloud Bread revolutionizes how we think about bread alternatives. Whether you’re following a specific diet or simply looking to incorporate more protein-rich options, this recipe delivers both nutrition and satisfaction in every bite.

    Homemade Fluffy Cottage Cheese Cloud Bread Recipe


    pin it
    Homemade Fluffy Cottage Cheese Cloud Bread Recipe | myhomemaderecipe.com

    Frequently Asked Questions

    → Why blend the cottage cheese?
    Blending the cottage cheese creates a smooth consistency that incorporates better into the mixture and ensures a more uniform texture in the final bread.
    → Is cream of tartar necessary?
    While not absolutely required, cream of tartar helps stabilize the egg whites, resulting in fluffier, more stable cloud bread.
    → Why do my clouds deflate after baking?
    Some deflation is normal. To minimize this, be sure to whip egg whites to stiff peaks and fold them in very gently to maintain as much air as possible.
    → Can I skip the cornstarch?
    Yes, the cornstarch is optional. It helps with texture but can be omitted for strictly keto or lower-carb versions.
    → How should I store cloud bread?
    Store in an airtight container with parchment paper between layers. They’ll keep at room temperature for a day, in the fridge for 5 days, or frozen for 3 months.

  • Easy Crock Pot Marry Me Chicken Recipe – Creamy Italian Comfort – My Home Made Recipe

    Easy Crock Pot Marry Me Chicken Recipe – Creamy Italian Comfort – My Home Made Recipe

    The magic of this slow cooker Marry Me Chicken lies in its velvety, garlic infused cream sauce that transforms ordinary chicken breasts into an extraordinary dish. Each piece of chicken becomes incredibly tender as it slowly cooks, absorbing all the rich flavors of garlic, sun dried tomatoes, and fresh herbs. The result is a restaurant quality meal that’s surprisingly simple to prepare in your crockpot.

    After making this countless times, I’ve found that the slow cooking process actually enhances the flavors more than the stovetop version. The first time I served this to my family, my husband literally scraped every last drop of sauce from his plate – it’s that good!

    Essential Ingredients

    • Boneless, skinless chicken breasts: Choose high quality, evenly sized pieces for consistent cooking
    • Heavy cream: Creates the luxuriously rich sauce base
    • Sun dried tomatoes: Adds intense flavor and lovely color contrast
    • Fresh garlic: Essential for that authentic Italian taste
    • Parmesan cheese: Use freshly grated for the best melting and flavor
    • Fresh basil: Brings brightness and elevation to the final dish.

    Step By Step Instructions

    Preparing and Seasoning the Chicken
    Begin by patting the chicken breasts completely dry with paper towels this ensures proper browning. Mix together 1 teaspoon each of salt, garlic powder, and onion powder with 1/2 teaspoon black pepper. Season the chicken generously on both sides with this mixture, making sure every inch is covered.
    The Essential Searing Process
    Heat a large skillet over medium high heat. Add 2 tablespoons each of butter and olive oil. Once the butter is melted and bubbling, carefully place the seasoned chicken breasts in the pan. Sear for 3 4 minutes on each side until golden brown. This step creates a flavor packed crust that will enrich the entire dish.
    Creating the Signature Sauce
    In your slow cooker, whisk together 1 cup chicken broth with 2 tablespoons cornstarch until completely smooth. Add 1 cup heavy cream, 6 minced garlic cloves, 1 tablespoon Italian seasoning, and a pinch of red pepper flakes. This combination creates the foundation of our luxurious sauce.
    The Slow Cooking Magic
    Transfer the seared chicken to the slow cooker, nestling it into the sauce. Pour any remaining pan juices over the chicken these brown bits are pure gold for flavor. Top with 1/2 cup chopped sun dried tomatoes. Cover and cook on low for 6 7 hours, allowing the flavors to meld perfectly.
    The Secret to Perfect Sauce
    The key to achieving that silky smooth sauce lies in the timing of adding the Parmesan cheese. Adding it too early can cause the sauce to break, so wait until the final 30 minutes of cooking. This also ensures the cheese melts perfectly into the sauce, creating that irresistible creamy texture.
    Crock Pot Marry Me Chicken Recipe


    pin it
    Crock Pot Marry Me Chicken Recipe | myhomemaderecipe.com

    Temperature Management Tips

    While it might be tempting to cook this dish on high to save time, the low and slow method is crucial for developing the deep flavors and keeping the chicken tender. Higher temperatures can cause the cream to separate and the chicken to become tough.

    Growing up in an Italian household, I learned that the best dishes are often the simplest ones made with care and quality ingredients. The sun dried tomatoes in this recipe remind me of my grandmother’s garden, where she would dry her own tomatoes in the summer sun.

    Final Thoughts

    This Marry Me Chicken recipe has become my signature dish for special occasions. The way the chicken becomes fork tender while soaking up all those amazing flavors never fails to impress. It’s the kind of meal that creates memories and, yes, might just inspire a proposal!

    Crock Pot Marry Me Chicken In A White Plate


    pin it
    Crock Pot Marry Me Chicken In A White Plate | myhomemaderecipe.com

    Frequently Asked Questions

    → Why is it called Marry Me Chicken?
    It’s called Marry Me Chicken because it’s supposedly so delicious that serving it might lead to a marriage proposal!
    → Can I cook this on high in the slow cooker?
    It’s recommended to cook only on low for 6-7 hours to ensure tender chicken and prevent the cream sauce from separating.
    → What can I serve with Marry Me Chicken?
    It pairs perfectly with pasta, rice, mashed potatoes, or crusty bread to soak up the delicious sauce.
    → Can I use chicken thighs instead of breasts?
    Yes, boneless skinless chicken thighs work well and stay even more tender during slow cooking.
    → Why do I need to sear the chicken first?
    Searing adds extra flavor and creates a nice golden crust on the chicken before slow cooking.

  • Creamy Honey Pepper Chicken Pasta – Perfect Comfort Food – My Home Made Recipe

    Creamy Honey Pepper Chicken Pasta – Perfect Comfort Food – My Home Made Recipe

    Deep in the heart of comfort food territory lies this extraordinary fusion of Italian and American cuisines. Every element of this dish has been carefully crafted to create a symphony of flavors from the golden brown, crispy chicken cutlets that shatter satisfyingly under your fork, to the velvety pasta coated in a rich, creamy sauce that clings to every ridge. The star of the show is the honey pepper sauce, a perfect marriage of sweet golden honey and freshly cracked black pepper that creates an irresistible glaze over the crispy chicken. As the sauce mingles with the creamy pasta beneath, it creates flavor combinations that dance on your tongue with every bite.

    I stumbled upon this combination during a late night cooking session, trying to combine my family’s two favorite dishes. What started as an experiment has become our most requested dinner. The way the honey pepper sauce seeps into the crispy coating of the chicken while still maintaining that satisfying crunch is nothing short of magical. Even my picky teenager, who usually avoids mixed dishes, asks for seconds every time.

    Essential Ingredients

    • Boneless chicken breasts: Look for uniform thickness to ensure even cooking and maximum juiciness
    • Quality honey: Local honey adds depth of flavor and supports local beekeepers
    • Fresh black pepper: Coarsely ground peppercorns provide bursts of flavor and gentle heat
    • Heavy cream: Creates a silky, luxurious sauce that coats every piece of pasta perfectly
    • Panko breadcrumbs: Their unique structure creates an extra crispy coating that stays crunchy
    • Parmesan cheese: Freshly grated melts smoothly and adds a nutty depth to the sauce

    Detailed Instructions

    Preparing the Perfect Pasta Base
    Begin by bringing a large pot of water to a rolling boil. Add a generous handful of salt the water should taste like the sea. This is your only chance to season the pasta from within. Add your chosen pasta and cook until just al dente, stirring occasionally to prevent sticking. The pasta will continue cooking slightly in the sauce later, so it’s crucial to keep it slightly firm. Before draining, reserve a full cup of the starchy pasta water this liquid gold will help create a silky sauce later.
    Creating Crispy Chicken Perfection
    Start by butterflying each chicken breast horizontally to create even cutlets. Pat them completely dry any moisture will prevent proper crisping. Season generously with salt, pepper, and garlic powder, letting the seasoned breasts rest for 5 10 minutes to absorb the flavors. Create your breading station: seasoned flour, well beaten eggs with a splash of cream, and Panko mixed with finely grated Parmesan. Each piece should be thoroughly coated, pressing the Panko gently to adhere.
    The Art of the Honey Pepper Sauce
    While the chicken rests, craft the signature sauce. In a saucepan over medium low heat, combine premium honey with freshly cracked black pepper, allowing the pepper to infuse into the honey. Add a splash of apple cider vinegar for brightness and a knob of butter for richness. Let the mixture simmer gently until it thickens slightly and becomes glossy. The aroma will tell you when it’s ready sweet, peppery, and absolutely irresistible.
    Bringing It All Together
    In a large, heavy bottomed skillet, create your cream sauce by sautéing minced garlic in butter until fragrant but not browned. Pour in heavy cream, bringing it to a gentle simmer. Add Parmesan in small batches, stirring constantly to ensure smooth melting. Fold in your cooked pasta, adding reserved pasta water as needed to achieve the perfect silky consistency. Lay the crispy chicken on top and drizzle generously with honey pepper sauce. A final sprinkle of fresh herbs adds color and freshness.
    Best Honey Pepper Chicken Panini Pasta Recipe


    pin it
    Best Honey Pepper Chicken Panini Pasta Recipe | myhomemaderecipe.com

    Creating the Perfect Balance

    The key to this dish lies in the balance of temperatures and textures. The pasta should be hot and creamy, the chicken crispy and succulent, and the honey pepper sauce warm but not scalding. Each element plays its part in creating a harmonious whole that’s greater than the sum of its parts.

    The Secret to Sauce Success

    Temperature control is crucial when making both sauces. For the cream sauce, never let it boil gentle bubbles around the edges are what you’re looking for. The honey pepper sauce should be warm enough to be pourable but not so hot that it loses its glossy sheen. This attention to detail makes the difference between good and extraordinary.

    When I serve this dish at family gatherings, people are always amazed by the honey pepper sauce. My brother in law, who claims to dislike sweet elements in savory dishes, ended up asking for the recipe. The key is using high quality honey I personally source mine from a local beekeeper, and the difference in flavor is remarkable.

    Perfect Pairing Suggestions

    The rich, creamy nature of this dish pairs beautifully with bright, acidic sides. A crisp arugula salad dressed with lemon vinaigrette cuts through the richness perfectly. For special occasions, I serve it alongside roasted asparagus drizzled with balsamic glaze. The contrast in flavors and textures elevates the entire meal.

    Temperature Management Tips

    Controlling heat throughout the cooking process is crucial for success. The oil for frying chicken should be hot enough that a breadcrumb sizzles immediately but doesn’t burn. The cream sauce should never reach a full boil look for gentle bubbles around the edges instead.

    Make Ahead Strategies

    While this dish is best served fresh, you can prep several components ahead:
    Bread the chicken and refrigerate for up to 4 hours
    Make the honey pepper sauce up to three days in advance
    Measure and prepare all ingredients before starting

    Storage and Reheating

    Transfer leftovers to an airtight container and refrigerate within two hours of cooking. To reheat, place the pasta in a skillet with a splash of cream or milk over low heat. For the chicken, brief reheating in a 350°F oven helps maintain crispiness. The honey pepper sauce may need gentle warming and whisking to restore its silky texture.

    Creamy Best Honey Pepper Chicken Panini Pasta Recipe


    pin it
    Creamy Best Honey Pepper Chicken Panini Pasta Recipe | myhomemaderecipe.com

    Frequently Asked Questions

    → Can I make the chicken in an air fryer?
    Yes, air fry the breaded chicken at 375°F for 12-15 minutes, flipping halfway through, until golden and cooked through.
    → Can I make this ahead of time?
    While best served fresh, you can prepare the components separately and assemble just before serving.
    → How spicy is this dish?
    The heat level is moderate but customizable – adjust the black and red pepper amounts to your preference.
    → What pasta shapes work best?
    Penne or rigatoni work best as they hold the sauce well, but any medium-sized pasta shape will work.
    → Can I use chicken thighs instead of breasts?
    Yes, boneless skinless chicken thighs work well, just pound them to even thickness before breading.

  • Crispy Ranch Parmesan Crack Chicken Tenders Recipe – My Home Made Recipe

    Crispy Ranch Parmesan Crack Chicken Tenders Recipe – My Home Made Recipe

    Imagine biting through a perfectly crispy, golden brown coating to find tender, juicy chicken beneath. These Crack Chicken Tenders combine the rich, buttery crunch of Ritz crackers with savory Parmesan cheese and zesty Ranch seasoning to create an explosion of flavors that makes them truly irresistible. The magic lies in the special mayonnaise based coating that keeps the chicken incredibly moist while helping the crispy exterior stick perfectly.

    I discovered this recipe during a particularly hectic weeknight when I needed something quick but delicious. My children, who usually turn their noses up at chicken, devoured these tenders and now request them weekly. The combination of familiar flavors in an exciting new way makes them an instant hit with everyone who tries them.

    Essential Ingredients

    • Fresh chicken tenders: Choose uniform sized pieces for even cooking
    • Quality mayonnaise: Full fat mayo creates the best moisture barrier
    • Ranch seasoning mix: The key to that addictive flavor
    • Ritz crackers: Their buttery flavor creates an exceptional crust
    • Fresh Parmesan cheese: Always grate your own for best results
    • Garlic and onion powder: Adds depth to the seasoning blend

    Instructions Steps

    Creating the Perfect Coating
    Begin by crushing the Ritz crackers into fine crumbs they should be small enough to create a uniform coating but not so fine that they become powder. Mix them with freshly grated Parmesan cheese, creating a golden, savory coating mixture. The secret lies in using room temperature mayonnaise, which helps create a thick, even coating that the crumb mixture will stick to perfectly.
    Preparing the Chicken
    Pat each chicken tender completely dry with paper towels this is crucial for the coating to adhere properly. Season them generously with salt and pepper. Mix the mayonnaise with Ranch seasoning, garlic powder, and onion powder until completely smooth. This seasoned mayo mixture will not only help the coating stick but also keeps the chicken incredibly moist during baking.
    The Coating Process
    Using tongs, dip each tender into the seasoned mayo mixture, ensuring every surface is completely covered. Let any excess drip off before rolling in the Ritz Parmesan mixture. Press the crumbs gently but firmly onto all sides of the chicken this helps create that incredible crispy crust we’re looking for.
    Perfecting the Bake
    Arrange the coated tenders on a parchment lined baking sheet, giving them plenty of space overcrowding leads to steaming instead of crisping. Bake in a preheated 375°F oven for exactly 20 25 minutes, until the coating is deeply golden and the chicken is just cooked through.
    Crispy Crack Chicken Tenders


    pin it
    Crispy Crack Chicken Tenders | myhomemaderecipe.com

    The Art of Temperature Control

    Achieving the perfect crispy exterior while maintaining juicy chicken inside requires careful attention to temperature. Start checking the internal temperature at 18 minutes you’re looking for 165°F, but want to catch it right at that point to prevent overcooking.

    Creating Restaurant Quality Results

    The key to restaurant worthy tenders lies in the details. Allowing the coated chicken to rest on the baking sheet for 5 minutes before putting it in the oven helps the coating set and adhere better. This simple step makes a noticeable difference in the final texture.

    Growing up, my grandmother always insisted on using butter crackers in her chicken coating. Years later, I discovered why their naturally buttery flavor creates an incomparable crust. Now when I make these tenders for my own family, that first satisfying crunch instantly brings back memories of her kitchen.

    Perfect Pairing Suggestions

    These tenders shine when served with complementary sides that balance their rich, savory flavor. A crisp coleslaw with tangy vinegar dressing cuts through the richness perfectly. For a complete meal, I love serving them alongside sweet potato fries or a bright garden salad with honey mustard dressing.

    Make Ahead Options

    While best served fresh, you can prepare components ahead:
    Mix the seasoned mayonnaise up to 24 hours in advance
    Crush crackers and combine with Parmesan up to 3 days ahead
    Store prepared ingredients separately in airtight containers

    Troubleshooting Common Issues

    If your coating falls off, ensure you’re:
    Drying the chicken thoroughly before coating
    Using room temperature mayonnaise
    Pressing the crumb mixture firmly onto the chicken
    Allowing the coated tenders to rest before baking

    Crispy Crack Chicken Tenders Recipe


    pin it
    Crispy Crack Chicken Tenders Recipe | myhomemaderecipe.com

    Storage and Reheating

    For best results, store leftover tenders in an airtight container with paper towels between layers to absorb excess moisture. When reheating, place them on a wire rack in a 350°F oven for 10 12 minutes to restore crispiness. Avoid microwave reheating, which can make the coating soggy.

    Frequently Asked Questions

    → Why are they called Crack Chicken Tenders?
    They’re called ‘crack’ chicken because they’re extremely addictive – the combination of Ranch, Parmesan, and Ritz crackers makes them irresistible!
    → Can I make these in an air fryer?
    Yes, air fry at 375°F for 12-15 minutes, flipping halfway through, until golden and cooked through.
    → Can I use chicken breasts instead of tenders?
    Yes, just cut chicken breasts into tender-sized strips and follow the same recipe.
    → What dipping sauces work well with these?
    Ranch, honey mustard, or BBQ sauce all pair perfectly with these chicken tenders.
    → How do I keep them crispy?
    For best results, don’t overlap tenders on the baking sheet, and broil for the last 1-2 minutes for extra crispiness.

  • Easy Authentic German Frikadellen Recipe – Traditional German Hamburgers – My Home Made Recipe

    Easy Authentic German Frikadellen Recipe – Traditional German Hamburgers – My Home Made Recipe

    Frikadellen, beloved German meat patties, bring the essence of authentic German home cooking right to your table. These hearty patties stand apart from regular hamburgers with their distinctive oval shape and rich, complex flavors developed through generations of German family cooking. Each bite delivers a perfect blend of tender meat, aromatic herbs, and subtle spices that create an irresistible comfort food experience.

    I discovered this recipe during my travels through Bavaria, where a local innkeeper shared her family’s century-old technique. After countless attempts to recreate that perfect texture and flavor, I finally mastered the authentic method that brings customers back to her gasthaus year after year.

    Essential Ingredients and Selection Tips

    • Ground Meat Mix: Select meat with at least 20% fat content for the juiciest results. Combining 70% ground beef with 30% ground pork creates the perfect flavor and moisture balance.
    • Day-Old Bread: Avoid fresh bread at all costs – it won’t absorb the milk properly. Day-old sourdough loaves work wonderfully.
    • Yellow Onions: Choose firm, heavy onions for a savory base that complements the meat perfectly.
    • Fresh Parsley: Flat-leaf parsley adds bright notes that balance the richness of the meat.
    Authentic German Frikadellen with a crispy exterior and tender, seasoned interior.


    pin it
    Authentic German Frikadellen with a crispy exterior and tender, seasoned interior. | myhomemaderecipe.com

    Detailed Cooking Instructions

    Bread Preparation:
    Soak torn day-old bread in warm milk for 10 minutes, then gently squeeze out excess milk until the bread is paste-like.
    Meat Mixture Assembly:
    Combine ground meat, soaked bread, finely diced onions, parsley, an egg, and seasonings. Mix gently with your hands to keep the texture light.
    Patty Formation:
    Shape into oval patties about 3/4 inch thick. Dimple the center slightly to prevent puffing during cooking.
    Perfect Frying Technique:
    Cook patties in a skillet over medium heat with butter or oil. Fry for 4-5 minutes per side until golden brown and fully cooked.
    Resting and Serving:
    Let patties rest for 5-7 minutes before serving to ensure juices redistribute properly.

    Growing up, my grandmother would always set aside a portion of uncooked mixture in the fridge for an hour – she swore this extra resting time enhanced the flavors. After years of making Frikadellen, I’ve found she was absolutely right.

    The Art of Temperature Control

    Maintaining consistent heat ensures even browning and prevents dry edges. Lower the heat slightly if the sizzle becomes too aggressive. Patience and attention to heat make all the difference in achieving perfectly cooked patties.

    Make-Ahead Magic

    Frikadellen improve in flavor when made a day ahead. Store covered in the fridge and reheat gently in a covered skillet with a splash of broth for moisture.

    Serving Traditions

    Serve Frikadellen with traditional German potato salad and pickled red cabbage. For casual meals, slice thin and serve on crusty rolls with sharp mustard for a satisfying sandwich.

    My journey with Frikadellen began in my grandmother’s kitchen, where she taught me that patience and attention to detail make all the difference. These patties aren’t just meat – they’re a connection to generations of German home cooking, offering warmth and comfort in every bite.

    Classic German Frikadellen, a hearty and delicious comfort food recipe.


    pin it
    Classic German Frikadellen, a hearty and delicious comfort food recipe. | myhomemaderecipe.com

    Frequently Asked Questions

    → What is the difference between Frikadellen and regular hamburgers?
    Frikadellen are more heavily seasoned than regular hamburgers and include bread soaked in milk, herbs, and spices. They’re typically oval-shaped rather than round and can be eaten hot or cold.
    → Can I make Frikadellen ahead of time?
    Yes, you can prepare Frikadellen in advance. They taste great cold and can be stored in the refrigerator for up to 3 days.
    → What sides go well with Frikadellen?
    Traditional sides include German potato salad, mashed potatoes, crusty bread, or mixed salad. They’re also great in sandwiches with mustard.
    → Can I freeze uncooked Frikadellen?
    Yes, you can freeze shaped, uncooked Frikadellen for up to 3 months. Separate them with parchment paper before freezing.
    → Why do you soak bread in milk for Frikadellen?
    Soaking bread in milk helps keep the Frikadellen moist and tender during cooking, preventing them from becoming too dense or dry.

  • Cherry Limemade Cupcakes – Eating on a Dime

    Cherry Limemade Cupcakes – Eating on a Dime

    This post may contain affiliate links. If you make a purchase through links on our site, we may earn a commission.

    Make Cherry Limeade Cupcakes for a fun treat for parties, cookouts and birthdays. These cupcakes are so vibrant and taste delicious.

    cherry limeade cupcake in a green cupcake liner

    The cherry and lime combination is amazing and the cupcakes are so moist and flavorful. Plus, they just look gorgeous. This recipe will brighten anyone’s day!

    Make sure you try some more of our delicious cupcakes. I know you will find more recipes your family will love. If you love cherry limeade flavors, make this Sonic Cherry Limeade Recipe.

    Why This Recipe Works

    If you are looking for a delicious cupcake that is perfect for any occasion, make these. I love that it starts with a cupcake and is topped with homemade frosting.

    These cupcakes are delicious and easy to make.

    Ingredients

    picture of ingredients: cake mix, eggs, oil, water, jello, powdered sugar, cherries, food coloring, cherry extract and butter.

    Scroll to the bottom for the full recipe and ingredients in the recipe card.

    Variations Ideas

    • Cake Mix – Use different flavors of cake mix.
    • Jello – You can make this recipe with different flavors of Jello.
    • Frosting – I love the way that homemade frosting taste, but feel free to use store bought frosting.

    How to Make Cherry Frosting

    beating frosting ingredients together in a bowl

    Step 1 – Cream the butter and powder sugar together until it looks light and fluffy in a large bowl. Use an electric mixer or a stand mixer with paddle attachment.

    Adding the red food coloring to the frosting

    Step 2 – Add the cherry extract and stir it all together. Go ahead and add  the red  gel food coloring and mix it together well. If the frosting can form and hold a stiff peak, it is ready.

    • Step 3 – Put the frosting into a pastry bag with a large tip. It helps to twist the open end of the pastry bag to push the frosting to the tip.
    • Step 4 – Once this is ready, start frosting the cupcakes. I like to start on the outside edge of the cupcake working to the center of the cupcake.
    • Step 5 – This is optional but looks so pretty. Put a wedge of fresh lime on the center of each cupcake. You can also put a cherry on top as well.

    Recipe Tips

    • Cupcake Pans – We love to line the cupcake pan with muffin cups liners. Use these options to add to these fun cupcakes Red striped liners or Green polka dot liners.
    • Frosting Consistency –  If it doesn’t cream to the desired consistency, add several drops of the heavy whipping cream until it does. If it is to wet or sticky add more powdered sugar. I usually start with a tablespoon.
    • Piping Supplies – If you do not have piping supplies, the cupcakes will still be beautiful spread on by a knife. Frost cupcakes after they have cooled for the best results.
    cherry limeade cupcake in a green cupcake liner

    Frequently Asked Questions

    Can I Use Any Flavor of Box Cake Mix?

    Yes, feel free to make these cupcakes with any flavor of cake mix. You can even make this Homemade Cake Mix Recipe.

    How to Store Leftover Cupcakes

    Store leftover cupcakes in an airtight container. You can place in the refrigerator or leave them at room temperature. The cupcakes will last about 3-4 days.

    Can I Freeze Cupcakes?

    Yes, you can freeze cupcakes in a freezer safe container. We do recommend freezing the cupcakes unfrosted. The cupcakes will last about 3 months is stored properly.

    cherry limeade cupcake in a green cupcake liner

    More Easy Cupcake Recipes

    We love to hear from you. If you make these delicious Cherry Limeade Cupcakes Recipe, please leave us a comment.

    Cherry Limeade Cupcakes

    Try these amazing cupcakes! Cherry limeade cupcakes are easy but delicious. They are packed with flavor and are perfect for any Summer Party.

    Prep Time 10 minutes

    Cook Time 20 minutes

    Cool 10 minutes

    Total Time 30 minutes

    Servings 24

    Cuisine American

    Course Dessert

    Calories 192

    • Bake the cupcakes based on the box instructions. 

    • Allow the cupcakes to cool for 10-15 minutes. 

    • Poke the cupcakes with a fork multiples times ensuring that you go to the bottom of the cupcakes. 

    • Boil the 1 cup of water in a separate pan. 

    • Dissolve the jello mix in the boiling water. 

    • Spoon the jello mixture over the cupcakes evenly. 

    • Refrigerate the cupcakes until the jello is set.  

    • Now for the Cherry Frosting Directions:

    • Cream the butter and powder sugar until it looks light and creamy. If it doesn’t cream add several drops of the heavy whipping cream until it creams.

    • Add the cherry extract. Stir to mix well. Add red gel food coloring. Stir to mix well. Test to see if the frosting can form and hold a stiff peak by taking a spoonful of frosting and turning the spoon upside down. If the frosting stays on the spoon it is ready if not then…. Add more powder sugar ½ C at a time…. mix well.

    • If ready scoop the frosting into a pastry bag with a large tip.

    • Twist the open end of the pastry bag to push the frosting to the tip.

    • Start the frosting on the outside edge of the cupcake working to the center of the cupcake.

    • Place a small wedge of fresh lime on the center of the cupcake.

    If you love cherry limeades as much as my family then I know you will love this fun recipe.

    Calories 192kcal, Carbohydrates 19g, Protein 1g, Fat 12g, Saturated Fat 7g, Cholesterol 45mg, Sodium 41mg, Potassium 42mg, Sugar 13g, Vitamin A 390IU, Vitamin C 0.2mg, Calcium 19mg, Iron 0.1mg

  • Key Lime Cupcakes – Eating on a Dime

    Key Lime Cupcakes – Eating on a Dime

    This post may contain affiliate links. If you make a purchase through links on our site, we may earn a commission.

    What’s not to love about Key Lime Cupcakes? All the flavor of key lime pie gets baked into individual cupcakes for a treat no one can resist. The homemade icing is decadent while being super easy.

    Key Lime Cupcake topped with frosting and a slice of lime wedge

    From the light and fluffy cake to the creamy frosting, this recipe can’t be beat. The secret to this quick recipe is a cake mix but we jazz it up so it tastes homemade.

    If you love easy and delicious, this is sure to be a hit.  Cupcakes are always a good idea around here so make sure to check out all our cupcakes recipes. We have a recipe for every occasion.

    I also love making this Angel Food Cupcakes Recipe for another light and delicious cupcake recipe.

    Why We Love this Recipe

    • The water in the cake mix gets replaced with lime juice. Amazing flavor! No one will guess this started with a box mix.
    • The cake mix make this super easy! You get all the flavor from homemade without the work. Yeah!
    • Homemade frosting! Need I say more?

    Cupcake Ingredients

    Ingredients to make Key Lime Cupcakes: Cake Mix, Lime Juice, Butter, Powdered Sugar, Lime Juice, Lime Zest and green food coloring.
    • White Cake Mix- plus, all of the ingredients per the box instructions.
    • Lime Juice – this is what gives the cupcakes amazing flavor and transforms each bite into the best cupcake.

    Frosting Ingredients

    • Butter– Make sure to get real butter
    • Powdered Sugar – Helps to thicken the frosting
    • Lime Juice– this gives this recipe all the lime flavor
    • Lime Zest- this looks pretty and tastes amazing
    • Green Food Coloring– you don’t need much but this gives it a pop of color.

    Scroll to the bottom for the full recipe and ingredients in the recipe card.

    Variations Ideas

    • Graham Crackers – Sprinkle graham cracker crumbs on top.
    • Mini Size – Make mini cupcakes instead of regular size.
    • Lime Slices – Garnish with a lime slice on each cupcake.
    • Frosting – We love the key lime buttercream frosting, but you can also make a Homemade Cream Cheese Frosting. Add Key Lime Juice and Key Lime Zest for delicious flavor. These cupcakes would also be delicious with a Cream Cheese Glaze.

    Recipe Tips

    • Lime Flavor – You are going to substitute ½ cup of the water with ½ cup lime juice. This is the secret to that amazing lime flavor and tangy taste. No one will guess this started with a cake mix.
    • Filling Cupcake Liners – After placing the paper liners in the cupcake pan, use a cookie scoop to divide batter. We recommend to add the batter evenly to the liners so they bake about the same time.
    • Cool Cupcakes – Before frosting the cupcakes, make sure they have completely cooled to room temperature.
    Key Lime Cupcakes topped with frosting and a lime wedge

    Frequently Asked Questions

    Is it Best to Use Fresh Lime Juice?

    Yes, we recommend using fresh lime juice instead of jar lime juice. In this recipe you can squeeze juice from key limes or regular limes.

    How to Store Leftover Cupcakes

    Store leftover cupcakes in an airtight container in the refrigerator for 3-4 days.

    Can I Freeze Cupcakes?

    Yes, you can freeze cupcakes but we recommend freezing without frosted. Store the cupcakes in a freezer safe container for up to 2 months. This is a great recipe to prepare the cupcakes ahead of time.

    Key Lime Cupcakes on a platter topped with frosting and a lime wedge

    More Easy Cupcake Recipes

    If you try this Key Lime Cupcakes Recipe, please leave us a comment or a star review. We love to hear from you.

    What's not to love about Key lime cupcakes? All the flavor of key lime pie gets baked into individual cupcakes for a treat no one can resist.

    Key Lime Cupcakes

    Do you love key lime pie but don’t want to do all that work? Make sure you try our delicious key lime cupcakes! They are easy to make and taste amazing!

    Prep Time 5 minutes

    Cook Time 18 minutes

    Total Time 23 minutes

    Servings 24

    Cuisine American

    Course Dessert

    Calories 266

    • Make batter according to box EXCEPT replace ½ cup of water with ½ cup lime juice.

    • Fill liners about ½ full.

    • Bake 16-18 minutes or until toothpick inserted in middle comes out clean.

    • Allow to cool completely on wire rack.

    • Cream butter in a large bowl.

    • Add lime juice and food coloring.

    • Add powdered sugar 1 cup at a time and beat until incorporated.

    • Add lime zest and whip until distributed.

    • Transfer to piping bag to frost cupcakes.

    I love transforming a cake mix into something extra delicious like this Key Lime Cupcakes recipe!

    Calories 266kcal, Carbohydrates 48g, Protein 1g, Fat 8g, Saturated Fat 5g, Cholesterol 20mg, Sodium 217mg, Potassium 25mg, Sugar 38g, Vitamin A 240IU, Vitamin C 2.7mg, Calcium 51mg, Iron 0.4mg

  • Easy Red Velvet Cupcake Recipe

    Easy Red Velvet Cupcake Recipe

    This post may contain affiliate links. If you make a purchase through links on our site, we may earn a commission.

    We have The Best Red Velvet Cupcake Recipe and it is super easy. It is so moist, delicious and everyone loves these cupcakes.

    Close up image of red velvet cupcakes frosted with cream cheese frosting

    If you like red velvet cake, you are going to love this easy cupcake recipe. This is one of our favorite dessert recipes because of taste, texture and how easy they are to make. If you love red velvet, try our Easy Red Velvet Cookies Recipe, Red Velvet Ice Cream, Red Velvet Cookies and Red Velvet Waffles.

    Red velvet cake is so good, so having your own personalized velvet cakes (in the form of cupcakes) has to be better, right? Not only do these red velvet cupcakes taste good, but don’t they look beautiful, too? The perfect cupcake recipe for any occasion.

    We love to make for Valentine’s Day. If you need more ideas, check out all of our favorite Easy Valentine’s Day Recipes. This cupcake also makes a delicious Memorial Day Desserts.

    Why We Love This Recipe:

    Red velvet cupcakes are my kids favorite dessert. The subtle chocolate flavor and the cream cheese frosting makes this the best red velvet cake recipe.

    If you are a baker, you probably already have the majority of these ingredients. These cupcakes are a staple dessert recipe for our holiday gatherings and always a family favorite.

    Ingredients:

    Red Velvet Cupcakes Ingredients - cake flour, cocoa powder, baking soda, salt, butter, sugar, oil, eggs, vanilla extract, food coloring, buttermilk, cream cheese, powdered sugar

    For the Cupcakes:

    • Cake Flour (You can find an great recipe here to make cake flour. )
    • Cocoa Powder
    • Baking soda
    • Salt
    • Butter Softened at room temperature
    • Sugar
    • Vegetable Oil
    • Eggs
    • Vanilla Extract
    • Food Coloring
    • Buttermilk

    For the Cream Cheese Frosting:

    • Full-Fat Cream Cheese
    • Unsalted Butter
    • Powdered Sugar
    • Vanilla Extract

    For the full recipe and ingredients, scroll to the bottom to see the recipe card.

    Variations Ideas:

    • All Purpose Flour – We used cake flour for this recipe, but if you prefer you can also use regular flour.
    • Cake Pan – We love cupcakes, but you can also make this recipe in 2 9-inch round cake pans or a bundt cake.

    Step by Step Instructions:

    • Step 1 – Preheat the oven to 350 degrees F.  Line 16 muffin tins with cupcake paper liners.
    • Step 2 – Combine the flour, baking soda, cocoa and salt together in a large bowl.
    Beating butter and sugar in a bowl

    Step 3 – Using either a stand up or hand held mixer, combine the butter and sugar until thoroughly mix together (approximately 1 minute).

    Add in oil, egg, and vanilla extract and beat

    Step 4 – Then add in the oil, egg yolks (save the egg whites) and vanilla extract. Mix until these ingredients are combined and use a spatula to scrape the edge of the bowl as well.

    Add in the dry ingredients and the buttermilk

    Step 5 – Then slowly add in the dry ingredients and the buttermilk until both are thoroughly combined into the wet ingredients.

    Mix in the red food coloring and eggs

    Step 6 – Next, add approximately 2 tsp of red gel food coloring until the batter is the color that you desire for your cake. Gently stir in the eggs white until the red batter until they are combined. Do not over mix.

    add to the cupcake liners in the muffin tin

    Step 7 – Pour the batter evenly into the 16 cupcake liners in the muffin pans.  Bake for 15-18 minutes until a toothpick inserted into the center comes out clean.

    baked red velvet cupcakes

    Step 8 – Move the cupcakes to a wire rack to cool completely. 

    How to Make Cream Cheese Frosting:

    This frosting is also very easy to make. You just need some pastry bags (I love using disposable ones) and a large star tip. This easy tangy cream cheese frosting – yum is a must anytime we make this recipe.

    • Step 1 – Beat the cream cheese in a large mixing bowl until smooth.
    • Step 2 – Add in the butter and beat until combined and smooth.
    • Step 3 – Then slowly add in the powdered sugar (1 cup at a time).  Mix after each cup is added. Continue to add until the frosting is thick and smooth. Then mix in the vanilla extract
    • Step 4 – Top each cupcake with cream cheese frosting. Start piping frosting on the outside of the cupcake and move towards the middle with one large circular motion. Serve and enjoy.
    Red Velvet Cupcakes frosted on a serving platter

    Recipe Tips:

    • Combining Ingredients – We recommend combining ingredients with a hand mixer or an electric mixer with paddle attachment.
    • Red Food Coloring – For the best color red, use quality liquid food coloring.
    Close up image of Red Velvet Cupcakes

    Frequently Asked Questions:

    How to Store Leftovers:

    Store your leftover cupcakes in an airtight container in the fridge for up to a week.

    Can I Freeze?

    Yes, you can freeze the prepared cupcakes and frosting separately in the freezer. Store in a freezer safe container for up to 3 months for best results. When ready to serve, defrost at room temperature and then frost and serve.

    Can I Make in Advance?

    Yes, we like to prepare the cupcake and frosting in advance. Store them separately in the fridge in a container. When ready to serve, frost the cupcakes and serve.

    More Easy Cupcakes Recipe:

    We love hearing from you. If you make these Red Velvet Cupcake Recipe, please leave us a comment or a star review.

    Red Velvet Cupcake Recipe

    This cupcake recipe is seriously the best red velvet cupcake recipe in the world. This red velvet cupcake recipe is made from scratch and you will love it.

    Prep Time 12 minutes

    Cook Time 18 minutes

    Total Time 30 minutes

    Servings 16

    Cuisine American

    Course Dessert

    Calories 306

    For the Cream Cheese Frosting:

    For the Cupcakes:

    • Preheat the oven to 350 degrees Fahrenheit and line 16 muffin tins with cupcake liners.

    • Combine the flour, baking soda, cocoa and salt together in a mixing bowl. Set aside.

    • In a separate bowl, using either a stand up or hand held mixer, combine the butter and sugar until thoroughly mix together (approximately 1 minute).

    • Then add in the oil, egg yolks (save the egg whites) and vanilla extract. Mix until these ingredients are combined and use a spatula to scrape the edge of the bowl as well.

    • Then slowly add in the dry ingredients and the buttermilk until both are thoroughly combined into the wet ingredients.

    • Then add approximately 2 tsp of red gel food coloring until the batter is the color that you desire for your cupcakes.

    • Next in a separate mixing bowl, beat the egg whites until they are light and fluffy and form peaks.

    • Gently stir in the eggs white until the red batter until they are combined. Do not over mix.

    • Pour the batter evenly into the 16 cupcake liners in the muffin pans.

    • Bake for 15-18 minutes until a toothpick inserted into the center comes out clean.

    • Move the cupcakes to a wire rack to cool completely. Make sure that the cupcakes have cooled completely before topping with the frosting.

    For the Cream Cheese Frosting:

    • Beat the cream cheese in a large mixing bowl until smooth.

    • Add in the butter and beat until combined and smooth.

    • Then slowly add in the powdered sugar (1 cup at a time).  Mix after each cup is added. Continue to add until the frosting is thick and smooth. Then mix in the vanilla extract.

    • Top each cupcake with cream cheese frosting and enjoy!

    Keep the cupcakes in the refrigerator for up to 5 days and enjoy!

    Calories 306kcal, Carbohydrates 69g, Protein 4g, Fat 23g, Saturated Fat 12g, Polyunsaturated Fat 2g, Monounsaturated Fat 6g, Trans Fat 1g, Cholesterol 73mg, Sodium 202mg, Potassium 82mg, Fiber 0.5g, Sugar 14g, Vitamin A 693IU, Calcium 47mg, Iron 0.3mg

  • Pumpkin Cupcakes with Cream Cheese Frosting

    Pumpkin Cupcakes with Cream Cheese Frosting

    This post may contain affiliate links. If you make a purchase through links on our site, we may earn a commission.

    Everyone loves these decadent Pumpkin Cupcakes. They are so easy to make and the cream cheese frosting is heavenly. The entire recipe is super easy and sure to impress.

    Pumpkin Cupcake topped with cream cheese frosting

    Did you enjoy the pumpkin cake recipe? Well, I have a similar recipe to share with you today that I think you are going to love – pumpkin cupcakes! This pumpkin cupcake recipe is so easy, delicious and would make an easy Halloween Recipe.

    I made a delicious, yet equally simple cream cheese frosting to top these pumpkin cupcakes for one fabulous pumpkin dessert. Everyone goes crazy over them and I think you will see why after you make them.

    It is the perfect fall flavor dessert recipe that you can enjoy for the holidays and more. Make this Easy Pumpkin Crisp Recipe or Easy Pumpkin Roll Recipe for the perfect fall dessert.

    Why We Love This Recipe:

    There is so much delicious pumpkin flavor and it is one of our favorite pumpkin recipes. The frosting recipe is easy and everyone will love these pumpkin spiced baked goods.

    Whether you make regular size cupcakes or mini cupcakes, they are so easy and absolutely delicious. The cupcakes are so light and fluffy and just an all around great recipe.

    Ingredients:

    Ingredients for pumpkin cupcake with cream cheese frosting - boxed cake mix, pumpkin puree, pumpkin pie spice, butter, cream cheese, powdered sugar, milk

    Cream Cheese Frosting Ingredients:

    • Cubed Butter, softened
    • Cream Cheese, softened
    • Powdered Sugar
    • Milk

    Variations:

    • Cake Variation – Feel free to use different flavors of box cake mix. We have made this recipe with spice cake, white cake and even a gluten free cake mix.
    • Pumpkin Puree – Make sure to use pumpkin puree instead of pumpkin pie filling. You can make your own or use store bought.
    • Warm Spices – Feel free to add in ground cinnamon, ginger, ground nutmeg, and ground cloves instead of pumpkin pie spice.

    Step by Step Instructions:

    Combining the pumpkin cupcake ingredients in a bowl with a spoon

    Step 1 – Preheat oven to 350 degrees and prepare muffin tin with paper liners. Mix together cake mix and canned pumpkin in a large bowl. Mix until well combined. You can also easily make homemade canned pumpkin too.

    Dividing the pumpkin cupcake batter in the muffin tin

    Step 2 – Fill cupcake liners 2/3 full with pumpkin cupcake mixture. This will make 12 cupcakes.

    Baked pumpkin cupcakes in the muffin tin cooling on the rack

    Step 3 – Bake at 350 F for 12-16 minutes or until top of cupcake bounces back when pressed down lightly and toothpick inserted in the center comes out clean. Remove from oven and let cool.

    Combining the cream cheese frosting ingredients in a bowl

    Step 4 – Cream together butter and cream cheese with electric mixer with whisk attachment. Slowly add powdered sugar, whisking for 3-4 minutes. Add 1 to 2 tablespoons of milk if the icing is too thick. Once cupcakes cooled, frost and enjoy.

    Recipe Tips:

    • Prepare Muffin Tin – If you have cupcake liners place in the muffin pan. If you don’t have any, you can spray cooking spray in the pan to easily remove cupcakes.
    • Filling Cupcake Batter – When filling the cupcake liners with the batter, do not overfill. You want to give room for the cupcakes to expand as they bake.
    • Frosting Cupcakes – Cool completely before frosting the cupcakes.
    • Making the Frosting – Slowly add in the powdered sugar to obtain the consistency that you prefer. If it comes out to thick, you can add in a tablespoon of milk at a time to thin it out.
    Pumpkin cupcakes on a platter

    Can I Make Mini Pumpkin Cupcakes?

    Yes, this recipe would also be perfect to make mini cupcakes. Just use a a mini-muffin pan. This is the perfect size for little hands or when you want smaller portions. What a fun treat!

    The kids get excited because they get to eat more than one since they are mini size. Just make sure to adjust the cooking time if you decide to make mini pumpkin cupcakes.

    The mini cupcakes do not take as long to bake.

    How to Serve:

    These are so pretty displayed on a cupcake stand. I have one that I use for all my birthday parties, holidays and more. They come in so handy! You could also put some of the cupcakes on a pretty cake stand.

    If you need to transport  your cupcakes, these cupcake carries are so handy! You can even get one of the double or triple ones to carry even more cupcakes!

    This is especially nice if you are taking the cupcakes to school or a cookout. There isn’t anything worse than ruined cupcakes in the back of a car!

    Pumpkin cupcake with cream cheese frosting on a platter

    Frequently Asked Questions:

    How to Store Leftovers:

    Store the leftover cupcakes in an airtight container in the fridge. They will stay fresh for up to 5 days.

    Can you Freeze?

    Yes, you can freeze the Pumpkin Cupcakes. If you plan on freezing them, I would wait to frost them.

    Make sure they are at room temperature before freezing in a freeze container. They will stay fresh for up to 2 months when stored properly in the freezer.

    When ready to enjoy, thaw on the counter.

    More Easy Cupcake Recipes:

    We love hearing from you. If you make this Pumpkin Cupcakes with Cake Mix Recipe, make sure to leave a comment or a star review.

    Pumpkin Cupcakes with Cream Cheese Frosting

    These pumpkin cupcakes with cream cheese frosting will melt in your mouth. Made with a cake mix, these cupcakes are easy but still delicious!

    Prep Time 5 minutes

    Cook Time 12 minutes

    Total Time 17 minutes

    Servings 12

    Cuisine American

    Course Dessert

    Calories 462

    For the Cream Cheese Frosting:

    For the Cupcakes:

    • Preheat oven to 350 Fahrenheit.

    • Mix together cake mix and pumpkin. Mix until well combined.

    • Fill cupcake liners 2/3 full. This will make 12 cupcakes.

    • Bake at 350 Fahrenheit for 12-16 minutes or until top of cupcake bounces back when pressed down lightly.

    • Remove from oven and let cool completely before topping with frosting.

    For the Cream Cheese Frosting:

    • Cream together butter and cream cheese with electric mixer with whisk attachment.

    • Slowly add powdered sugar, whisking for 3-4 minutes. Add up to 1 tablespoon of milk if the icing is too thick.

    • Once cooled, frost the cupcakes. You can add a sprinkle of pumpkin pie spice for added flavor and presentation.

    Refrigerate any leftover cupcakes covered for up to 4-5 days.  

    Calories 462kcal, Carbohydrates 79g, Protein 3g, Fat 15g, Saturated Fat 9g, Cholesterol 41mg, Sodium 430mg, Potassium 136mg, Fiber 1g, Sugar 59g, Vitamin A 6845IU, Vitamin C 1.7mg, Calcium 127mg, Iron 1.5mg

  • Low calorie lemon cupcakes – Skinny cupcakes recipe

    Low calorie lemon cupcakes – Skinny cupcakes recipe

    This post may contain affiliate links. If you make a purchase through links on our site, we may earn a commission.

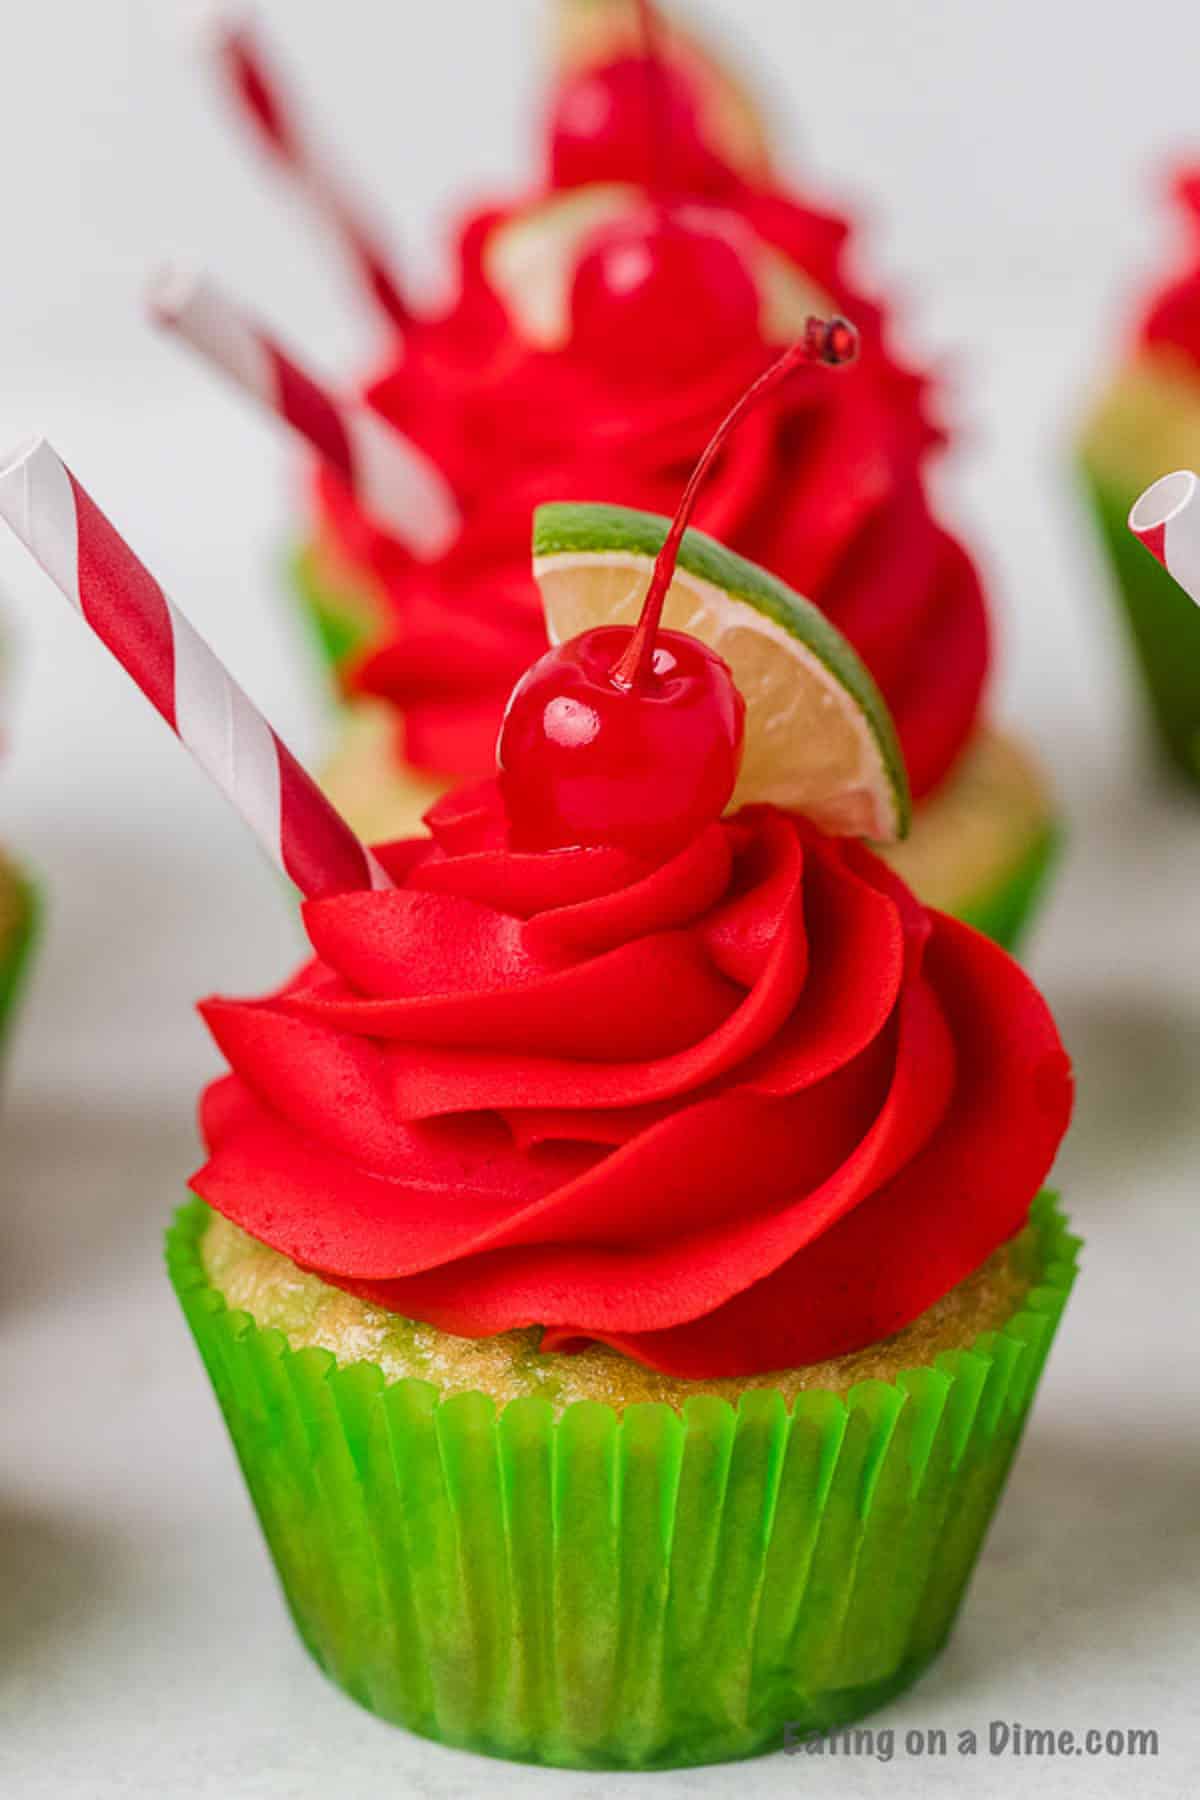
    I’m so excited to share the recipe for Easy Low Calorie Cupcakes. They are light and fluffy and only 80 calories!

    A close-up of low calorie lemon cupcakes topped with powdered sugar. They are arranged on a white surface with lemon slices beside them, creating a bright and fresh appearance.

    Low Calorie Cupcake Recipe:

    I have seen these all over Pinterest but didn’t really believe that they would be good. However, Low Calorie Lemon Cupcakes were SO amazing! They were a huge hit and absolutely delicious. A vanilla cupcake recipe would be yummy with a vanilla cake mix.

    I highly recommend you try it. The entire family will enjoy the lemon flavor! It’s a tasty way to enjoy a treat without any guilt. With only 80 calories in each cupcake, you can enjoy two.

    Close up image of Lemon Cupcake with Lemon slices in the background.

    2 Ingredient Cupcakes:

    I have a sweet tooth. But I also try and stay on track with my healthy lifestyle. So when I discovered that I can make a cupcake with only 2 ingredients, I knew I had to try it.

    You only need a Sprite Zero and a cake mix. I used Betty Crocker Lemon Cake Mix, but I think strawberry, funfetti, and cherry chip would also be delicious.

    This healthy recipe did not disappoint. It has really helped me to stay on track of eating healthy. I can enjoy a treat without ruining my diet or feeling guilty.

    Close up image of Lemon Cupcake with Lemon slices in the background.

    Let’s make this easy Low Calorie Dessert!
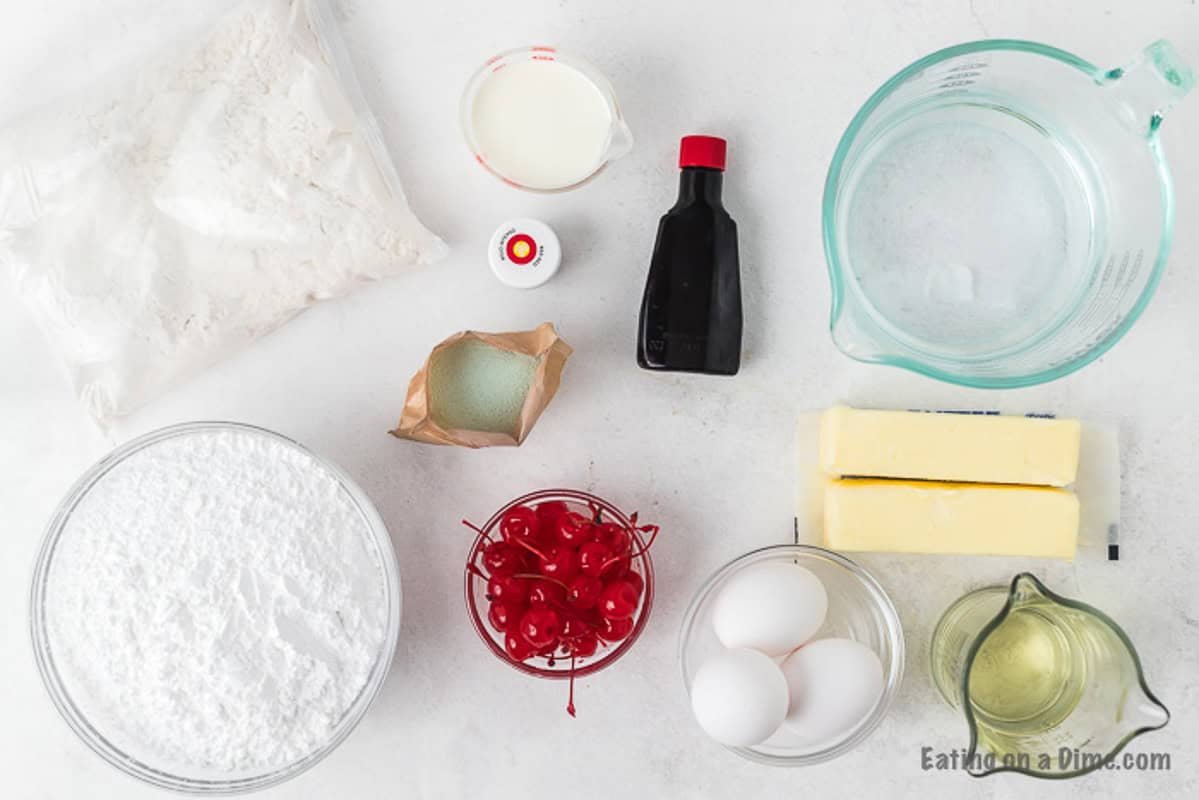
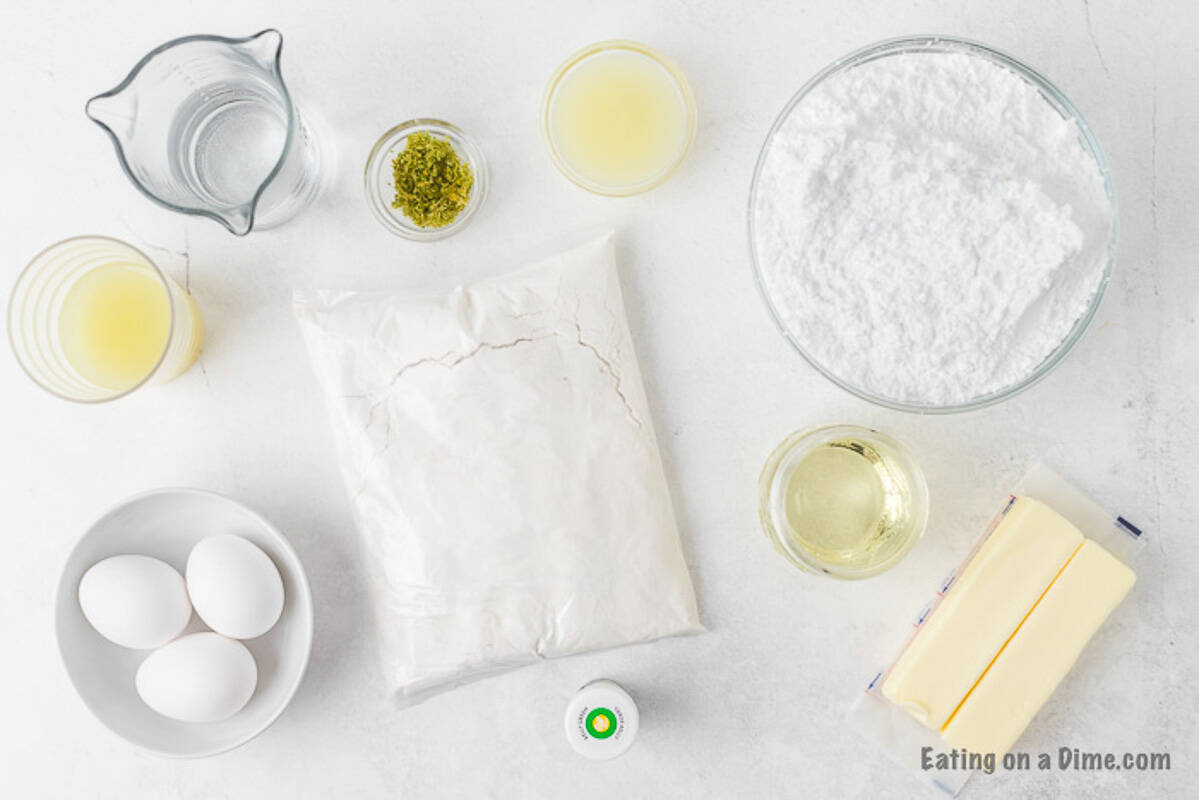
    A bottle of Sprite lies on a white surface next to a clear plastic bag filled with white flour—essential ingredients for whipping up low-calorie lemon cupcakes. A blue and white checkered cloth is partially visible in the background.

    Ingredients:

    • Sprite Zero
    • Lemon Cake Mix

    You can also use other flavors of cake such as white or strawberry. It is best to use fruit-flavored soda such as orange, grape, or strawberry.

    How to make Low calorie lemon cupcakes:

    • Preheat the oven to 350 degrees F.
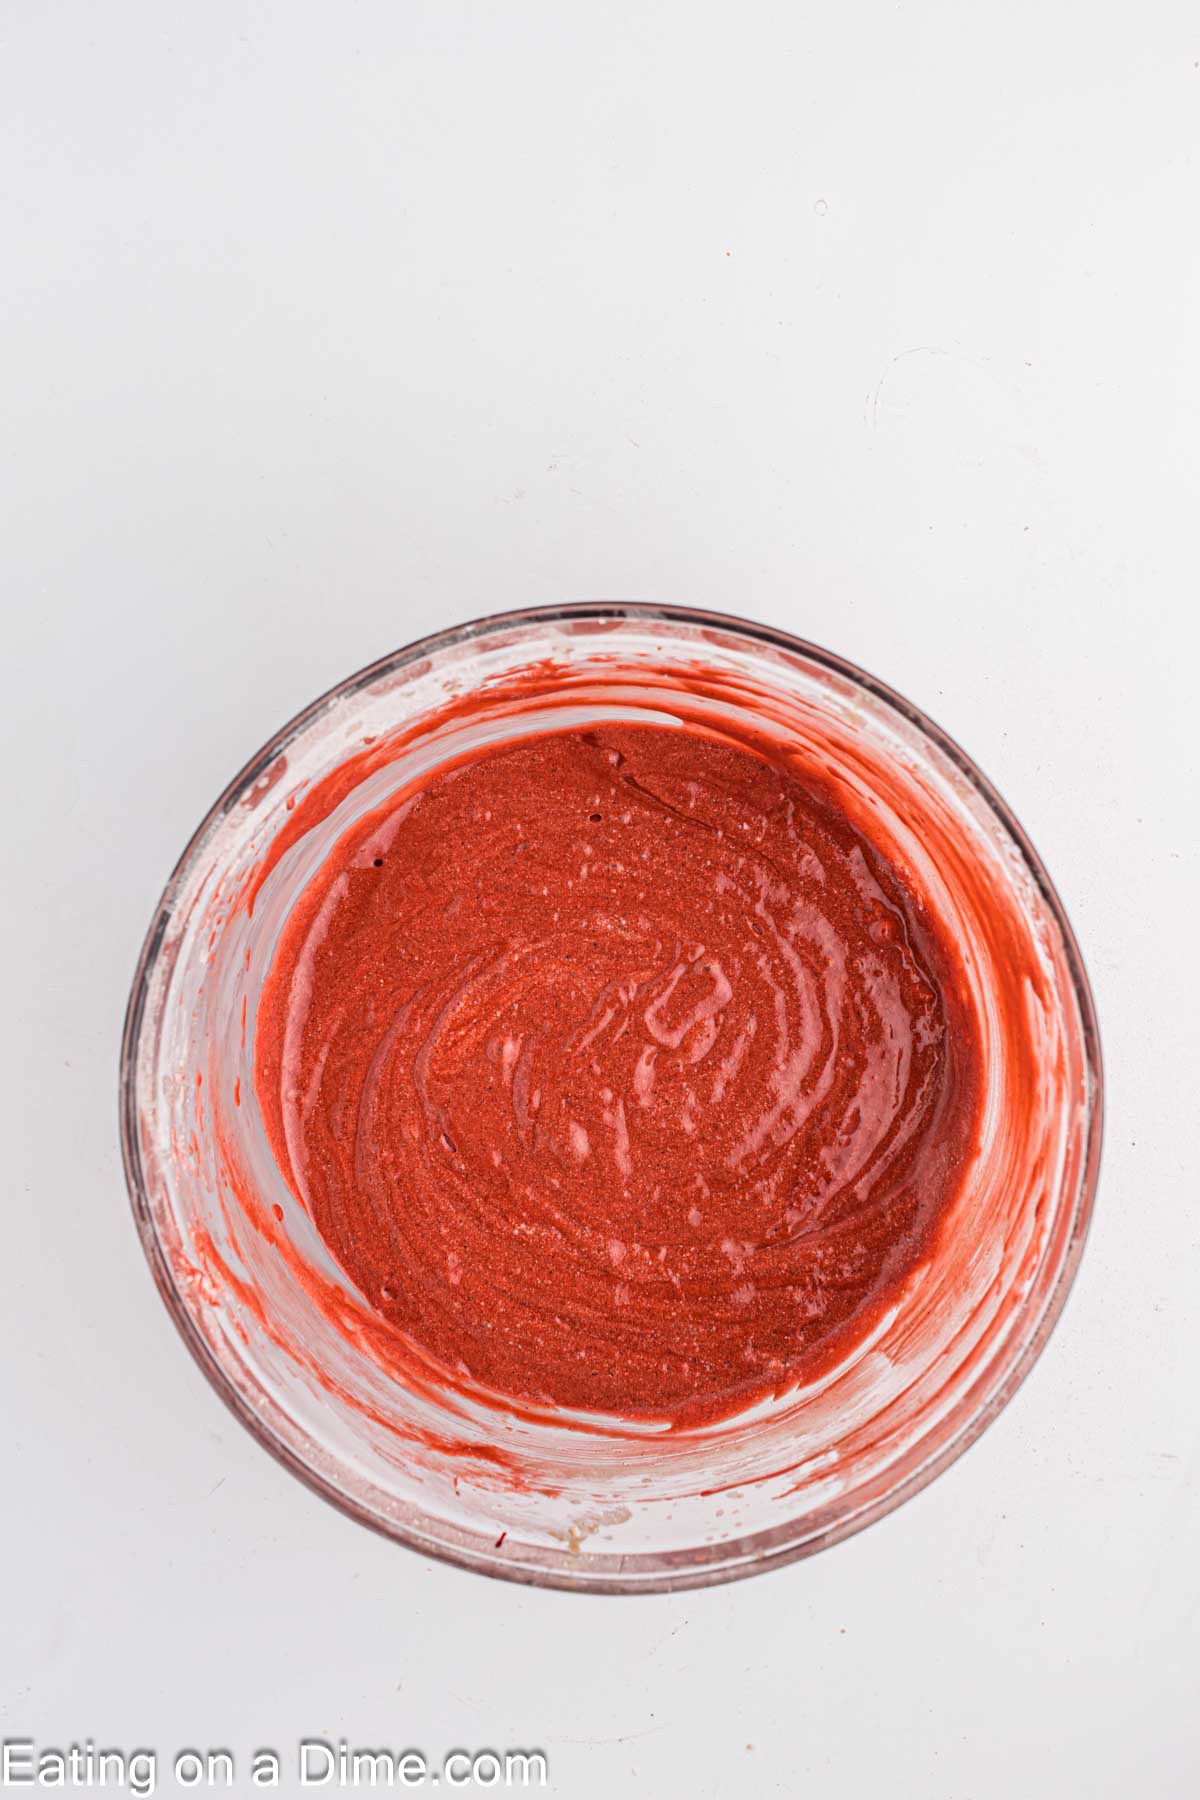
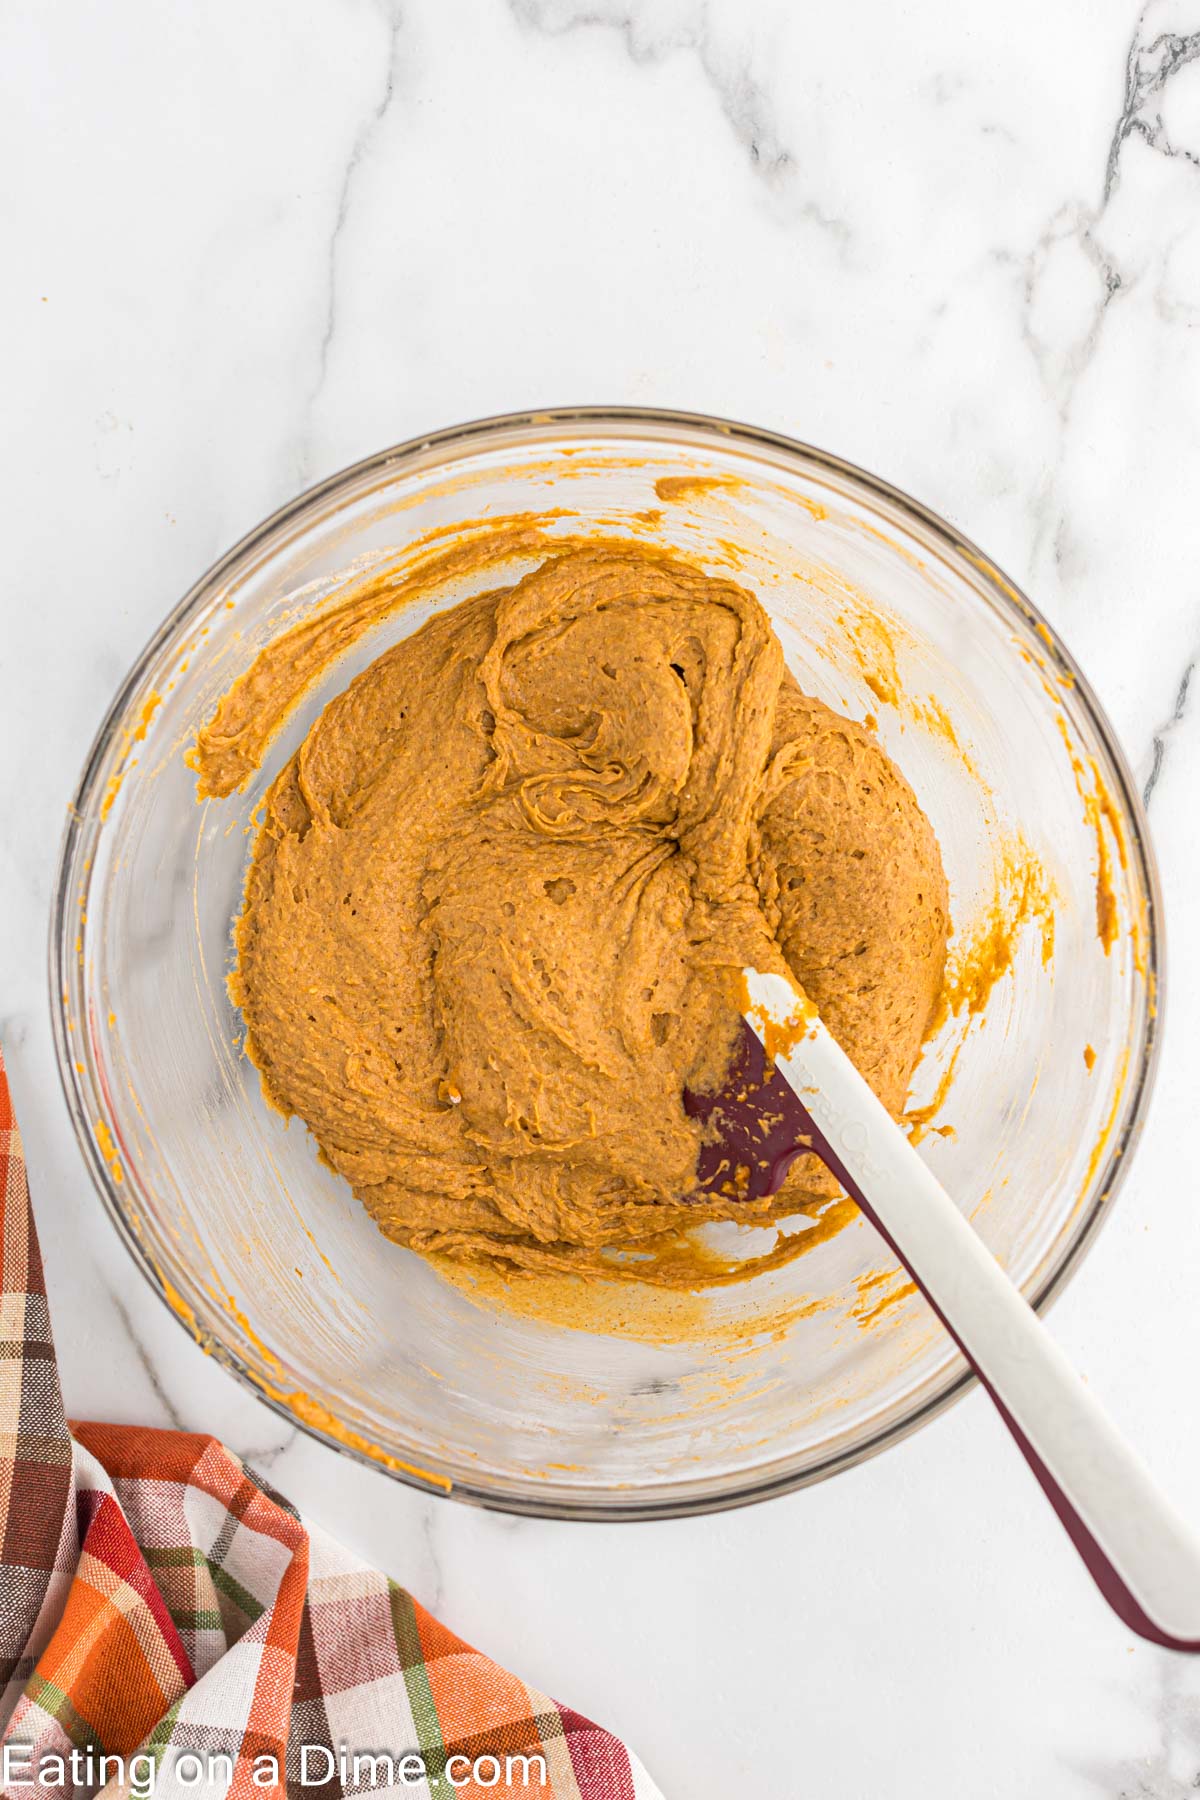
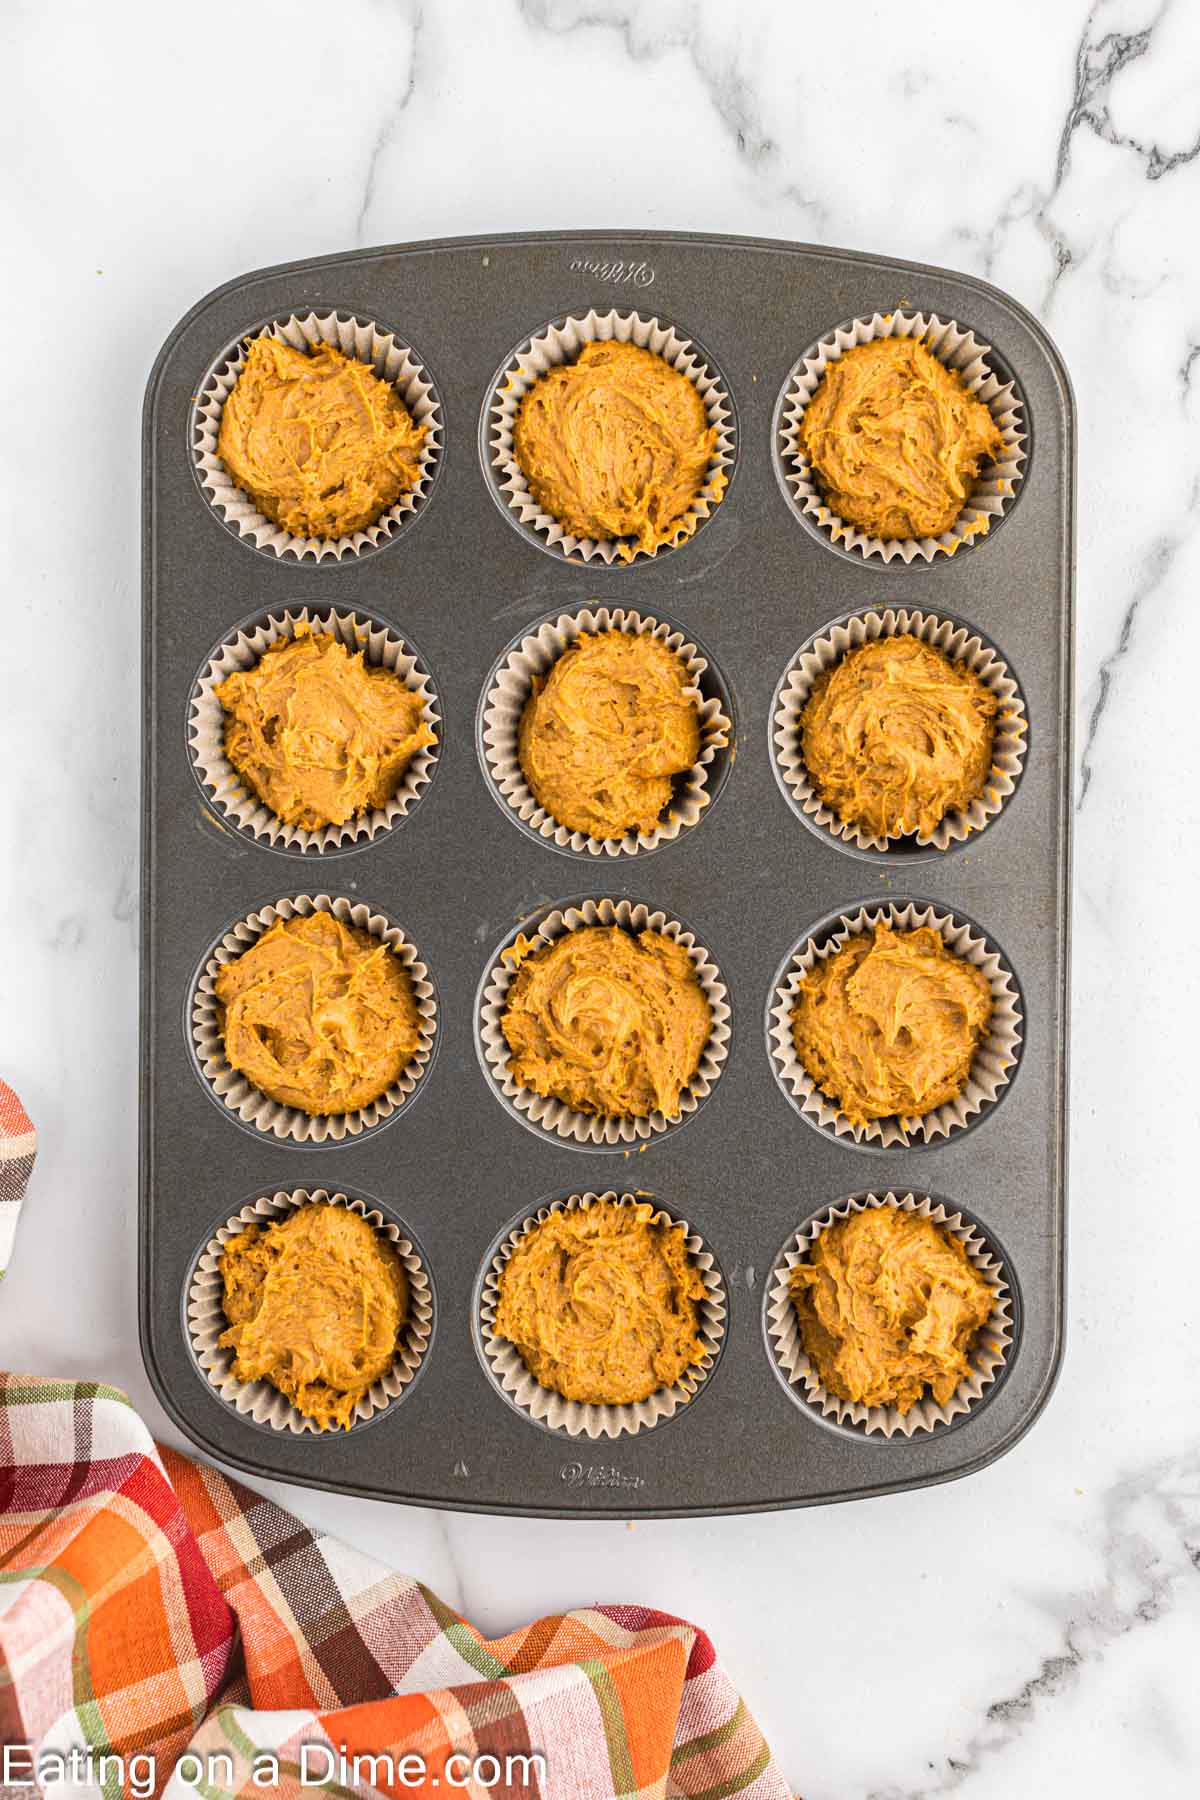
    • Combine the sprite and the cupcake in a bowl. Stir to combine.
    • The cupcake batter will fizz a lot, so don’t be alarmed. I was worried at first. Continue stirring it until the lumps are out.
    A glass bowl with lemon cake batter for low calorie lemon cupcakes and a whisk on a white marble surface. Two whole lemons and a black and white checkered cloth are in the background.
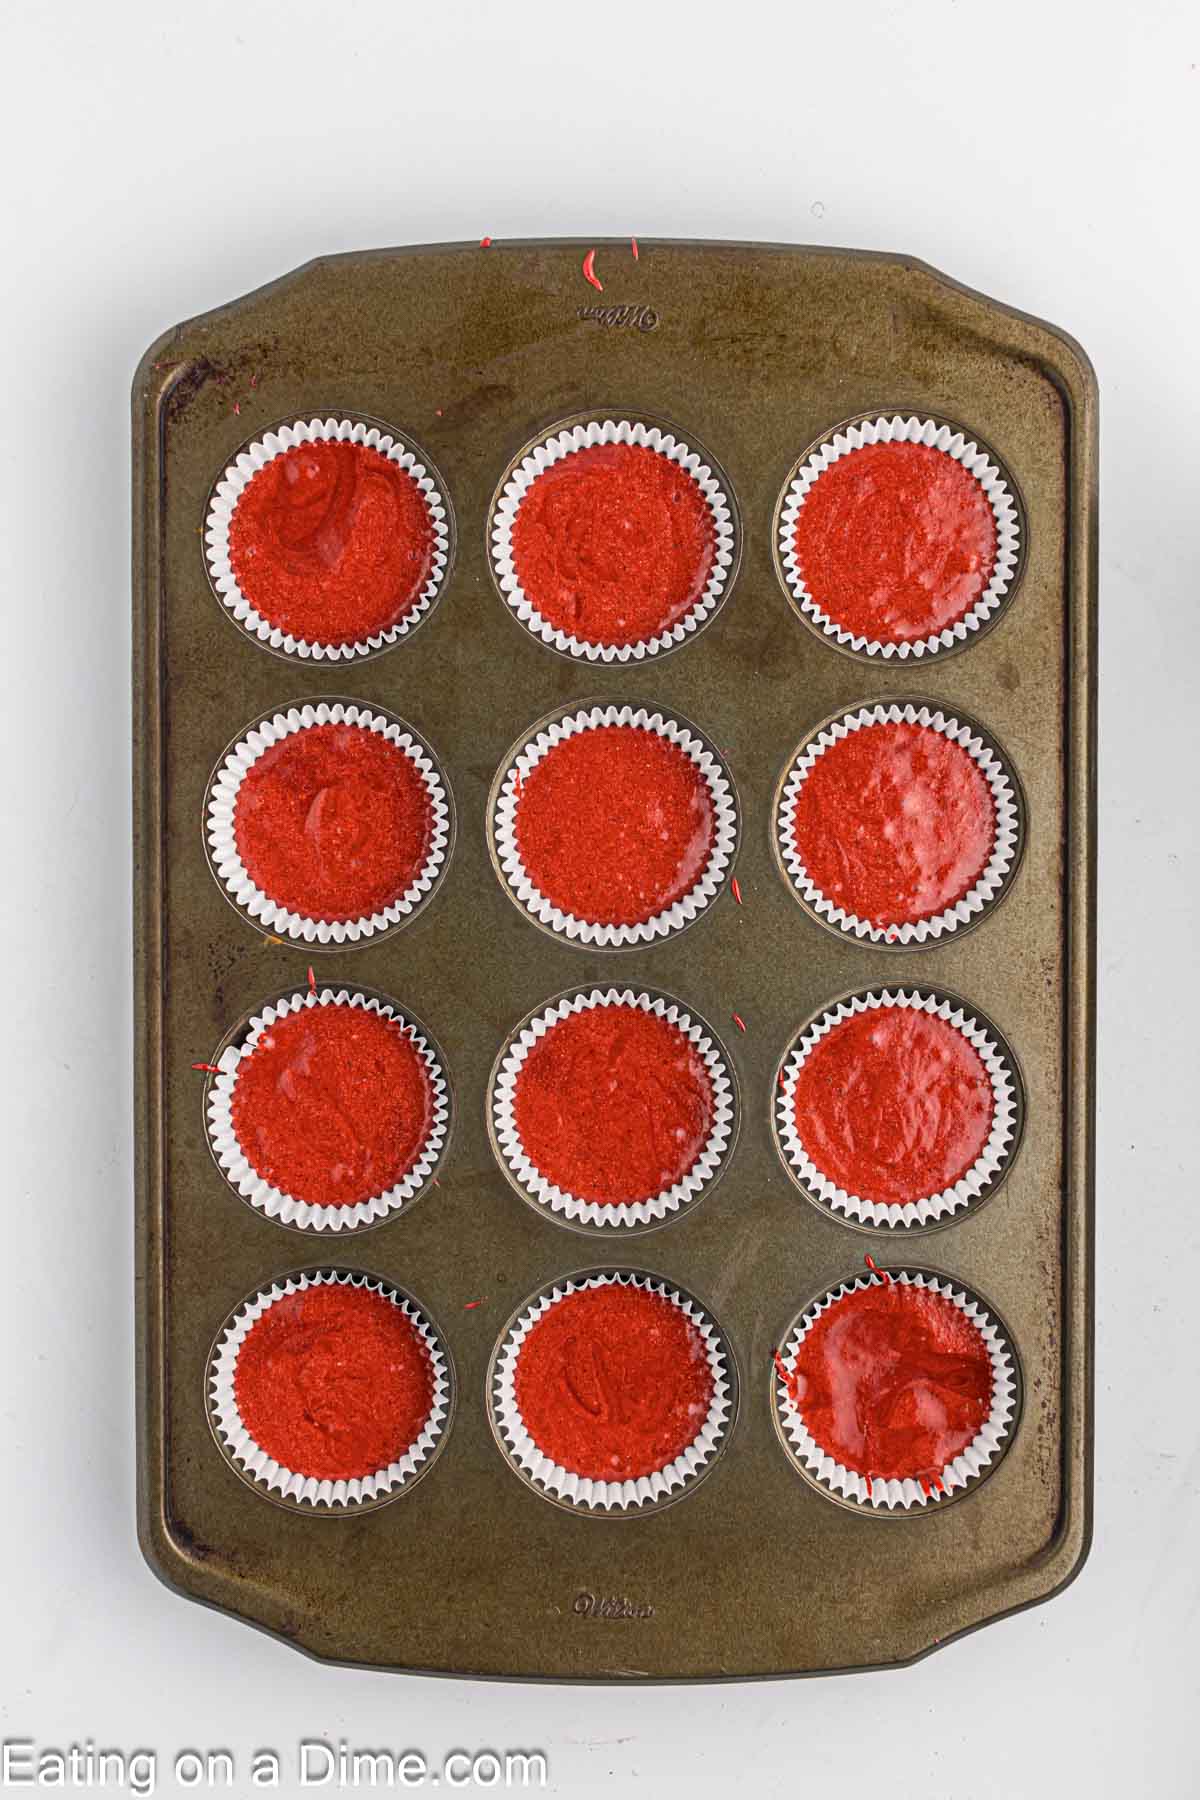
    • Pour in the cupcake pan lined with cupcake liners to make 20 cupcakes. To make it easy to put the batter into the cupcake pan, I use a ¼ cup or ½ cup measuring cup. I scoop up the batter and pour in the cupcake pans.
    A muffin tray filled with unbaked low-calorie lemon cupcakes in cupcake liners rests on a marble surface. Two whole lemons sit in the background, accompanied by a blue and white checkered cloth.
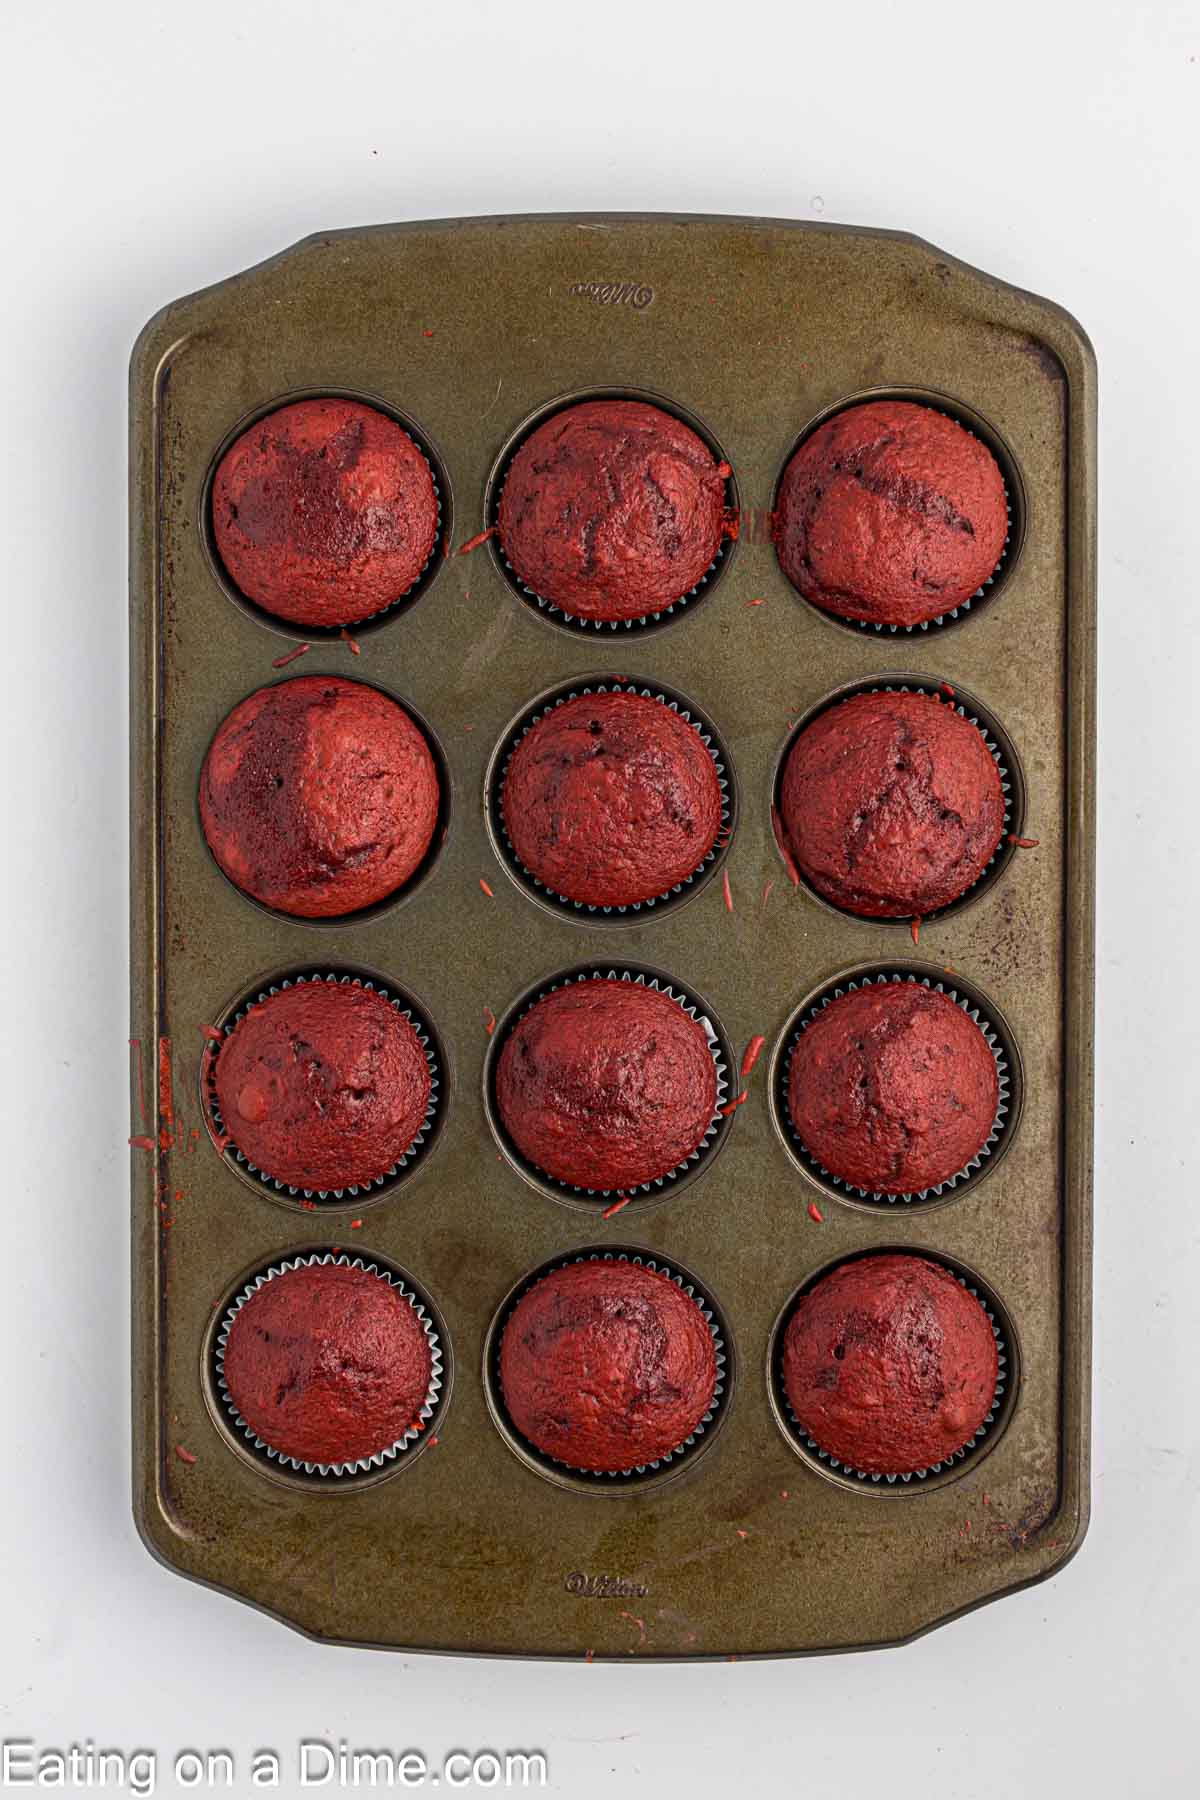
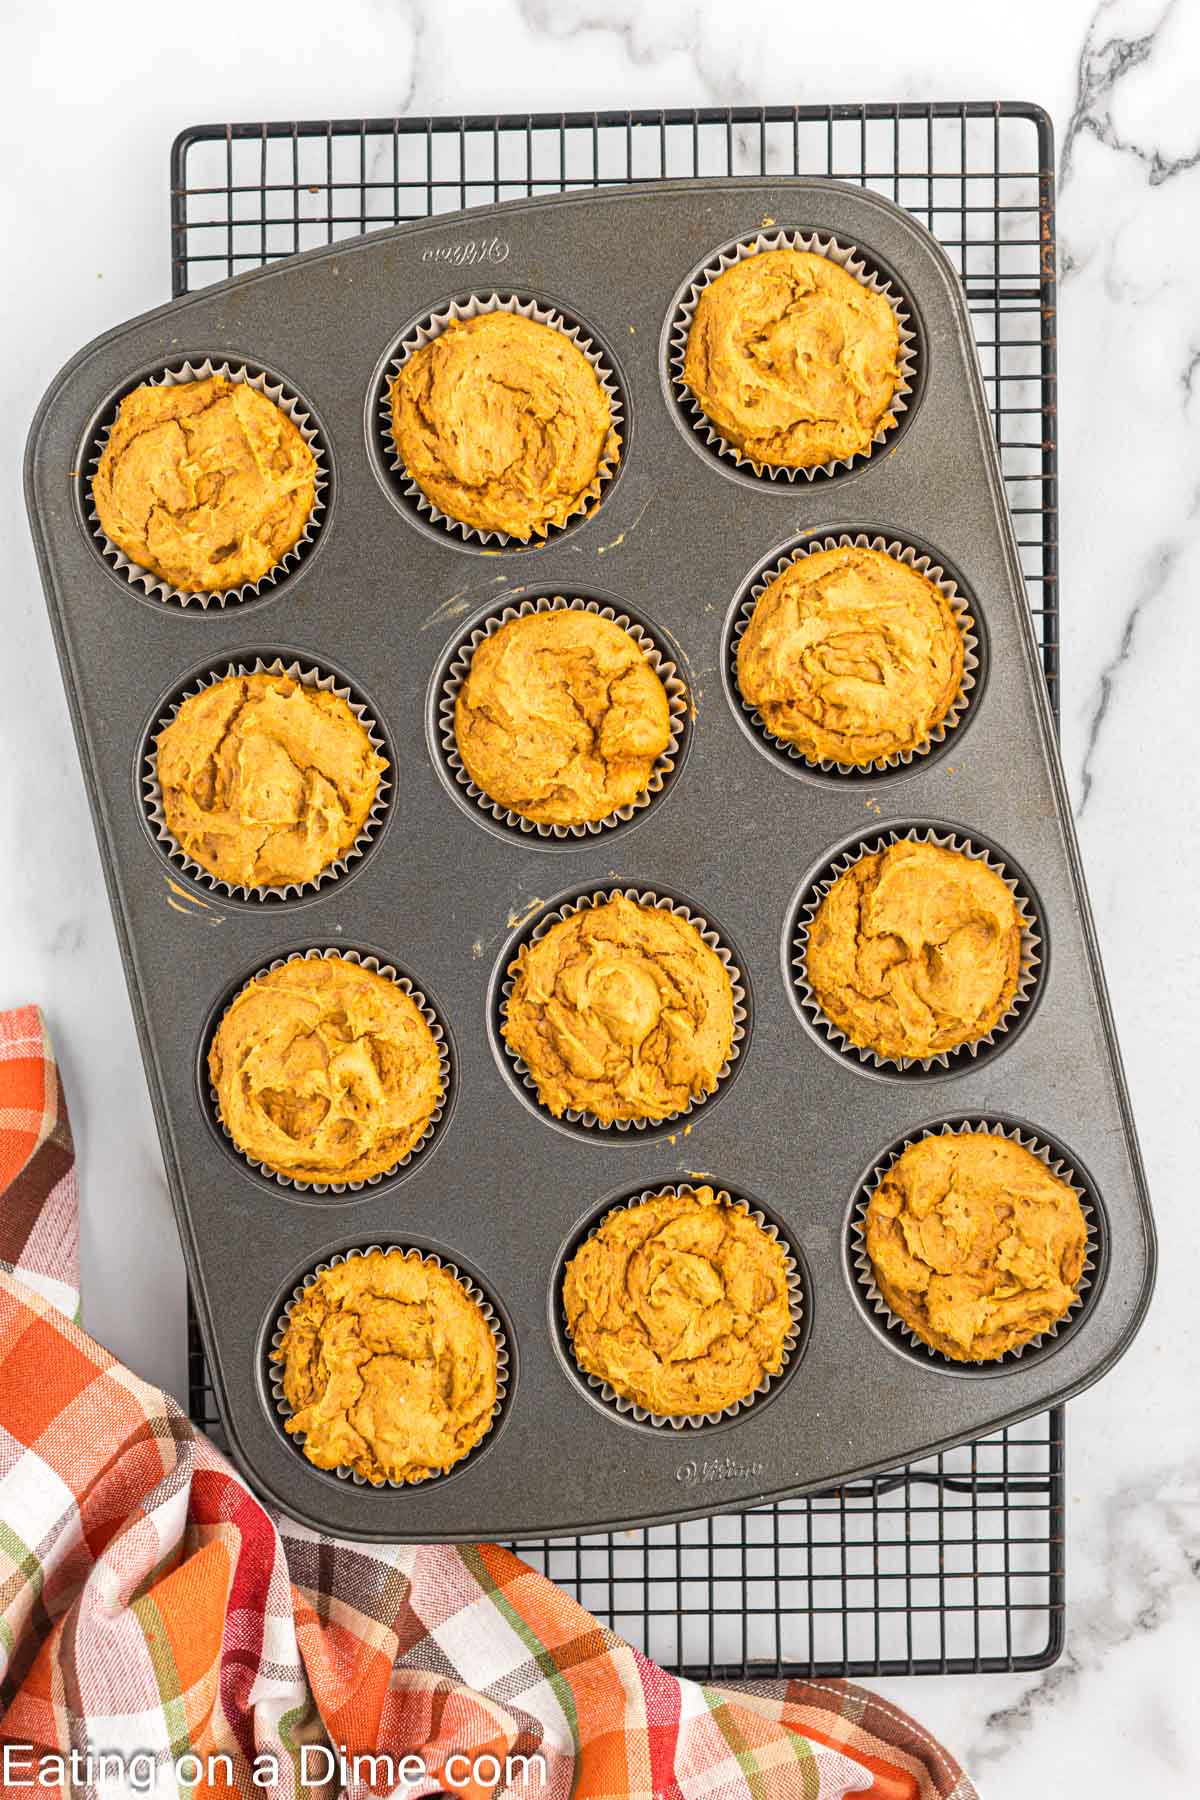
    • Bake for 17-20 minutes or until they start to brown. Make sure a toothpick inserted in the middles comes out clean to make sure they are cooked completely.
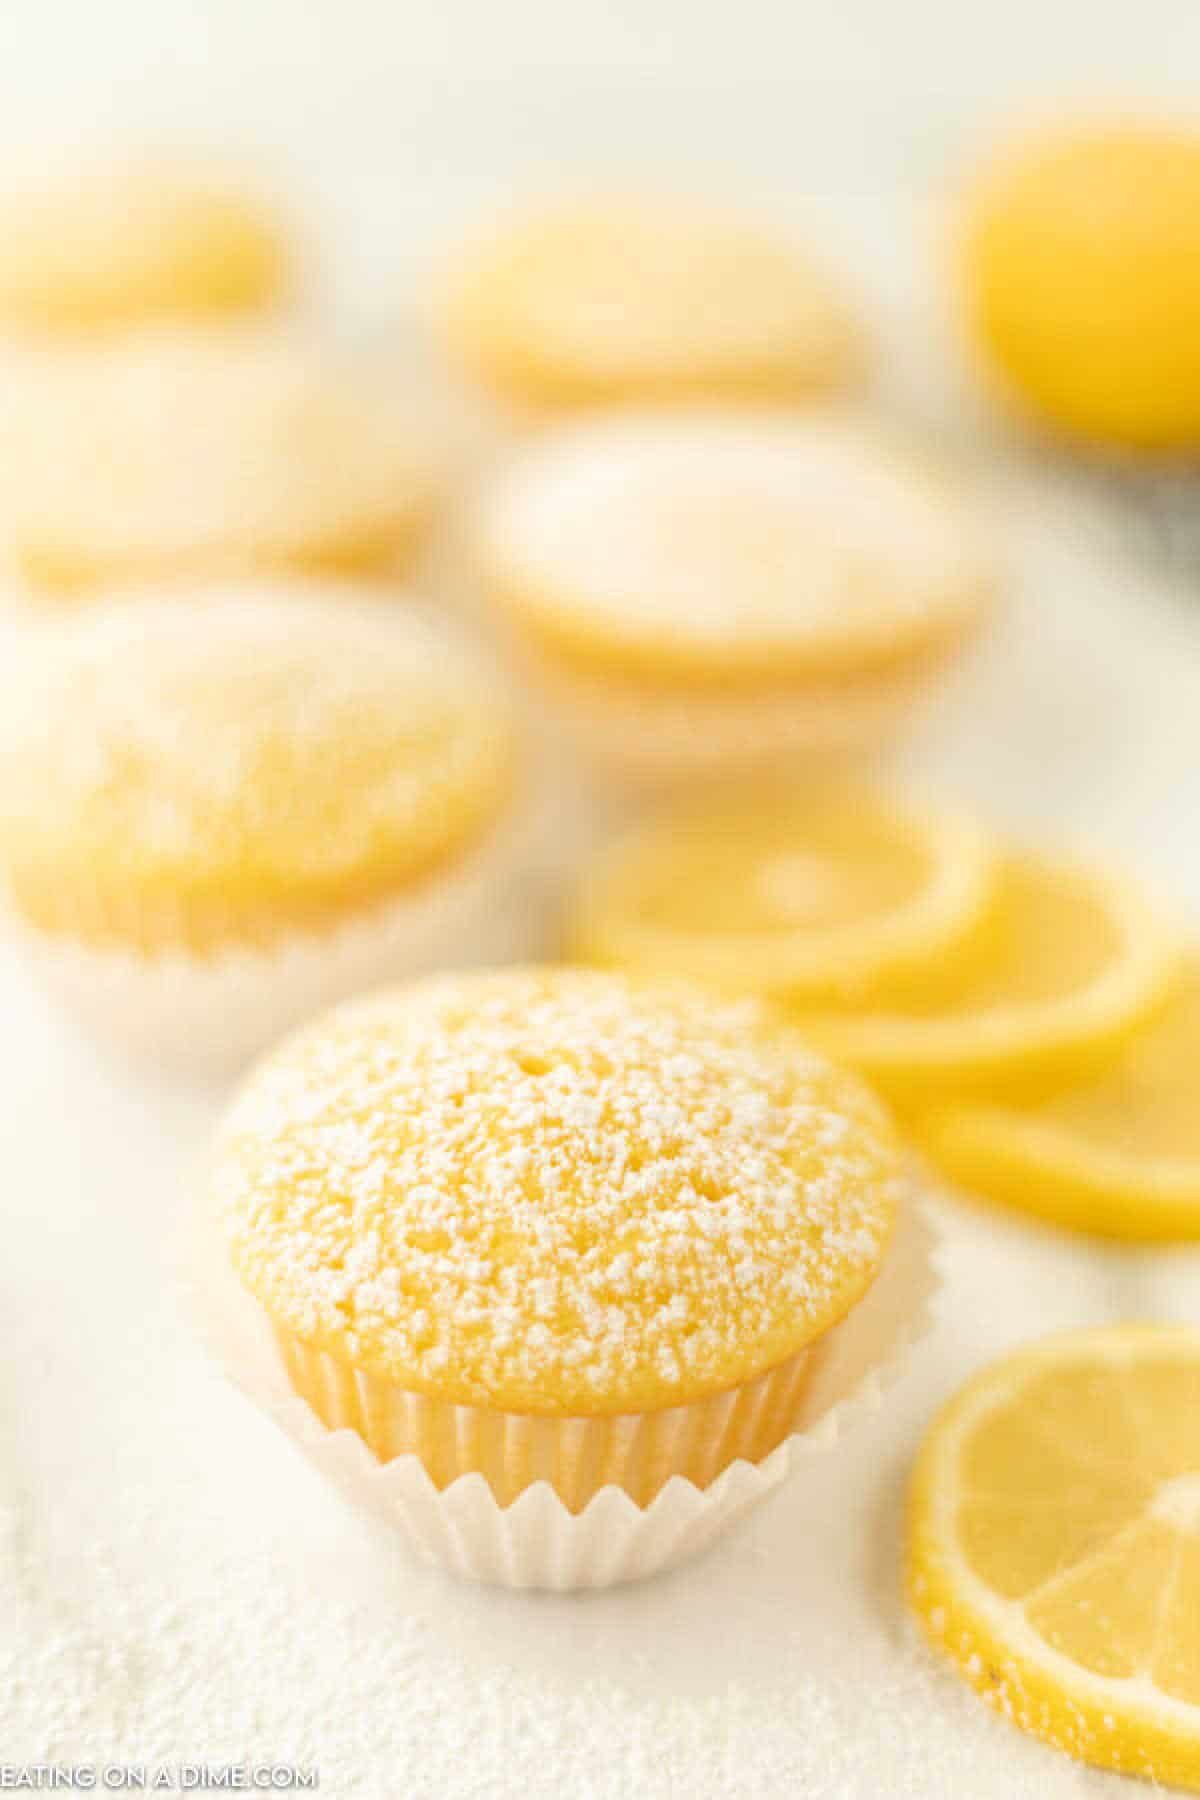
    • Allow to cool completely to room temperature on a wire rack. Serve as it or top with a little bit of powdered sugar so they look cute!

    How to make a Low Calorie Cake:

    If would rather have a low calorie cake, just pour your cake batter in a 9×13 pan. The cake still comes out so moist.

    If you need it to be a gluten-free, you can still mix the sprite with a gluten-free cake mix.

    Skinny cupcakes are low calorie!

    An entire batch of these cupcakes is 1600 calories. However, I made 20 cupcakes so they are only 80 calories each! Woohoo!

    This is a delicious treat for under 100 calories. Of course, if you made 24 cupcakes, they would only be 66 calories each. I didn’t think my batter would make it to 24 cupcakes, so I am happy with 20 delicious cupcakes for very little calories.

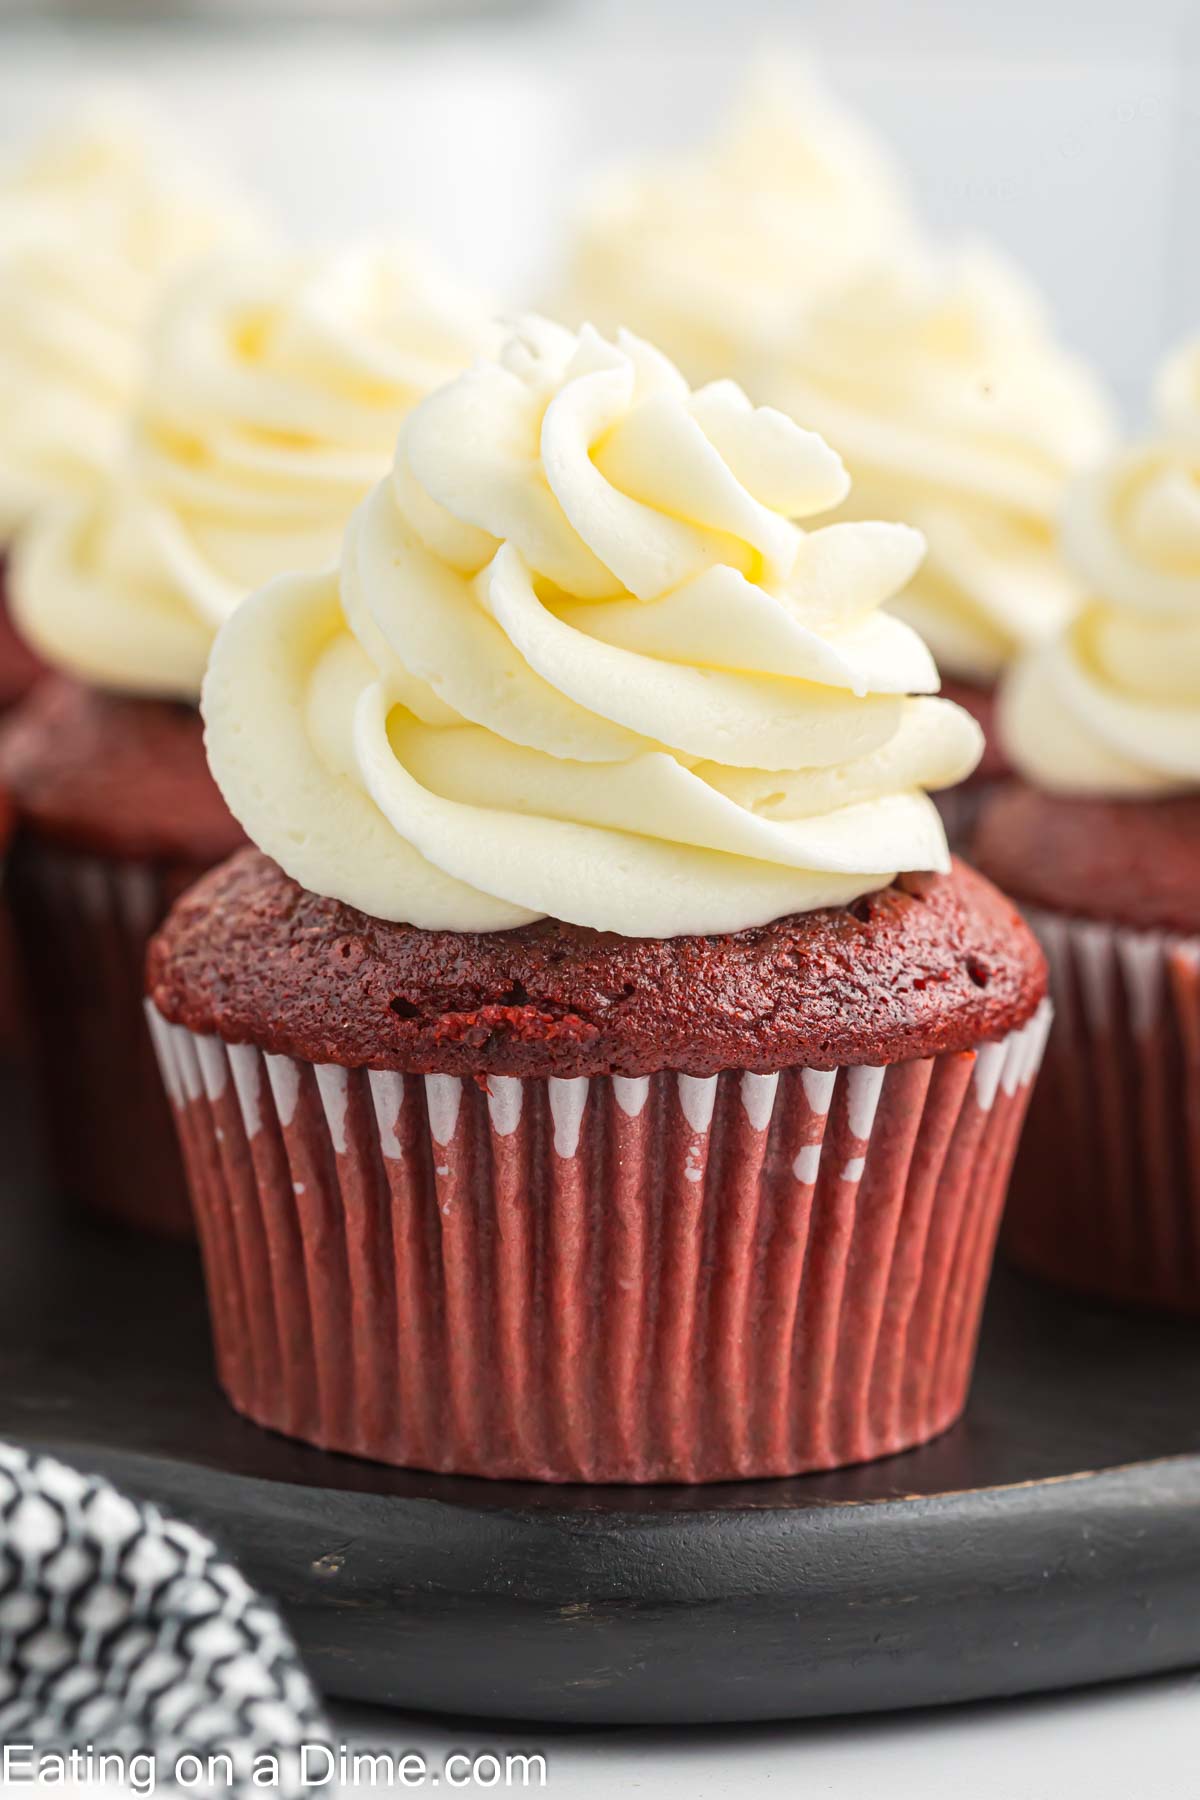
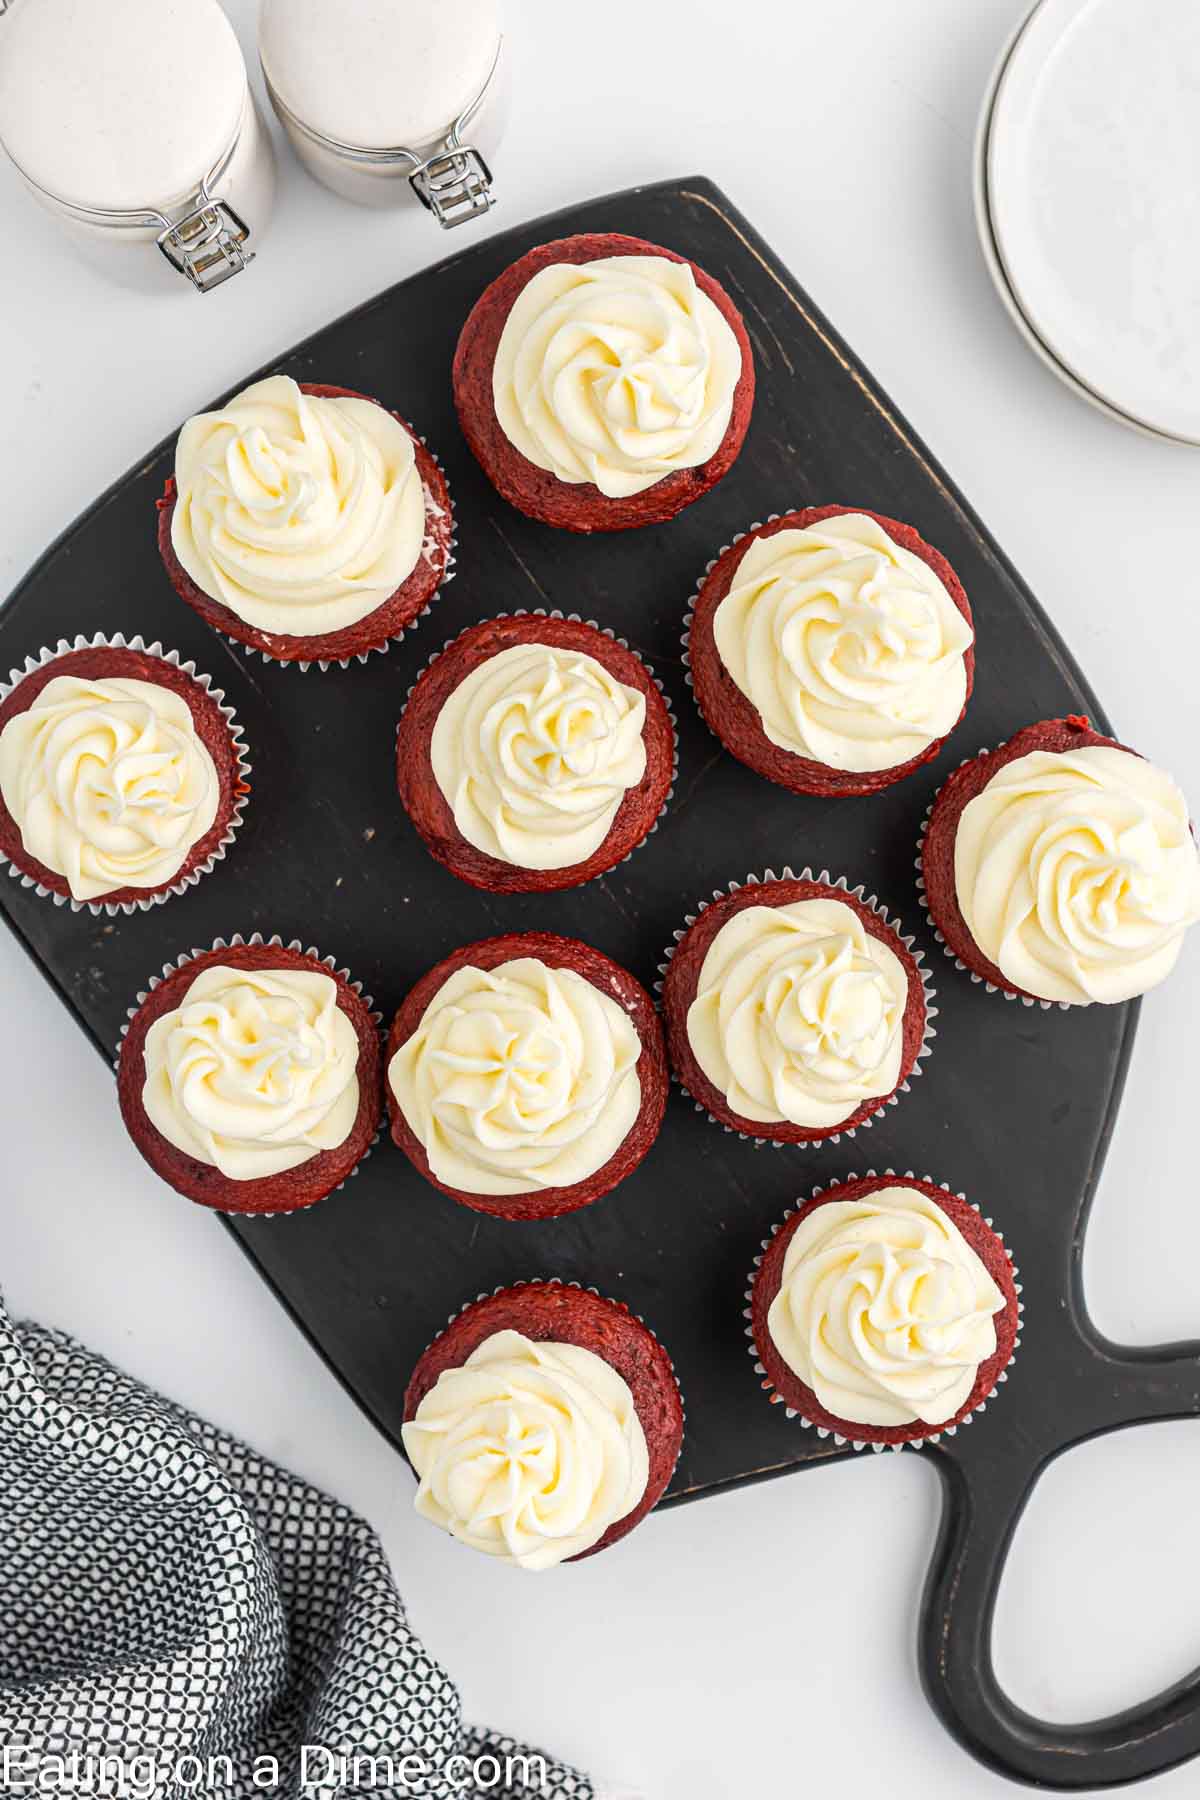
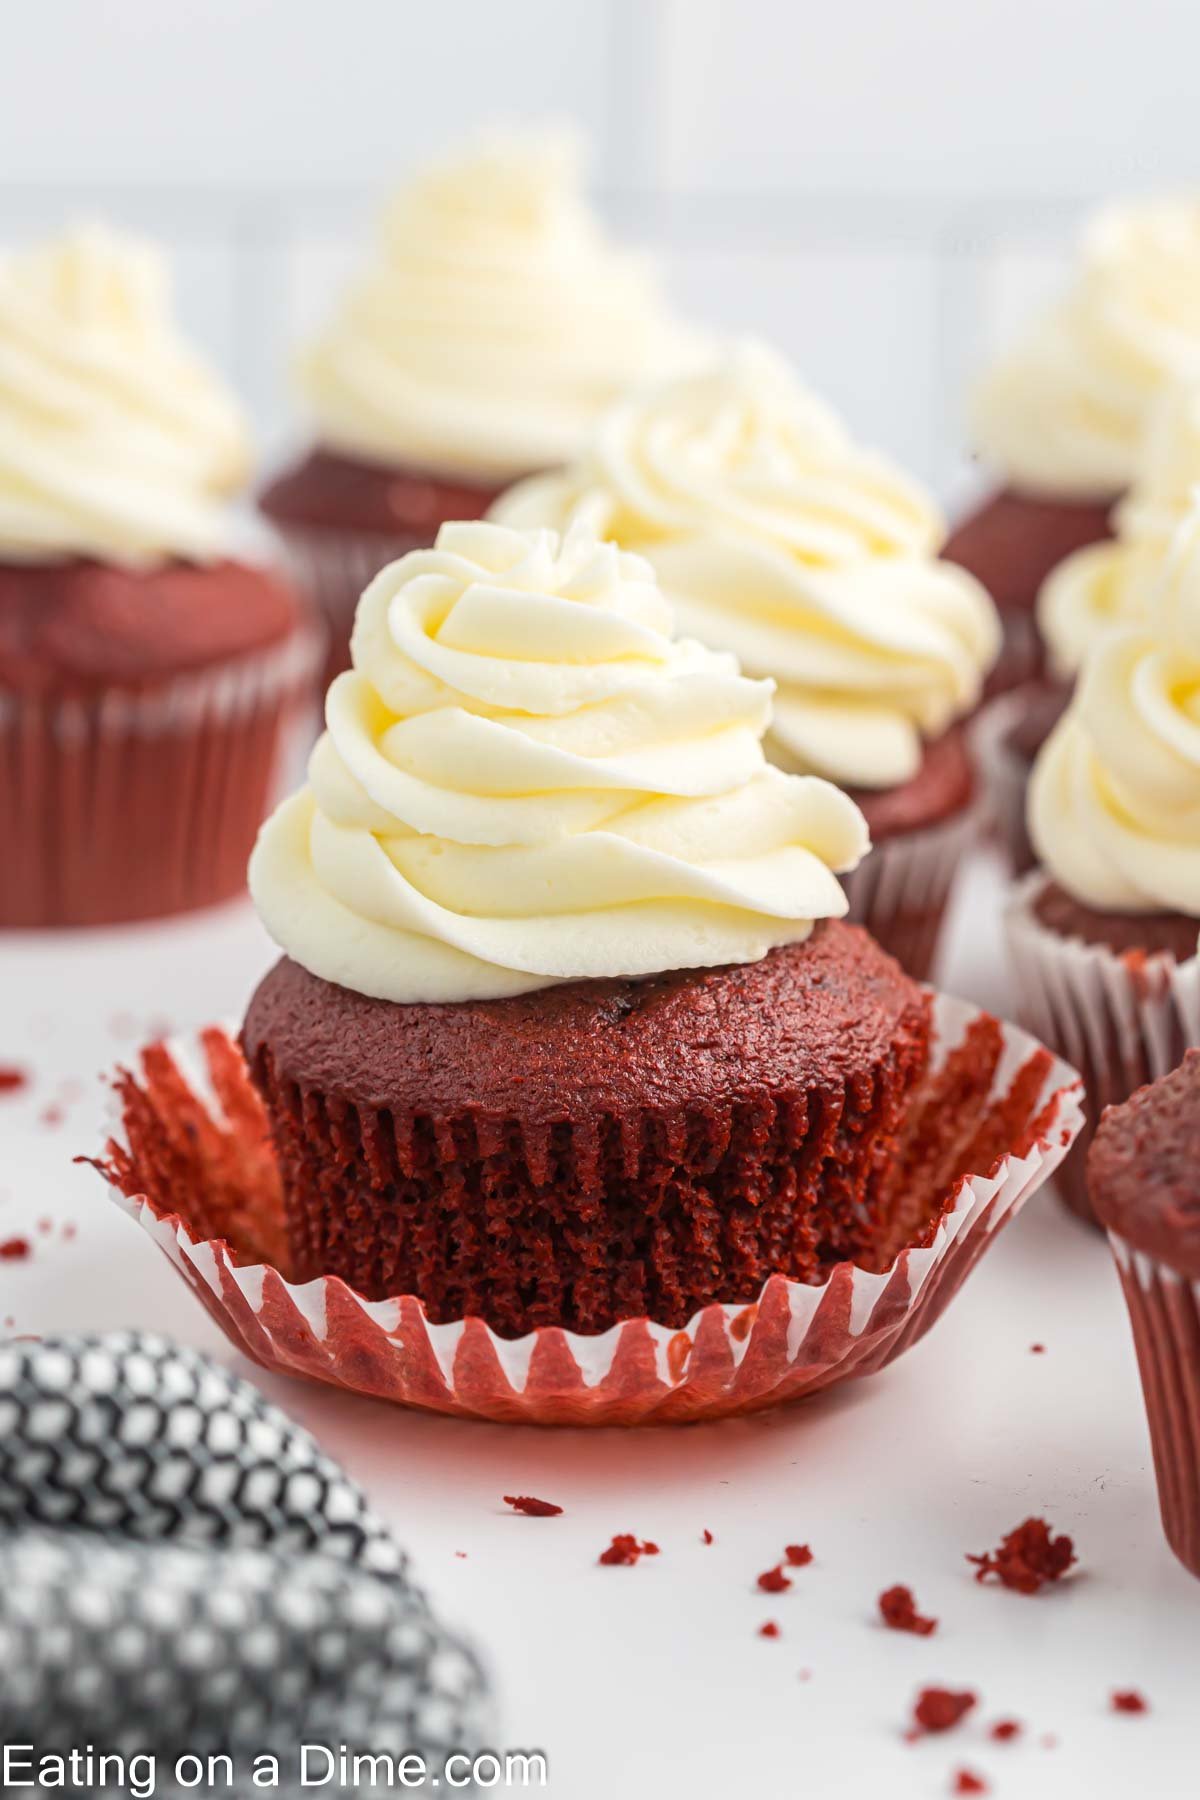
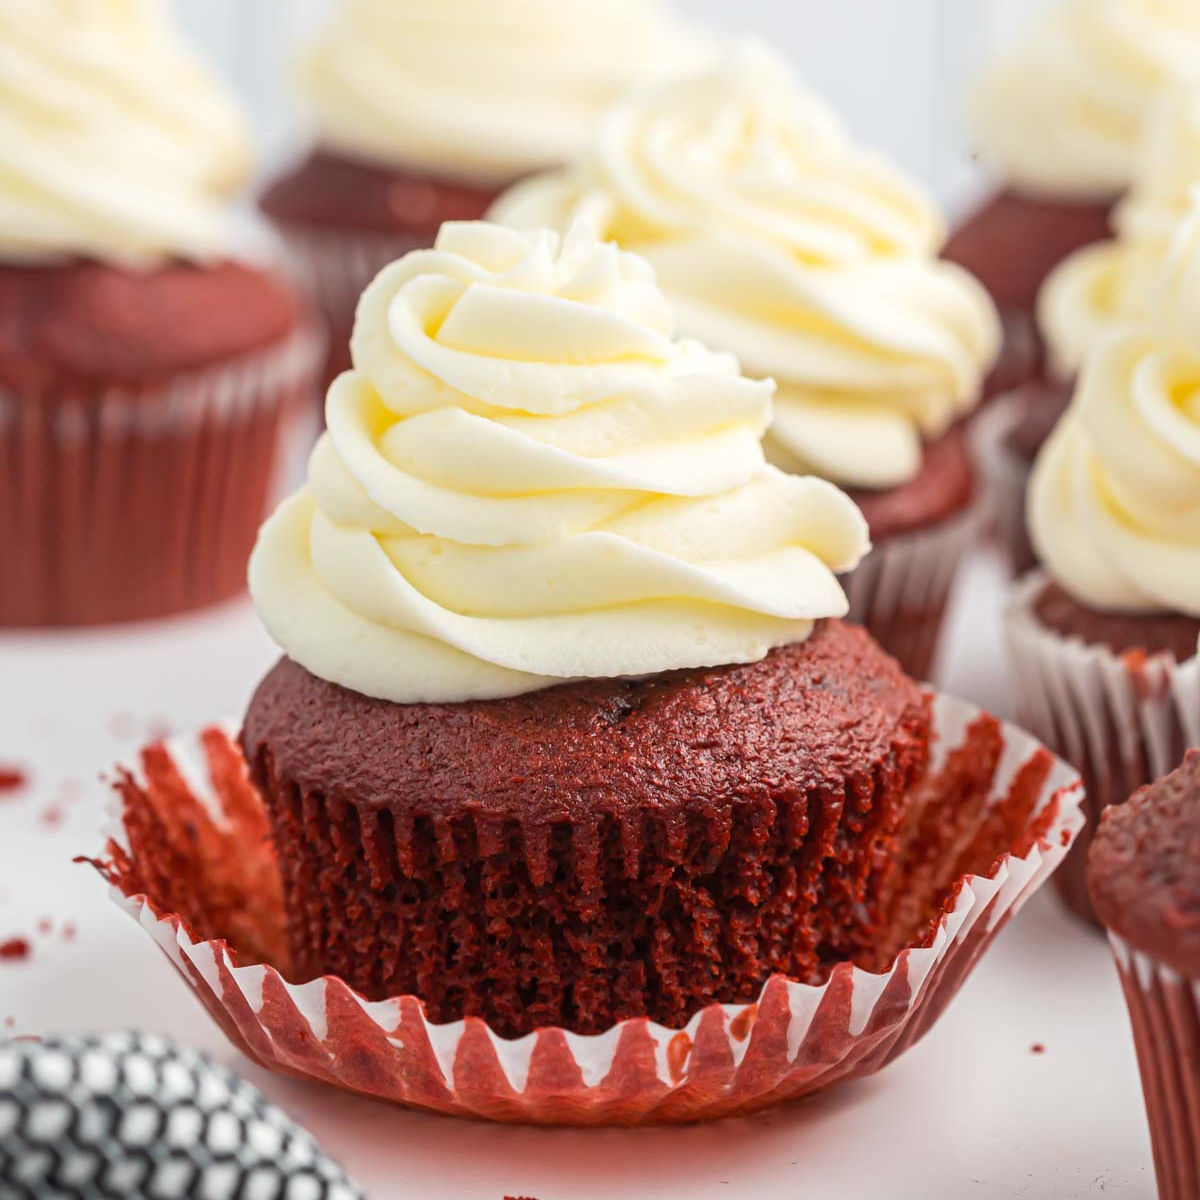
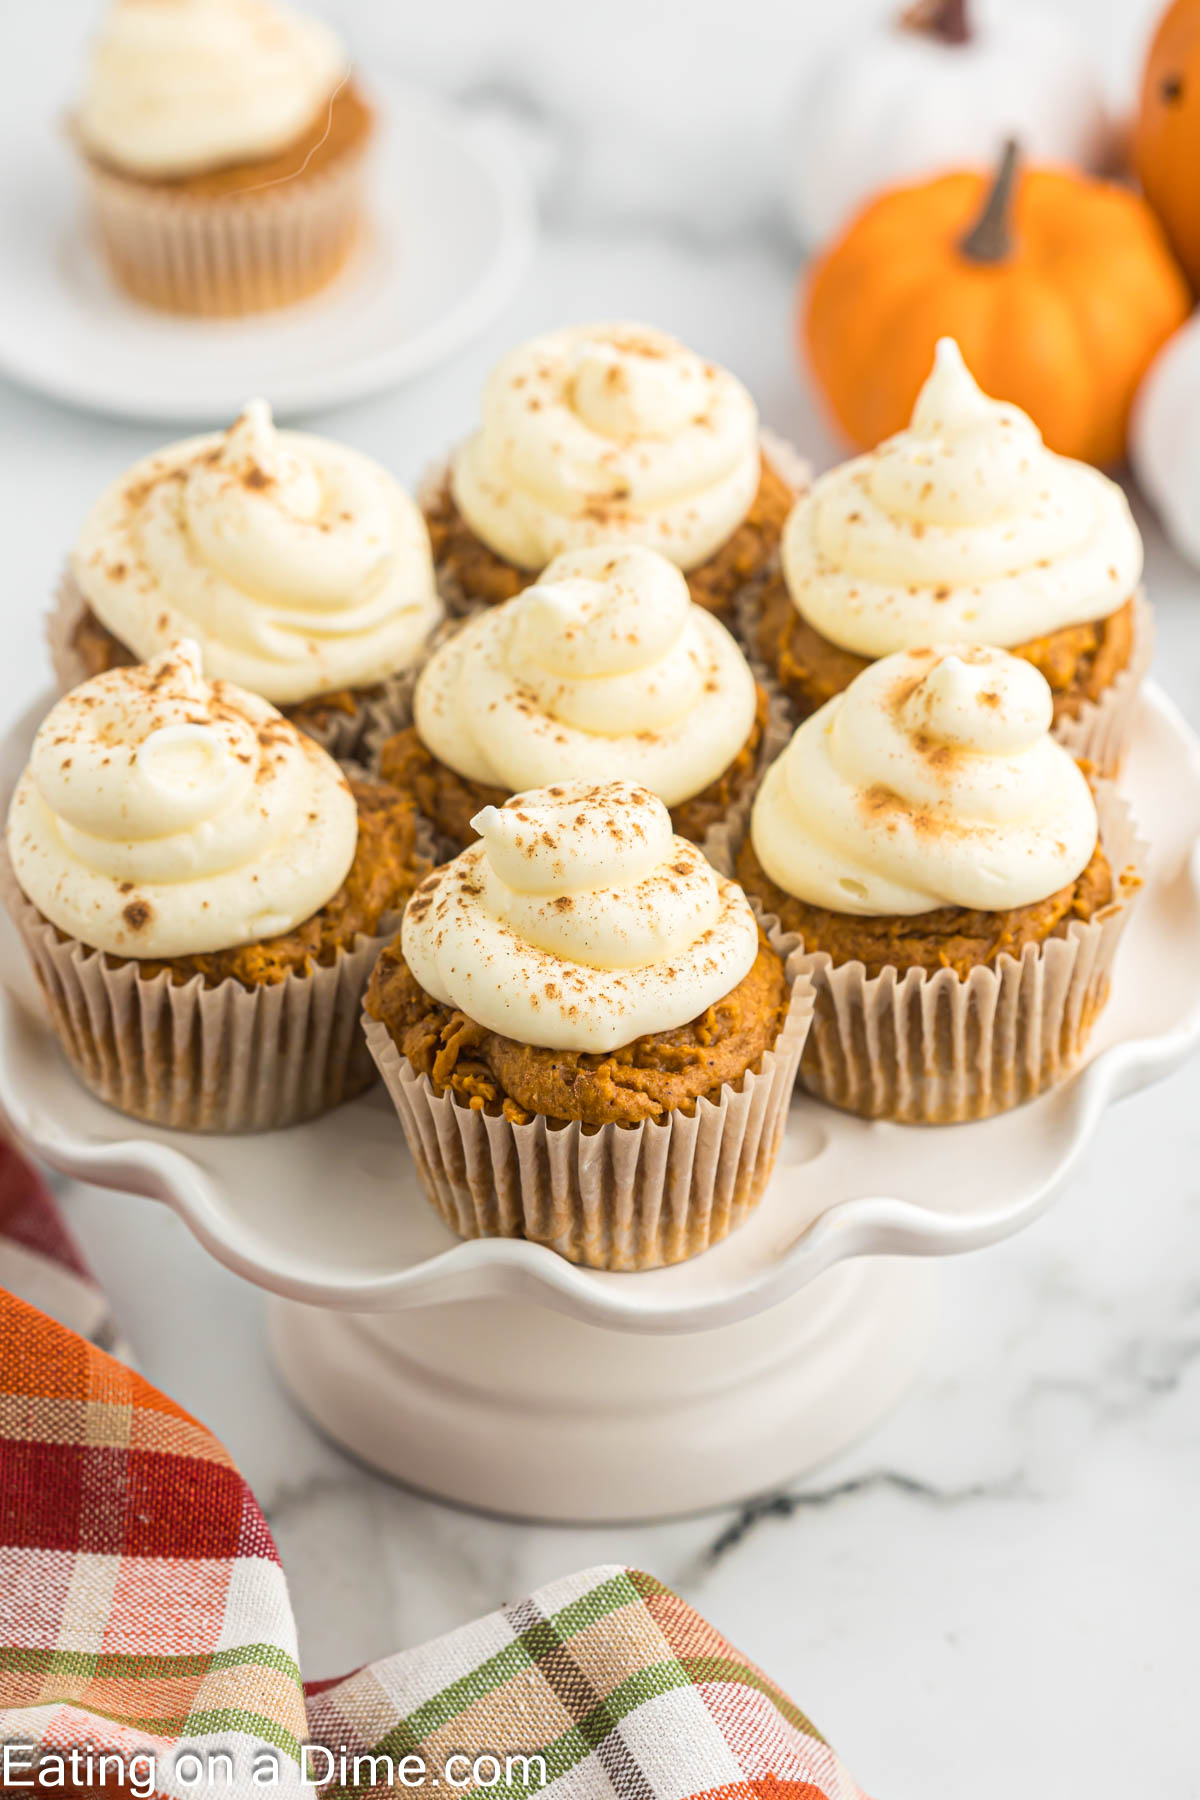
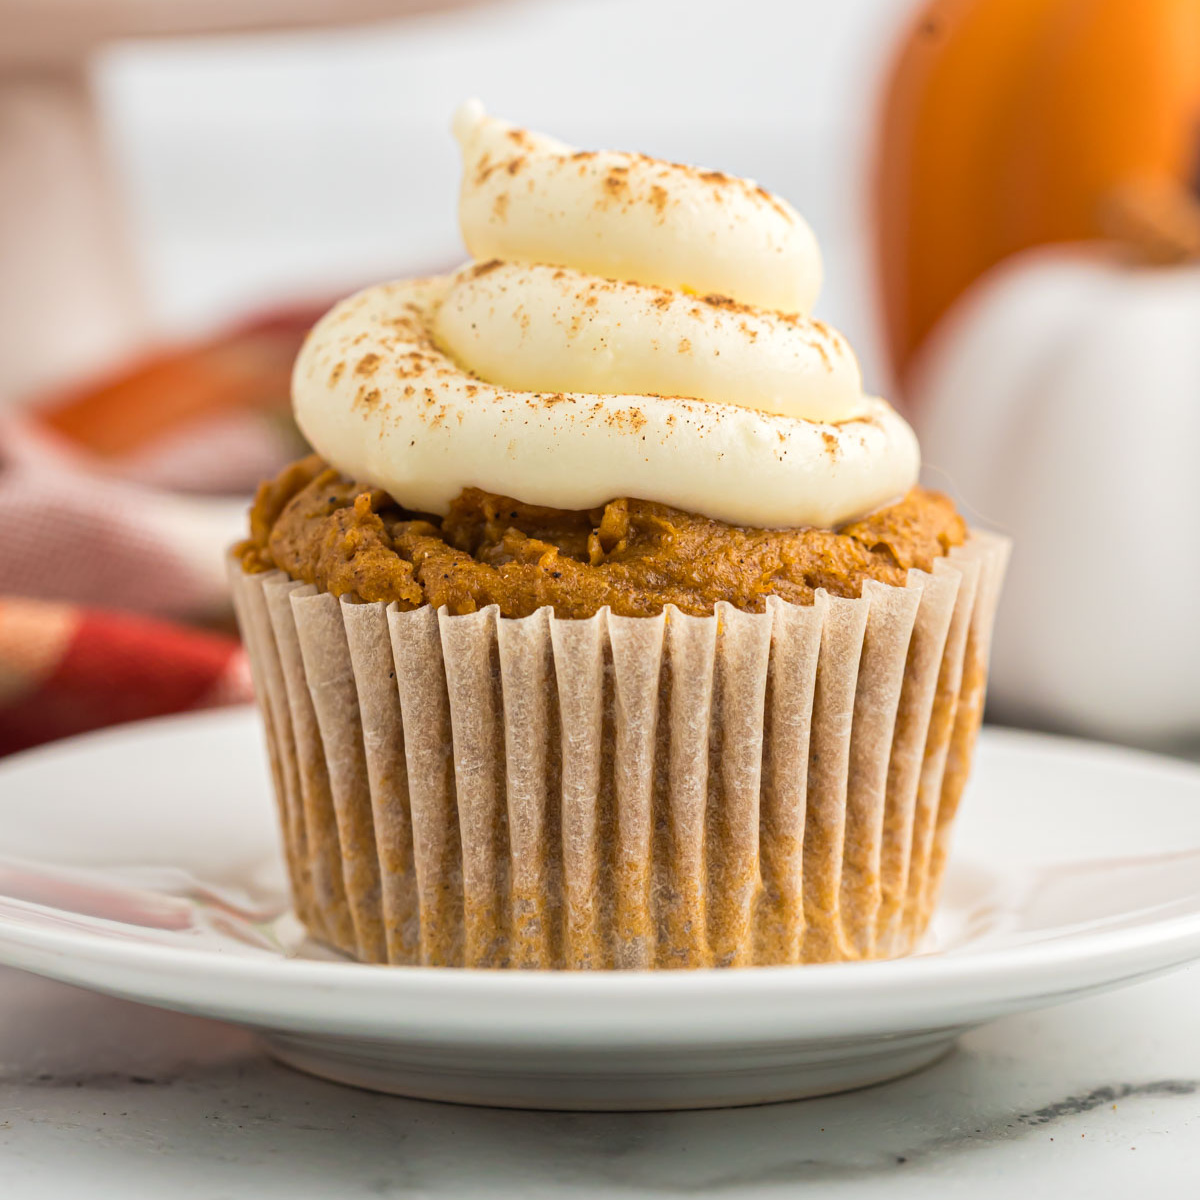
    You could even try making mini cupcakes! We didn’t frost the cupcakes to save on calories but you certainly could do so if you desired. A cream cheese frosting would be really good on these cupcakes.

    Need some new cupcake pans?

    If you are in the market for new pans, there are several regular size and mini muffin tins here. I recently had to update most of my pans and was thankful to get them on sale.

    Make sure you try some of our delicious cupcakes. I know you will find more your family will love. This lemon dessert is so tasty. Everyone loves this cupcake recipe.

    I’m going to try using strawberry cake mix next time. Yum!

    Low calorie lemon muffins dusted with powdered sugar are arranged on a white surface. Some sit elegantly on a cake stand in the background, surrounded by decoratively placed lemon slices.

    Diet desserts taste amazing!

    Now, I thought these were good, but I was nervous about the kids? I mean would they notice the no eggs and no oil in there? I was surprised that they didn’t notice. They all had two and begged for a third!

    I also gave one to my baking friend. She is the master of baking everything. She ate one and couldn’t believe that there wasn’t any egg or oil in these cupcakes.

    If she enjoyed them, they will definitely be a hit with everyone!

    A close-up of a low-calorie lemon muffin topped with powdered sugar, nestled in a white paper cup. In the background, more lemon muffins and fresh lemon slices rest on a light-colored surface.

    Budget friendly cupcakes!

    We like to save money when we can, especially in my food budget. So I try and look for good deals and make recipes based on these ingredients.

    Well I got the cupcake mix for $.25 with a coupon when it was on sale. Then the Sprite zero was $1. I used less than half, but we will say $.50 for even math. That means I paid $.75 for a fun and “healthy” treat.

    Not only are these treats healthy but they are budget friendly. They also take very little time to make. It’s a win all around. It’s so nice to have recipes that I can make and stay on track with my diet.

    Try these Low Calorie Cupcakes!

    You don’t have to avoid sweets and treats while trying to eat healthy. Make a batch of these cupcakes to enjoy dessert without the guilt.

    I also like to take these to parties, BBQ’s and more. That way I know I am guaranteed to find a dessert I can enjoy without tons of calories. No one ever knows they only have 80 calories in the cupcakes. Once I tell people, they are shocked.

    Great for Parties too!

    As you know I have a large family. We celebrate big for birthday parties. I let the kids pick their favorite dessert. It is usually a homemade cake or homemade cookie cake.

    I try and make a dessert for the adults that might not want the high calorie dessert. You know what, the kids and the adults ate these lemon cupcakes. They were all gone at the end of the party.

    These cupcakes are guaranteed to be a hit with everyone!

    Print the recipe for Low calorie lemon cupcakes below:

    Low Calorie Lemon Cupcakes (only 80 calories!)

    Low calorie lemon cupcakes are the perfect treat. You will love this skinny cupcakes recipe. You can enjoy this yummy treat without guilt.

    Prep Time 5 minutes

    Cook Time 17 minutes

    Total Time 22 minutes

    Servings 20

    Cuisine American

    Course Dessert

    Calories 95

    • Preheat the oven to 350 degrees F.

    • Combine the sprite and the cupcake in a bowl. Stir to combine

    • Pour in the cupcake pan to make approximately 16-20 cupcakes.

    • Bake for 17-20 minutes or until they start to brown slightly.

    • Allow to cool slightly. Serve as it or top with a little bit of powdered sugar so they look cute and enjoy!

    *Store the leftovers at room temperature for up to 5-7 days. 
    *The powdered sugar is not calculated in the nutritional information.  

    Serving 20g, Calories 95kcal, Carbohydrates 21g, Protein 1g, Fat 1g, Saturated Fat 1g, Polyunsaturated Fat 1g, Monounsaturated Fat 1g, Trans Fat 1g, Sodium 189mg, Potassium 13mg, Fiber 1g, Sugar 11g, Calcium 55mg, Iron 1mg

    More low calorie desserts under 100 Calories: